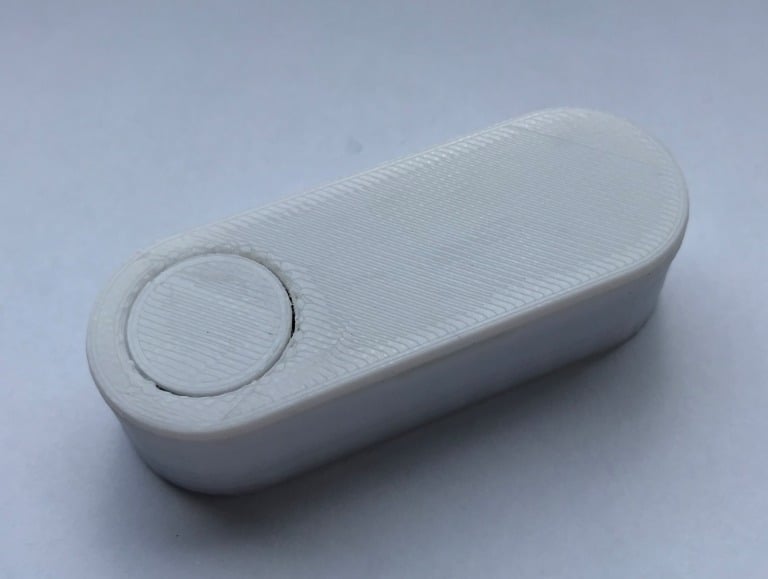
Dash Button with Arduino Pro Mini
thingiverse
Der Text beschreibt Schritt für Schritt den Bau eines Homematic-Systems mit einem Arduino ATMega328 Pro Mini, einem CC1101-Funkmodul und einem Dash Button. Der Prozess umfasst die Verbindung von Bauteilen auf einer doppelseitigen Platine oder "fliegend", das Entfernen bestimmter Komponenten vom Arduino (LDO, Power LED und Build-in-LED) und die Programmierung des ATMega328 mit einem Code, der vom Benutzer angepasst werden kann. Der Text enthält auch Hinweise auf Änderungen am Code, um den Dash Button von A0 auf A3 zu verbinden und eine Status-LED hinzuzufügen. Zudem beschreibt er die Herstellung eines Batteriehalter und die Verbindung des Dash-Button-Tasters mit der Platine, wobei darauf geachtet werden muss, dass bestimmte Pins nicht in Berührung kommen. Der Text endet mit einer Aussage über den Stromverbrauch, der bei 4uA liegen sollte, wenn alles richtig verdrahtet ist und die notwendigen Bauteile entfernt wurden.
With this file you will be able to print Dash Button with Arduino Pro Mini with your 3D printer. Click on the button and save the file on your computer to work, edit or customize your design. You can also find more 3D designs for printers on Dash Button with Arduino Pro Mini.