Davinci Catapult Upgrade Kit
thingiverse
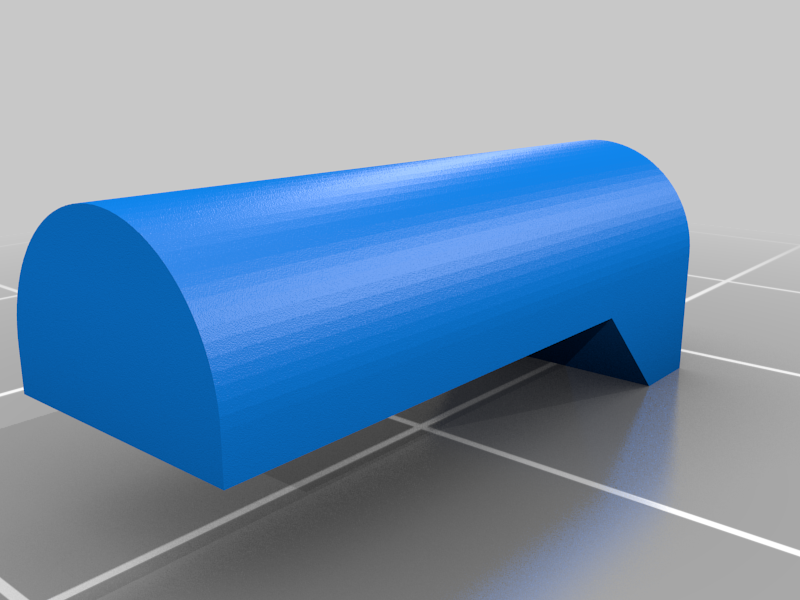
**Original 3D-printable Davinci catapult gift card kit by the user Bribro12** **Found here: https://www.thingiverse.com/thing:4067668** You will need to download the original kit model from Bribro12, as these are simply upgrades for it. __Disclaimer:__ I am in no way affiliated with Bribro12, nor am I doing this for profit. This is just my second time designing something in Fusion 360 (except for the Crossbeam Reinforcement, which I made in blender). I was simply proud of what I had designed, and wanted to put these files up for others to use if they needed. I printed the original as a Father's day gift for my Dad, but it broke rather quickly, so I made these to repair and improve it. **~~------------------------------------------------------------------------------------------------------------------------~~** **This is a bundle of a few upgrades for Bribro12's Davinci catapult. This kit includes a reinforcement for the crossbeam, and a larger basket so you can launch bigger objects.** __Crossbeam Reinforcement Installation:__ *(I suggest printing the reinforcement on its side, like a tower, with the triangle bit at the highest point, sort of like an upside down 'L' so it is a cleaner result. Glue and pressure will be preventing it from cracking)* **1.** Insert the trigger stopper into the crossbeam. *(The crossbeam hinge may snap at this point, however, this reinforcement will fix it.)* **2.** Sand the end of the reinforcement that faces outward from the catapult, just enough that it can pressure fit. *(When looking at the front of the catapult, this is the bit that will face the right.)* **3.** Apply super glue or CA glue on the surface to the right of the crossbeam hinge, and to the back of the hinge. **4.** Place the crossbeam reinforcement on the surface to the right of the hinge, with the triangle section slotting into the pre-existing triangle cut out. __Bigger Basket Installation:__ **1.** Take the small nub and push it through the hole in the basket, making sure it's flush and completing the basket's internal flat portion *(See images for example.)* **2.** Apply super glue or CA glue around the nub, on the back flat portion of the basket and leave to dry. **3.** After the glue has dried, apply more on the rounded end of the nub. **4.** Place the nub into the pre-existing basket of the catapult. **6.** Add glue to the inside section of the clip. **6.** Insert the clip into the back of the bigger basket, hugging the back of the original basket. The curved prongs of the clip should completely finish the shape if the bigger basket. (See images for an example.)
With this file you will be able to print Davinci Catapult Upgrade Kit with your 3D printer. Click on the button and save the file on your computer to work, edit or customize your design. You can also find more 3D designs for printers on Davinci Catapult Upgrade Kit.
