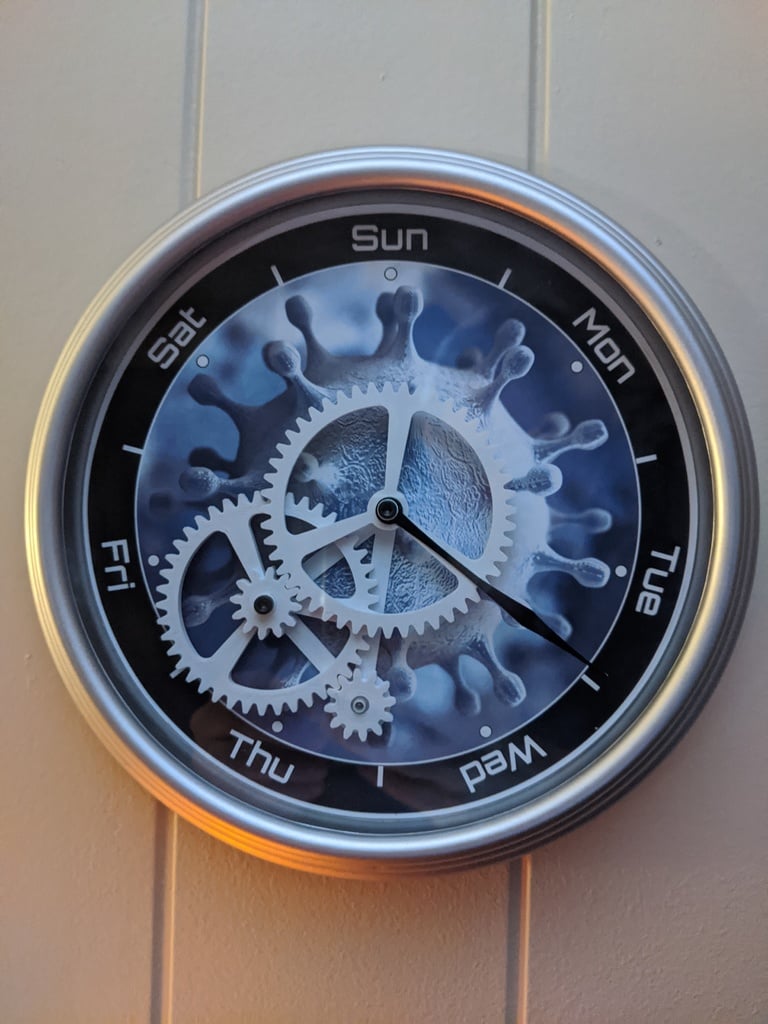
Day Clock
thingiverse
This project is built around a Walmart Mainstays 8.78" Basic Clock. Remove the clock mechanics from the back of the clock by unscrewing them. Use a bracket to mark holes for the clock mechanics gear and second gear. Drill new holes for the relocated clock mechanics box on the back, as well as the second gear. Attach the bracket and push through the clock mechanics from the rear. Secure the first gear with Super Glue. Mount the second and third gears to the bracket using 3 mm x 15 mm screws. Hot glue the clock mechanics in place on the back of the clock. Use a black plastic circle provided with the clock to secure it to the box, screwing it down to the center gear screw and hot gluing it. To create the face of this clock, I used Inkscape for design purposes. You will need to design your own clock face, print it out, and glue it in before adding gears. I added two right-angle bends to the hand so that it clears the second gear's screw, then super glued the arm to the gear. Pictures show the hand bend and placement of the clock mechanics box on the back of the clock. This Walmart clock is available for under $4 and comes in black, silver, red, and white. UPDATE: I added BracketV4 with 0.5 mm clearance between gears to prevent binding. Use this instead of Bracket V3 if you find the gears too close. I also included a plain clock face without graphics that you can use or design your own from.
With this file you will be able to print Day Clock with your 3D printer. Click on the button and save the file on your computer to work, edit or customize your design. You can also find more 3D designs for printers on Day Clock.
