DBot Z axis linear rail conversion
thingiverse
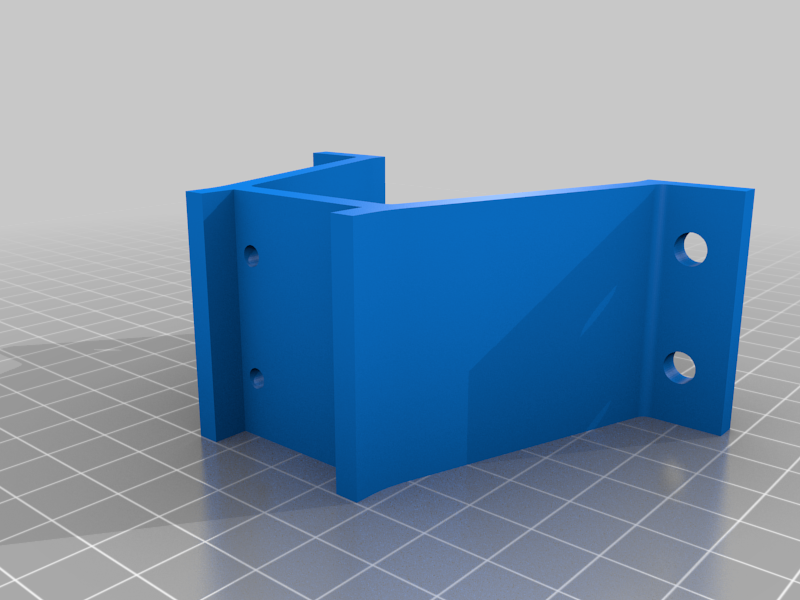
My DBot Z axis was not remaining level when changing heights.I designed this simple way to modify it such that it could use linear rails for the vertical axis. I did not want to change the drive to a 3 or 4 screw setup. This uses a pair of rails mounted on each side next to the lead screws (mine has dual Z motor drive). MGN12H 400mm rails are used. 2020 rails are added to mount the bar vertically and to provide bracing with out interfering with the Y carriage motion. For mine, the vertical bars are 17.75" tall and the cross bars are 16.25" long. Basically make them to fit. The 2020 bars are held in place with corner brackets. Move the stepper motors and brackets to the center of the Z carriage sides. Then mount this outside of them. Remove the rear idler wheels and then level the Z carriage. Check that the drive screws are vertical throughout the range of motion of the carriage. I did have to redo the z-offset due to the lack of tilting. So far, this provides a notable improvement in print quality with reduced layer lines. Fusion 360 3d file is provided if you need to change the dimensions or make other changes.
With this file you will be able to print DBot Z axis linear rail conversion with your 3D printer. Click on the button and save the file on your computer to work, edit or customize your design. You can also find more 3D designs for printers on DBot Z axis linear rail conversion.