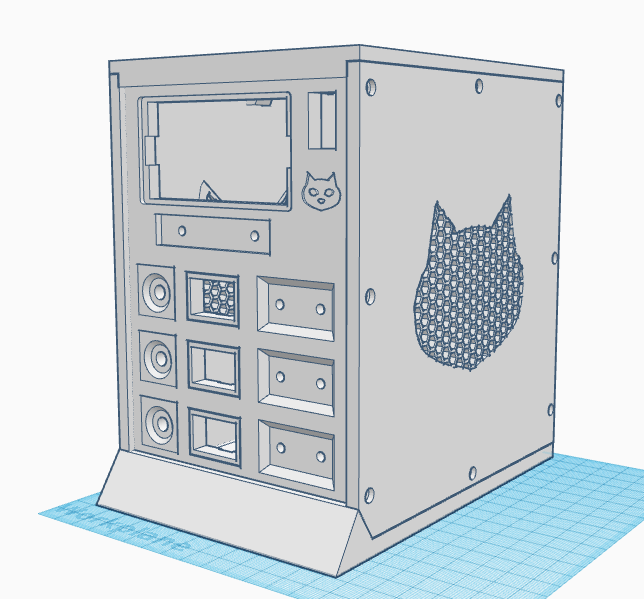
DC - Bench Power Supply
thingiverse
Inspired by this (https://dronebotworkshop.com/simple-supply/) guide to making a Bench Power Supply using a DC-jack laptop plug instead of an ATX box. Borrowed the Drok-mount and banana plug-mount from (https://www.thingiverse.com/thing:4727021). Drok window frame required about 5 minutes of sanding to get proper fit, but I wouldn't resize it because Drok units come with slight 1mm warps sometimes, so best to just sand the mount until your Drok fits. Ends up fitting great. The honeycomb material for grill came from (https://www.thingiverse.com/thing:2802474). <b>Big thanks to all who've gone before me.</b> Note: The LED Voltmeters have an adjusting potentiometer that I have not adjusted. That's why the picture shows slight variation off from 5volts. I'll get around to cleaning that up and updating w/ new pics. But for now just heads up. Note: Side panels are Not interchangeable. This is because I've countersunk (scooped out) the holes on the outside. It's easy to tell which is which, but do not print the same one twice. Right. This build is easy but it does use a lot of filament. C'est la vie. Printed the Face at 50% infill, the rest at 10%. Also, I use rafts to prevent warping. <b>Bill Of Materials:</b> DC-jack laptop charging plug (see "Simple Power Supply" picture above) DC-jack plug https://www.amazon.com/dp/B01N8VV78D/ 80x20mm protoboard https://www.amazon.com/gp/product/B07W83VJGV/ PCB mount Terminal Blocks (5x 2Pin) https://www.amazon.com/gp/product/B088LVP6ML/ M2 Standoffs (x4 for protoboard) https://www.amazon.com/dp/B091BB4BWW/ LM2596 Buck (x3) https://www.amazon.com/dp/B08L5VRBZS/ M3 Standoffs (x6 (that's 2 per LM2596)) https://www.amazon.com/dp/B06Y5TJXY1/ SPST https://www.amazon.com/gp/product/B01N2U8PK0/ Drok 180081 https://www.amazon.com/dp/B01FNVESV2/ SPDT (SinglePoleDoubleThrow switch) (x3) https://www.amazon.com/gp/product/B079JBF815/ LED Voltmeter (x3) https://www.amazon.com/dp/B00YALV0NG/ Banana plugs (x8) -- Regular -- https://www.amazon.com/gp/product/B07PFMD1N2/ -- Colorful -- https://www.amazon.com/gp/product/B07YKYP8MN/ M3 screws (10mm x18) for case https://www.amazon.com/gp/product/B08PDHVTQJ/ Plus, this Bonus tool comes in handy when you are prototyping and you aren't sure how deep to make your screw-holes: Pin Vise https://www.amazon.com/gp/product/B098CF3VMM/ <b>The Box</b> <b>Face</b> and <b>Back</b> have 6mm deep holes along their side edges. The <b>Sides</b> and <b>Back</b> have countersink screw holes. I found 10mm length M3 screws sink right in for a nicely finished look. It's so cute! You'll notice the Base and Top have canals in which the Face fits. This fit for me with no trouble, no sanding, it just fit. This stabilizes the Face for all those plugging / unplugging lateral pressures. <b>The Electronics</b> Inspired by: https://dronebotworkshop.com/simple-supply/ While my project is a little different, a few bells and whistles, it is essentially the same. The Goal was a Bench Power Supply with one part [variable voltage], two parts [5 volts], and one part [3.3 volts]. I wanted to label each, which led me to use the LED volt meters. And I thought it'd be fun to add on/off switches to each bank. Who doesn't love flipping a switch? Video: https://youtu.be/HkL4cKFWVcc
With this file you will be able to print DC - Bench Power Supply with your 3D printer. Click on the button and save the file on your computer to work, edit or customize your design. You can also find more 3D designs for printers on DC - Bench Power Supply.