DE Razor Station
thingiverse
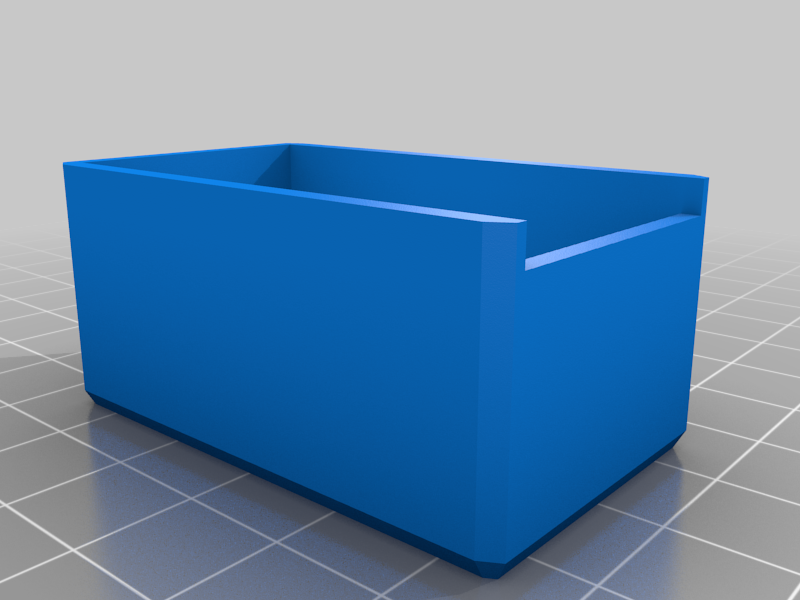
Why: I was looking for a place to hang my razor, brushes and other stuff. The things i use regularly. I may make a second "thing" to hold aftershave and whatnot. Wall mountable shave station that holds: A. Two DE razors such as Gillette DE and Murker. B. Two larger shave brushes like the Parker. C. "New" blade storage case that is removable (holds 50 blades) D. "Used" blade storage case that keeps blades from falling out (holds 50 blades) E. Styptic pencil holder large enough for the Clubman Jumbo (or regular size) F: A modern razor holder to hang a Gillette Sensor G. Notch at the top to hold a couple of blades or a single packet. Notes: 1. The screw holes: are measure to accommodate a drywall screw and hidden away. I suggest pre threading the screws with a drywall screw before hanging it or drilling it out slightly to accommodate a lager screw with wall anchor. 2A. The blade bank cubbies: are set to lean back on a slight angle so when you insert them they will not slide out. If you want to use the top tray (also angled back) for a pack of razors you can install two used blade holders or use it as storage. I use the top tray to carry a vintage "fancy" Gillette blade storage case. 2B. The lids on the blade holders are meant to be glued down with super glue. The internal lip is deep enough to capture some glue without squeeze out if used very sparingly. Its glued because you don't want blades going everywhere if dropped. After applying glue tape the lid down until the glue dries to get a good fit. The "new" blade holder has a floating tray that sits inside (after the glue up) and helps you push up from the bottom with your thumb. The corners are all rounded to help blades slide out. Note: Put the "used" blade lid on with the lip facing the hole (like in the picture).It was a happy mistake for me but ended up working so much better. The blades will not fall out of you shake or drop it. 3. The brushes hang upside down to let them dry. Printing: Print the holder by itself. It fits on the ender 3 with zero space to spare (in the X direction). In fact the raft lines may even draw over the edge (Cura) if its not centered but since they are not connected it doesn't hurt anything. Its made to print on its back and not need any support. You will notice i switched to Prusa because Cura stopped allowing me to select and move/rotate the objects. Very strange bug. Glue. I would use some kind of adhesive to affix it to the build plate. Taller models have a tendency to cool in the middle and pull the bottom up at the corners. If your workspace/office is 75 degrees and you printer is not in an exclosure you should probably use some kind of adhesive. I found Glass+Glue worked for me but its pain to pry it free. Believe me, after long print on the ender you don't want to end up with warped corners that don't sit flush... I did. Depending on settings it will take about: 16 hours on the Ender 3 using PLA, 20% infill, Ironing and 70 mm/sec Special thanks to Tanker405th Credit where credit is due I used tanker405th's design as a launching point for my own. He had a lot of good ideas that allowed me to build off of. Much thanks goes out to him, without his work it would not have been possible. This is not quite a remix, I didn't want to confuse people. If you are interested here is his design, its very modular and a lot of thought went into it. https://www.thingiverse.com/thing:4414750
With this file you will be able to print DE Razor Station with your 3D printer. Click on the button and save the file on your computer to work, edit or customize your design. You can also find more 3D designs for printers on DE Razor Station.