Deadblow Hammer with Replaceable End Caps
thingiverse
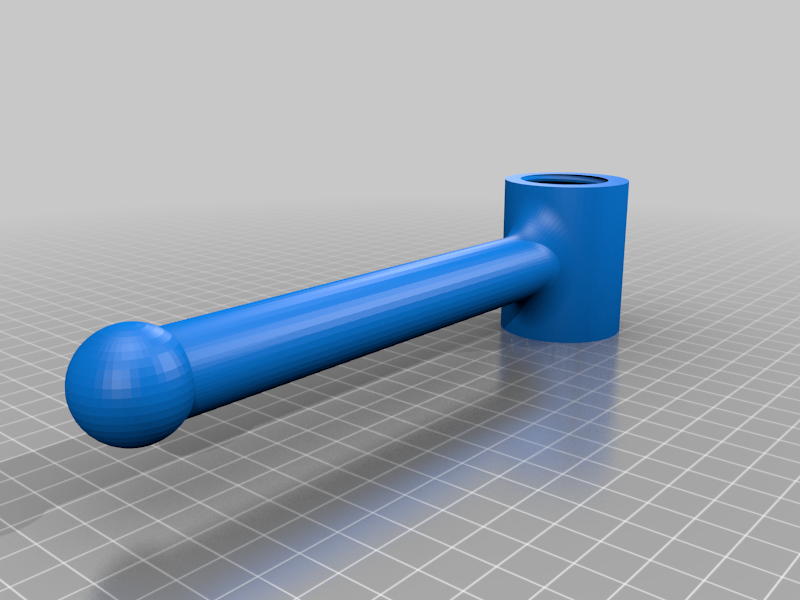
I wanted a small, deadblow hammer with replaceable end caps. I also wanted to seal the media inside so that breaking or replaceing an end cap wouldn't result in spilled media. For the media I used lead shot, but you can use sand, steel BB's or just about anything small that has some weight to it. Print one main head/handle piece, two end caps and two threaded plugs. I highly recommend printing the threaded plugs seperately and scaling them to 98% to make it possible to thread them in. Different scaling may be necessary for different printers or different filament types. I used PLA+. Print in the orientation you get them in. The handle requires support. Nothing else does. I printed at .32 layer height and .5 line width with 3 walls and 5 top and bottom layers. I used Gyroid infill at 30% and it seems very solid. To assemble, thread one plug into the head until it bottoms (I reccomend gluing it as well), turn it over and put your media in (I go about 10mm below the bottom thread, then threading and gluing the plug in and sealing the media inside. Then just thread on the end caps until they bottom out. Watch my Youtube video for more info. I'm including the Fusion 360 file for all your remixing needs! Happy hammering! https://youtu.be/makxh1-0BTI
With this file you will be able to print Deadblow Hammer with Replaceable End Caps with your 3D printer. Click on the button and save the file on your computer to work, edit or customize your design. You can also find more 3D designs for printers on Deadblow Hammer with Replaceable End Caps.