Deburring Tool Handle
prusaprinters
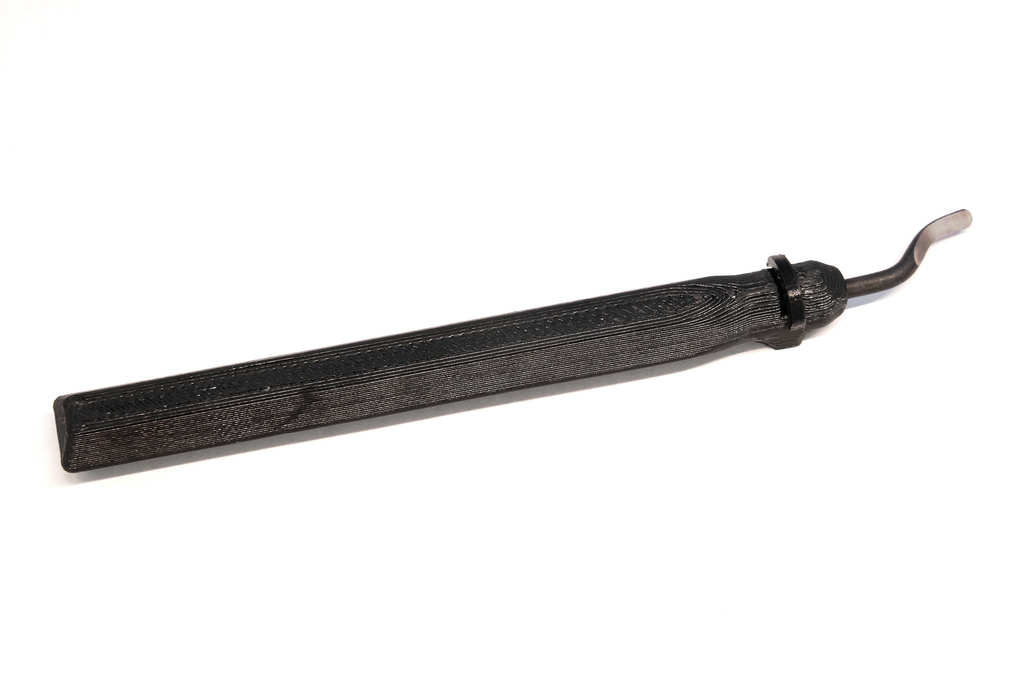
<h3>Notes</h3><p>To use, insert a 0.125" shank deburring blade into the end of the handle until the groove in the blade lines up with the hole in the side of the handle. Press the clip into the hole until it snaps into place around the blade. Reverse this process to remove the blade.</p><p>Depending on your printer and the material you use for the clip, the blade will probably not spin freely but will rotate well enough for normal use (deburring holes). Friction can be reduced by enlarging the center hole on the clip or adding some grease in that area.</p><p>Fusion 360 original design file included.</p><h3>Printing</h3><p>Print on its flat side in any material. The proper orientation is shown above in the pictures. Depending on how well your printer is tuned, you may or may not need supports to print the hole properly. If you use supports, you will probably need to drill out the hole to remove them. </p>
With this file you will be able to print Deburring Tool Handle with your 3D printer. Click on the button and save the file on your computer to work, edit or customize your design. You can also find more 3D designs for printers on Deburring Tool Handle.