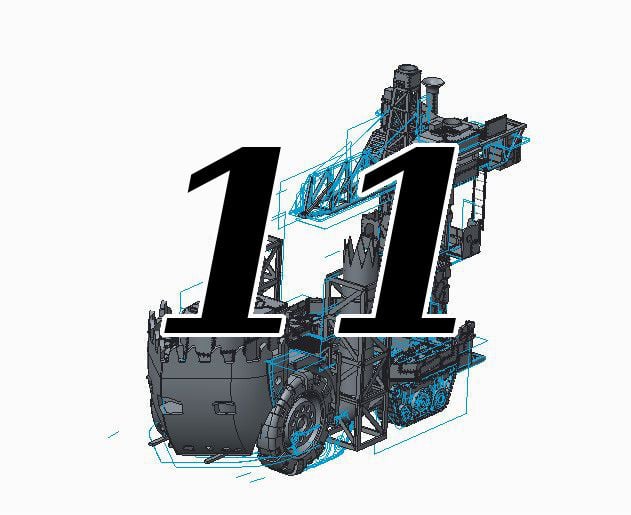
Deff Trukk Part 11
thingiverse
For this part; The Gun Exhaust Pipes. My printer is acting funny. So rather than risk the printer messing up the swiss-cheese holed exhaust pipes, I just had it print the pipes with a section that needs sanding off. For clarification; The pipes are meant to be printed upside down. Gunner Shield. The Pipes coming off the engine will need sanding down. To make the pipes printable at all, I had to have them start at the same level as the engine. But where the pipes connect to the gun body, there's a curve upward. So just shave a bit off at a time till it fits. (Extra) I ended up thinking the gunner shield I ended up with looked good. What with the shield being partially broken. Problem being, I only got that by accidentally dropping the part. The main gun barrels. I don't know if it's an issue with my printer or the actual design, but you may need to sand down the base of the barrels before they fit into the slots on the main gun body. Extra Assembly notes: The Gun_body_to_back_pegs are meant to be slotted into the holes on the blank side of the Body_back part. You would then use that to connect it to the Main gun body. I couldn't print any male/female pins on either the back or the main body, so this was the closest alternative. I also printed an extra ladder to go on the back, between the two exhaust pipes. It will need to be bent outwards, though I suggest you do that AFTER you've painted it. The paint seems to add extra support to the part. A couple of the parts come printed in pairs, just break them off from each other. The front hooks are meant to have a chain or string or wire lead from them up to the main crane. In the photo's I've shown how I ended up doing it. Essentially, I used rings to attach the chain to the hooks. The longest bit of chain, I used a bit of zip tie that came with the chain to attach it to the crane lookout tower posts. I then fed the chain through the center of the crane arm and draped it over the front nub. While I haven't done it just yet, I plan on attaching the two hook chains to the main chain via a third ring. I did an example using the left over chain and posted the photo on here. Many of the support parts are designed to be a very tight fit. I also ended up painting the gun barrels and supports separately. So when I ended up putting it together, it was a tight enough fit that I actually had to use a screw driver head to bore out the center_support holes on the front_support just so it could fit. FOR THE BULLET BELT: I designed this part so that you could shape it to fit in place. That is, after you paint it, the belt should be able to bend at the links to a small degree. I showed an example in one pic. While each link can only bend a small amount, there are enough so that you can make it snake from the bullet_barrels under the gun up to the intake on the gun's main body. I suggest painting it first cause the paint seems to help strengthen the links and allow them to bend more before they break. Not by much, mind you, but it's still more. I would be VERY CAREFUL adding the gun and its platform. At least for me, I never glued the crane in place and felt like I could topple the thing at any moment due to the size of the gun. It will also be a tight fit between the smoke stacks. I also already suggested this to one person; If you don't like the smoke stacks, you can just print the bottom curved portion and maybe the bottom frame parts. After attaching them, you can then put a flat part on top and it would act as an extra gun platform. It would also help the main gun to fit.
With this file you will be able to print Deff Trukk Part 11 with your 3D printer. Click on the button and save the file on your computer to work, edit or customize your design. You can also find more 3D designs for printers on Deff Trukk Part 11.
