Delta Faucet Aerator Tool
thingiverse
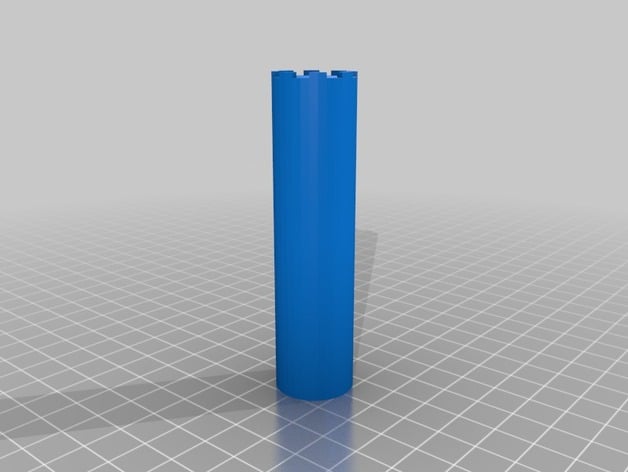
On some new faucets, the aerator is recessed and a special tool is needed to remove or reinstall the aerator. Such tools can be purchased for less than $10 if you know the model of the aerator as they come in different sizes. (A universal tool is also available.) Making one can be a short, satisfying project with a 3D printer. The long cylindrical part of this tool functions like a screwdriver handle and prints with no support. The long cylinder also allows the tool to be kept slightly compressed in use so the teeth are less likely to slip out of the aerator. I did not know what model my Delta faucets were and still don’t. For now, I do not care, as this tool works on all the bathroom faucets in my house. The OD of this tool is approximately 21 mm. It was printed with PLA. While removing an aerator, I was able to apply an amazing amount of torque with no damage to the tool. However, the mineral deposits on my faucets are light. On an older house with a heavily encrusted aerator, it may take more torque to remove than this tool can provide. Print Settings Printer: ZYYX Rafts: No Supports: No Resolution: Varies --- see "How I Designed This" Infill: Varies --- see "How I Designed This" Notes: If you have an application for this tool, I would recommend first printing just the “test piece” and try it for fit. That print should take only minutes. If it’s a good fit for your faucet, then print the whole tool. If not, perhaps, it can be scaled (in your slicing software) prior to printing to obtain a tool that works for you. How I Designed This Firstly, I took a photo with the camera looking up under the faucet. After a few tries (with flash and a macro setting), I had a reasonably focused picture of the aerator. While at the faucet, I also measured the needed OD of the tool with a digital micrometer as being 21.3 mm. With the photo moved to my computer, I used Photoshop Elements to crop it and changed the slightly oval shape my camera recorded to a circular one by scaling the image in one direction. The final result is below. The edited photo was imported into Blender as a background and a circle with 32 vertices placed over it where the outer part of the tool would be. The background image was rotated slightly to line up with the vertices. A short test piece was generated and printed, scaled to an OD of 21.3 mm, to determine fit before extending the cylindrical part. The height of the 8 teeth was a guess, requiring a second test piece to get it right. Perhaps just luck, but the fit was otherwise excellent. The test pieces were printed with solid fill. Once the test piece fit was satisfactory, the cylindrical part was extended in Blender to function like a screwdriver handle. My total length was about 84 mm. I wanted the teeth to be printed solid for strength but the handle could be infilled. With Simplify3D, it is possible to set up two slicing processes to print the tool, one for the lower 80 mm or so and another for the upper 4 mm portion that includes the teeth. For the lower part, I used a “fast setting”: 0.3 mm layer height, 3200 mm/min default speed and 20% infill. For the top, I used a “fine setting” with solid infill: 0.12 mm layer height and 1800 mm/min speed. I also lowered the temperature a bit to avoid overheating the teeth while they are printed.
With this file you will be able to print Delta Faucet Aerator Tool with your 3D printer. Click on the button and save the file on your computer to work, edit or customize your design. You can also find more 3D designs for printers on Delta Faucet Aerator Tool.