Delta Robot - Yazzo PolyBot Derivative
thingiverse
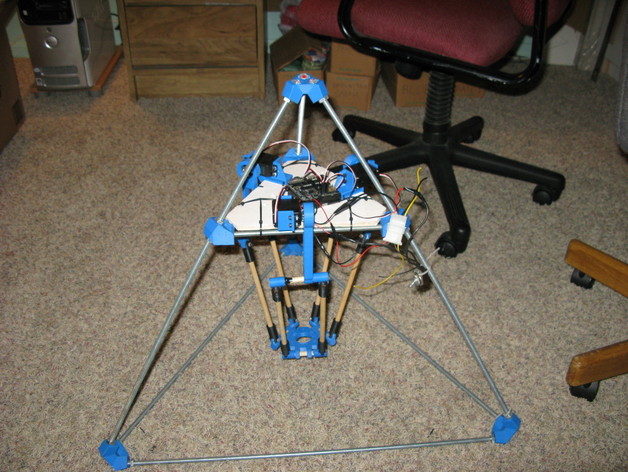
This redesign aims to improve the original Yazzo PolyBot by WilliamAAdams. The creator found aspects they wanted to change and encourages others to experiment with this robot. New threaded rod connectors print without support, are easier to assemble, and provide increased sturdiness. Servo brackets have also been modified for simpler servo mounting. Fasteners may be required for some parts, but the designer prefers using nuts for ease of assembly. Standard medium hobby servos work well with this design, while a Picaxe 28X/40X microcontroller is used. The creator shares videos demonstrating the robot's movement. To build the bot, print the necessary parts, construct a Tetrahedron support structure, and attach servo brackets, keyed swivel mounts, and servo horn arms. Enjoy experimenting with this cost-effective and fun-to-use Delta Robot Test Platform!
With this file you will be able to print Delta Robot - Yazzo PolyBot Derivative with your 3D printer. Click on the button and save the file on your computer to work, edit or customize your design. You can also find more 3D designs for printers on Delta Robot - Yazzo PolyBot Derivative.