Demo Foamboard for Lasercutter
thingiverse
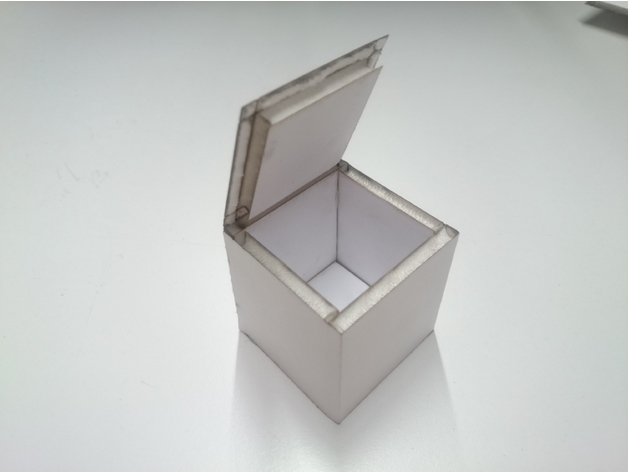
Every foamboard requires a test before cutting it on a lasercutter. WHY? The power needed depends on paper-quality and thickness. A store-bought foamboard from Bern, Switzerland, is used in the Demo-Object and requires: Cut: 25 / 40 / 30 (speed, max power, corner power) Semi-Cut: 80 / 40 / 30 Engrave: 100 / 30 / 20 Semi-Cut only cuts the top paper-layer and foam. This is necessary for bending objects as shown in pictures. Engrave is not done by lasercutter engrave-option since it involves a closed figure. To engrave lines and markings, use "cut" with low power as mentioned above. This technique is widely used by flitetest.com. Check their website to learn how to construct and use different cuts (A-fold, B-fold, C-fold). A simple example of a plane can be found at http://flitetest.com/articles/ft-simple-storch-build Be aware that more power needed results in more foam melting, increasing the space for glue. Use hotglue to assemble objects.
With this file you will be able to print Demo Foamboard for Lasercutter with your 3D printer. Click on the button and save the file on your computer to work, edit or customize your design. You can also find more 3D designs for printers on Demo Foamboard for Lasercutter.