Demon Over Shoulder Costume
thingiverse
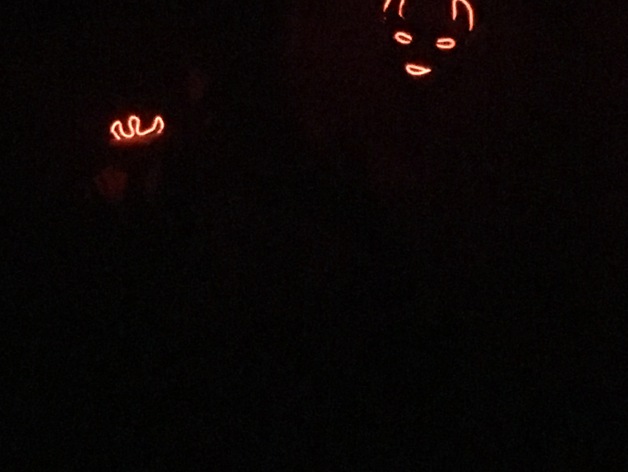
An EL wire-lit mask and claw to give an effect of a demon behind you. Print Settings Printer Brand: Printrbot Printer: Simple Black Rafts: No Supports: Yes Resolution: 0.1984mm layer height, 0.8mm shell/bottom/top thickness Infill: 10% Notes: Print profile is included in thing files Post-Printing First Glance The prints did mostly alright, but there were a few problems, especially with the claw. The last knuckle to the end of each finger failed to print entirely, but it kinda makes it look creepier. Cleaning Up It took about fifteen to twenty minutes total to clean off the pieces. The support on the mask took an x-acto knife, because it's pretty much one layer across the whole thing, because there was one small part of the mask that was lower than everything else. The claw wasn't hard to clean at all. Closer Looks I decided to get a few close-up photos of the mask and claw to show how they look in more detail. You can see where the print failures in the claw are, and overall how distorted and warped each of them look, giving them a creepy aura. Assembly and Preparation Since this is a costume, it needs some way to be attached to a person. I found the best method for this would be a pair of cheap elastic costume suspenders combined with wire and hot glue. Mask Assembly First, I took some thin steel wire (essentially a coathanger wire) and bent it into shape so it wouldn't be visible through the mouth. I originally fixed it down with electrical tape, but found that hot glue was much more effective. I drilled a hole in the suspenders, put a bolt through, wrapped the wire around the bolt and stuck it on with a nut. Then, I glued down one part of the EL wire, making it go around the horns and through the eyes and mouth. Once I was satisfied with how it looked, I cut off the rest. Electrical tape on wire Mask and suspenders Drilling the hole Hole fully drilled Nut and bolt added Hot-gluing the wire on EL wire held in place with paperclips and safety pins before glue All glued up Claw Assembly The claw didn't nearly take as much work as the mask. I just glued the wire in place around each finger, cut the excess and safety-pinned it to the suspenders. EL wire on claw Mask and claw without suspenders First lighting test Putting it all together All Finished! Overall, I'm super happy with how the project came out, and I think it's gonna look great trick-or-treating! Me wearing the costume Lights Out How I Designed This Mask MKI At the start, I wanted to just make a mask that had light-up eyes and horns to "hover" over one shoulder, which I designed in Affinity Designer, a vector editing app, and extruded into a solid in TinkerCAD. Original concept Mask designed in Affinity Designer Extruded into a solid in TinkerCAD Claw When I ordered the EL wire, I found one that had two wires on one power pack, so I decided to make another part to the costume of a claw over the other shoulder. I designed it in 123D Sculpt, then made it look more demonic and warped in Sculptris. The model had some glitches and distortions when I imported it into Sculptris, which I decided to keep because it made the claw look creepier. I've added the .obj files for each version of the claw and the .sc1 for the one edited in Sculptris. Claw designed in 123D Sculpt+ Claw edited in Sculptris Mask MKII After designing the claw, I was incredibly underwhelmed with how the mask looked, so I decided to redesign it from scratch. I used Sculptris to make a mesh then turned it into a solid with MeshMixer, resulting in a much more dimensional and creepy-looking mask. As with the claw, I kept distortions and glitches in, but removed enough so that it would print well. I've kept the .mix, .sc1 and .obj files in the thing files area, like with the claw. Mask designed in Sculptris Mask converted to solid in MeshMixer Mask MKII.5 When exporting Mask MKII to print, I noticed that it had been converted from inches to millimeters, but keeping the old inch values, making it excessively small. When going to edit it to fix scaling, I found it had hundreds of thousands of polygons, so I simplified it in MeshLabs, then got it to a proper size and rotation in 123D Design. Simplified mask in MeshLabs Mask scaled to proper size in 123D Design Materials Needed HATCHBOX 3D PLA-1KG1.75-BLK PLA 3D Printer Filament, Dimensional Accuracy +/- 0.05 mm, 1 kg Spool, 1.75 mm, Black Onite 2x 8.2ft Neon Glowing Strobing Electroluminescent EL Wire Light connect to a Battery Pack Controller for Parties, Halloween, Automotive, Advertisement Decoration (Red) Party City Black Suspenders 1/8" steel wire 1/4' nut and bolt
With this file you will be able to print Demon Over Shoulder Costume with your 3D printer. Click on the button and save the file on your computer to work, edit or customize your design. You can also find more 3D designs for printers on Demon Over Shoulder Costume.