Design a Puzzle Cube
thingiverse
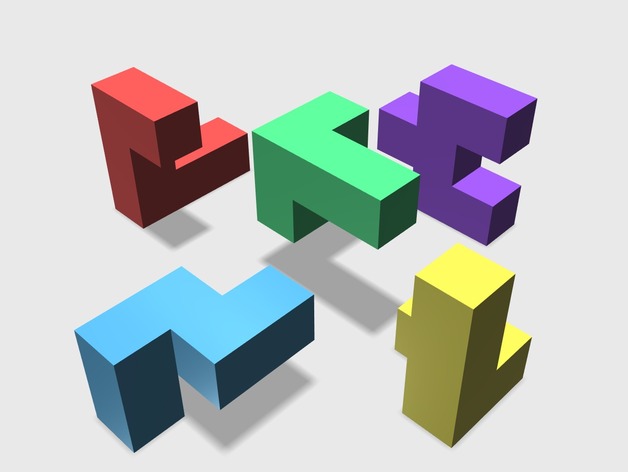
Here is how you can create a challenging puzzle cube using 123D Design. The software is free and there's also an Apple App that allows students to use it on their iPads, which every student in my school gets one to use during the school year. Attached is a PDF document with instructions that you should start by explaining what a soma or puzzle cube is. If you have one, pass around a physical example. Students might only have access to one 3D printer, so group them up and let them design the pieces. Another thing I have my students do is create a solution guide once they're finished. It's probably a good idea to chamfer or fillet the edges before printing, though you could use printing one square as an example of design principle part tolerance. I then print out the pieces and have them assemble it. Some sanding might be required to get the pieces to fit even after filing. Before I had access to a 3D printer, I bought foam or wooden cubes for my students to glue together. Then, I have my students pass the puzzle to another student or group and have them follow the solution guide to solve it. The STL file is added just as a reference, so you don't need to use it. If you want to build your own puzzle cube, try using 123D Design and create your own puzzle cube in 3D space. Here are some parameters for creating this challenging puzzle cube: You will be creating a 27-cube 3x3x3 puzzle cube. Each cube measures 10cm cubed. The puzzle system should have 5 pieces. Each piece must consist of 4 to 6 cubes, but no two pieces can have the same shape. The five pieces must make up a complete cube when assembled, with all the edges interlocking. At least four pieces should extend in each of the X, Y, and Z directions. There should be only one flat piece. Color each cube differently. When you're done, create a solution guide to your puzzle with 5 steps that add each piece until the puzzle is complete. Take screen shots and paste them into a Word document with text if the steps need clarification. Print settings can include any type of printer or rafts that you want to use, though rafts and supports aren't usually necessary. It's up to you to decide on these settings when printing the puzzle cube. Here are some parameters for creating this challenging puzzle cube in 123D Design: I used 123D Design to create this puzzle cube project for my students. Project objectives include learning spatial reasoning, understanding how to create simple blocks in 3D Design, and manipulating and moving cubes in 3D space at the end of this lesson. This project is designed for grades 6 through 12 and is a good starting point or project right after they've learned the basics of 123D Design. To prepare students for this challenge, they should be familiar with creating cubes and moving objects on all axes. If you want to teach these concepts during the lesson, you could do that as well. See attached PDF and description above for step-by-step instructions for this challenging puzzle cube project. At the end of the project, students should have a 3D-printed puzzle that they can solve using the solution guide they created in this challenging project. I use 2 grading components for assessing this lesson: * %70 is the design component that evaluates whether or not the puzzle cube meets all the challenge parameters * %30 is the documentation component, which evaluates whether or not their solution guide is clear and easy to follow, so other groups can assemble the cube.
With this file you will be able to print Design a Puzzle Cube with your 3D printer. Click on the button and save the file on your computer to work, edit or customize your design. You can also find more 3D designs for printers on Design a Puzzle Cube.