Designing a Simple 3D Printed Rubber Band Car Using Autodesk Fusion 360
myminifactory
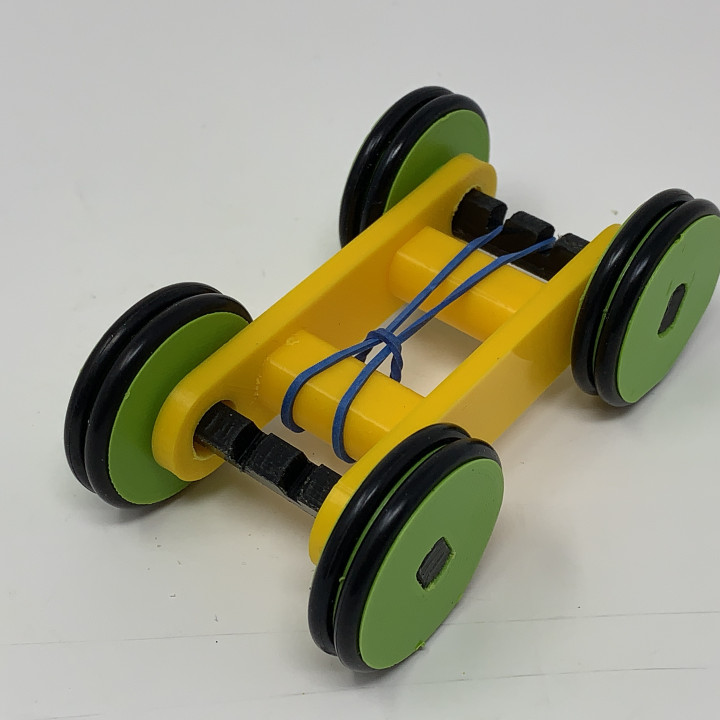
https://www.youtube.com/watch?v=jI8SxPcwOJI Designing a Simple 3D Printed Rubber Band Car using Autodesk Fusion 360 is a tutorial that shows how I designed, printed, and assembled a simple rubber band powered car for kids and grandkids. This little "pocket size" car won't win any distance or speed records, but the kids and grandkids love it for table top racing, it's quite durable, and it runs in two modes; "power" and "coast". Power mode is when the car is unwinding the rubber band from the axle. When the rubber band is completely unwound, it disconnects from the axle allowing the car to enter coast mode for additional distance. The symmetrical design of the car requires eight 3D printed parts (two chassis sides, two axles, and four wheels) yet only three unique parts (chassis, axle, and wheel), with all parts small enough to fit on most if not all 3D printers. I've included a step-by-step video of the design and assembly process, the Autodesk Fusion 360 cad file "Rubber Band Car v1.f3d" containing the design (familiarity with the Autodesk Fusion 360 environment is highly recommended), and all .STL files required to print the car. As usual, I probably forgot a file or two or who knows what else, so if you have any questions, please don't hesitate to ask as I do make plenty of mistakes. Designed using Autodesk Fusion 360, sliced using Cura 3.5.0, and printed in PLA on an Ultimaker 2+ Extended and an Ultimaker 3 Extended.
With this file you will be able to print Designing a Simple 3D Printed Rubber Band Car Using Autodesk Fusion 360 with your 3D printer. Click on the button and save the file on your computer to work, edit or customize your design. You can also find more 3D designs for printers on Designing a Simple 3D Printed Rubber Band Car Using Autodesk Fusion 360.