Desktop Drawers
prusaprinters
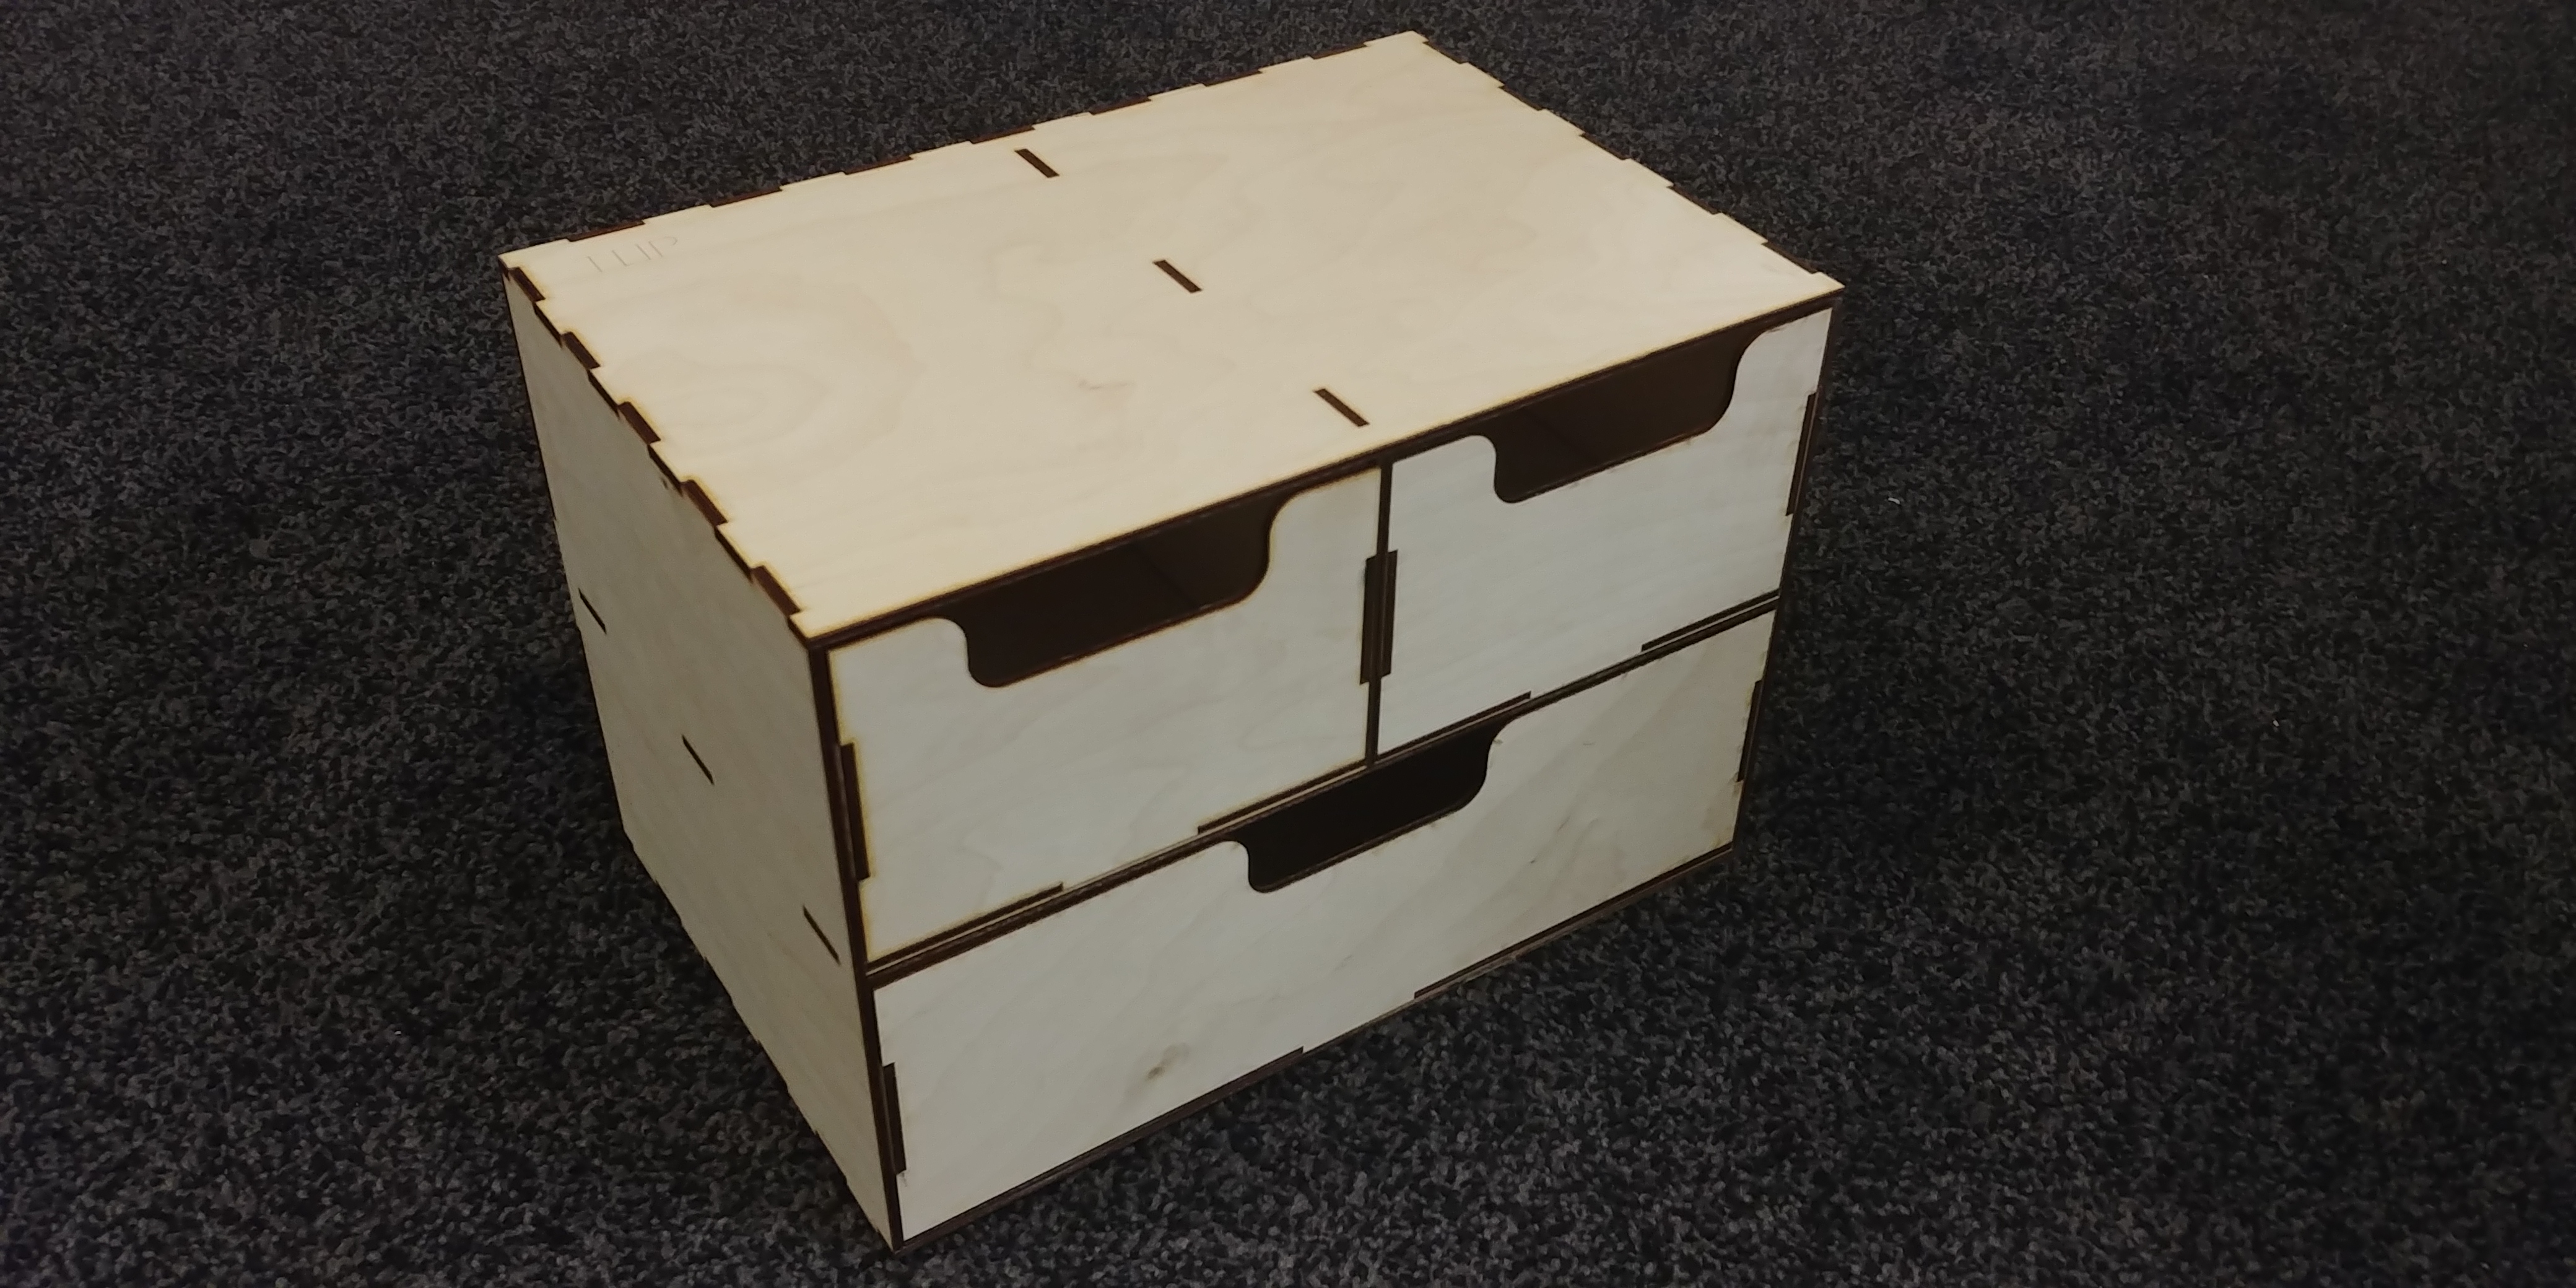
<p><strong>Material & Size:</strong><br/> 3mm Plywood</p> <p>30 x 20 x 20 - Width x Height x Depth</p> <p><strong>Fixings/Glue:</strong><br/> Woodglue, Superglue and PVA all work well. If you want to do it 'properly', woodglue is the way to go.<br/> No screws or nails required.</p> <p><strong>Cut Instructions:</strong></p> <ul> <li>Ensure all text is engraved to the surface; it can also be removed before cutting if you would prefer. The whole box can be assembled in such a way that the text is hidden (the pieces are reversible). All other lines should be cut; this includes the vent holes on the back panel (used to prevent a vacuum when sliding the drawers in and out.</li> <li>The .DXF file has all the pieces needed for a full set of drawers. You will see some of them are duplicated such as the drawer side pieces as they are all the same.<br/> <strong>Assembly Instructions:</strong><br/> Assembly should be easy, you can assemble the drawers in any order. However, when assembling the main body, you should assemble it in the following order:<br/> 1 - Glue the separator to the middle shelf.<br/> 2 - Glue the top panel to the other side of the separator, ensuring that the middle shelf and top panel sit perpendicular to the separator. Ensure that the flat face of the middle shelf is parallel with the flat face of the top panel, this will be the front of the main body.<br/> 3 - Glue the right and left side panels to the current assembly, ensuring the flat faces sit parallel with the flat faces of the middle shelf and top panel.<br/> 4 - Glue the base on to the right and left panels, once again ensuring that the flat face sits parallel with the other flat faces.<br/> 5 - Glue the back panel on to the rest of the assembly ensuring the tabs sit flush.</li> </ul> <p><strong>Notes:</strong></p> <ul> <li>Once assembly is finished, ensure any glue is wiped away on the inside of the assembly to ensure smooth action with the drawers.</li> <li>Any rigid 3mm thick material can be used for the drawers, including acrylic. This will of course affect the fixing methods used (glue vs solvents).</li> <li>The files above are slightly modified to the ones you see in the pictures, but the sizes are all the same. The only changes are different handle shapes and vent holes in the back.</li> </ul> <h3>Print instructions</h3><p>30/10/18 - Updated the file with adjusted back vent positions and text positioning</p>
With this file you will be able to print Desktop Drawers with your 3D printer. Click on the button and save the file on your computer to work, edit or customize your design. You can also find more 3D designs for printers on Desktop Drawers.