Desktop Mini Ball Valve
prusaprinters
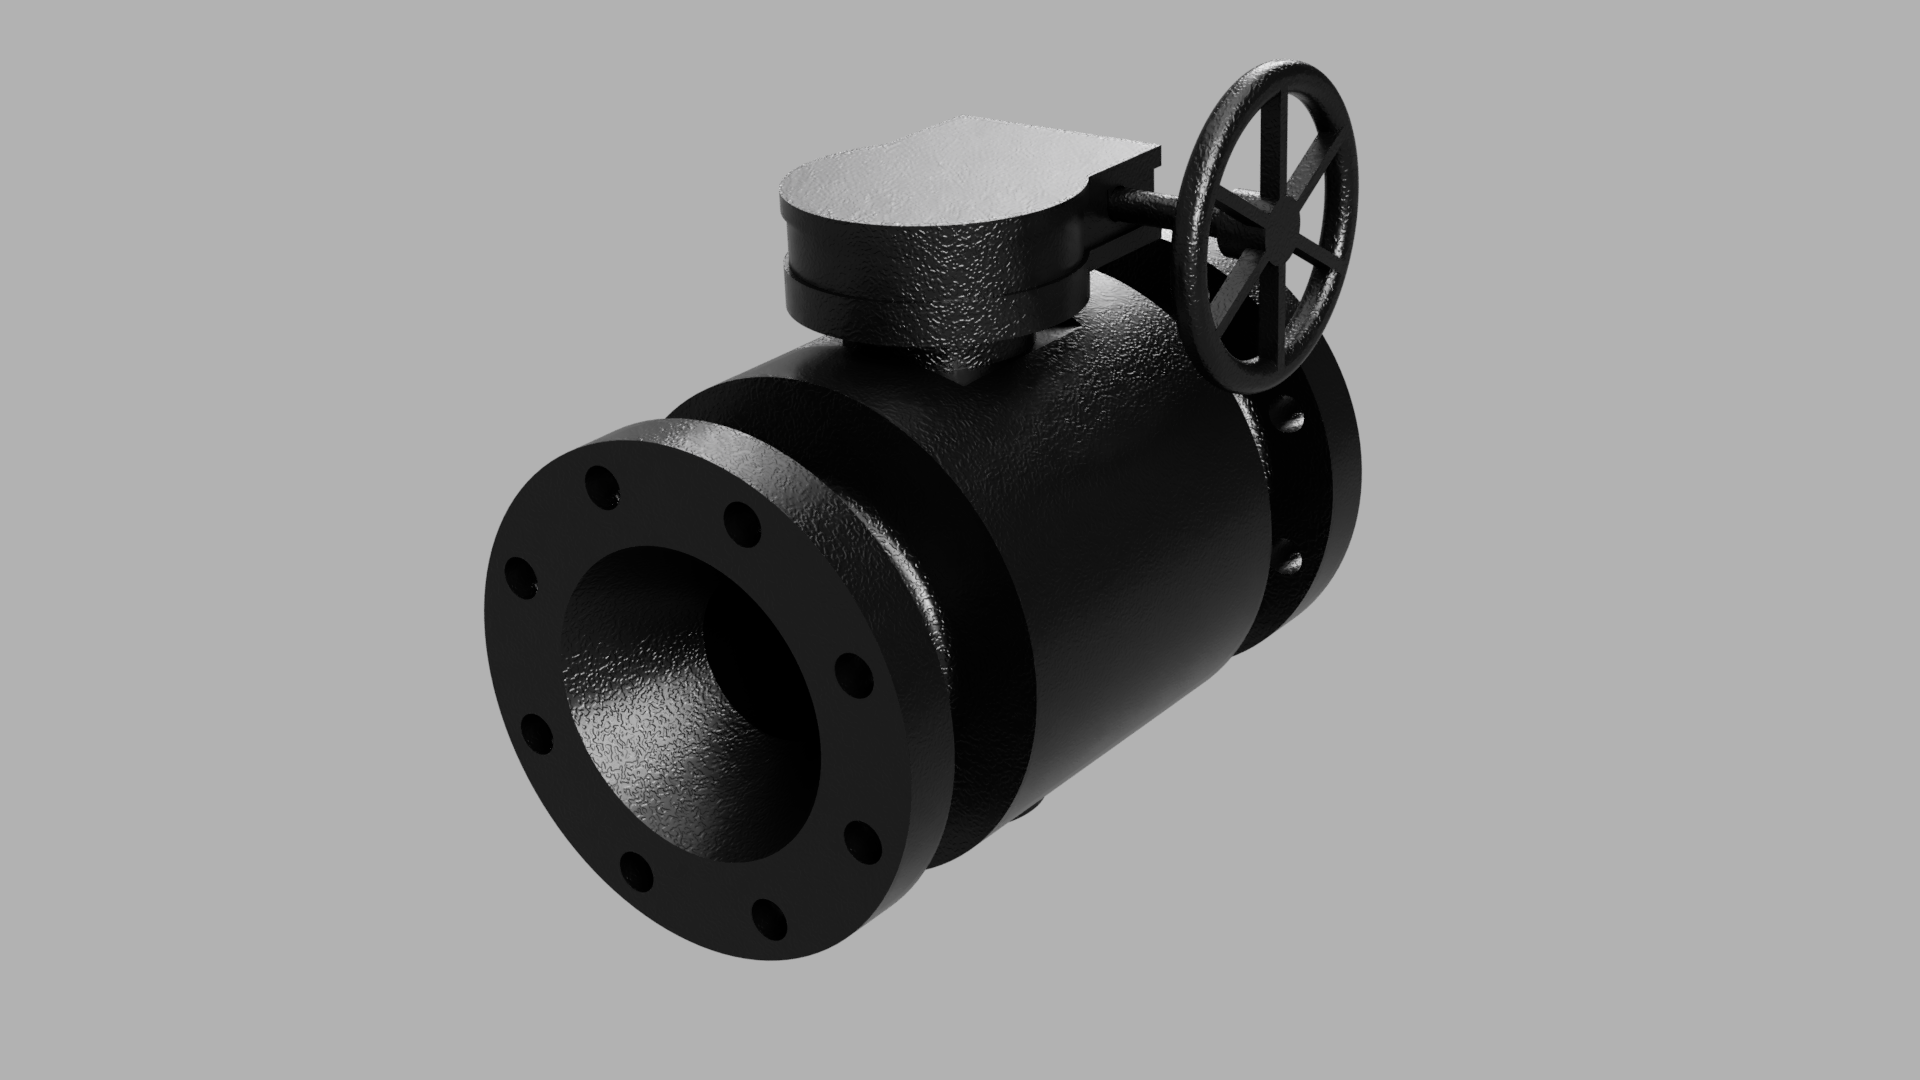
<h3>Description</h3><p>This is a simple desktop mini for a trunnion mounted ball valve. General design is fairly faithful to how an actual ball valve functions with obvious exceptions to allow for easier printability and assembly. All assembly is completed through threaded connections which are 3D printed or press fit (in the case of the gearbox).</p><h3>Gearbox</h3><p>The gearbox actually works! Try it yourself. Please note, however, that this is a small model, so these parts are fairly weak and may break if you introduce to much torque into the gearbox. Not much force should be required to turn the handwheel. If excess force is required, it is likely a clashing component causing the problem. </p><h3>Print Instructions</h3><p>Due to the assembly being made of decently fine details the recommended print settings are:</p><ul><li>0.2mm layer height to ensure usable thread tolerances (larger may be possible).</li><li>3 perimeters minimum to ensure adequate thread strength.</li><li>Maximum 8mm infill gap for larger components.</li><li>3 top layers is recommended to ensure highest quality visual surfaces.</li></ul><p>DO A THREAD TEST PRINT - I've designed these components to thread together smoothly and tightly when printed on my setup. Not all printers are the same so it's worth your time to print two threaded components and ensure they fit correctly prior to committing to the full project.</p><p>Supports will be needed for the following components:</p><ul><li>Bonnet (Orient threads in the positive z direction).</li><li>Adaptor (if printing the 1 piece version).</li><li>Gearbox Body (Orient dowels towards the negative z direction).</li></ul><p>I have uploaded two versions of the adaptor, a 1 piece and a 2 piece version. The 1 piece version can be printed quicker, but requires supports. The 2 piece version takes longer, but doesn't need supports.</p><h3>Assembly</h3><p>Basic assembly can be determined from the exploded view in the photos. Ball should be inserted into the body before the trunnion is screwed in, and stem should be inserted into the bonnet before it is screwed in. Ensure the stem is aligned and engaging with the ball before you screw down the bonnet or you may end up crushing the ball. All other parts fit together fairly intuitively. Gearbox is laid on top of the bonnet with four dowels stopping the gearbox from rotating. You may want to tighten the trunnion connection a bit extra to ensure it doesn't rotate when the gearbox is operated. <strong>DO NOT OVER TIGHTEN THREADED CONNECTIONS.</strong></p><h3>Attribution</h3><p>Please print and re-mix this model as much as you want. Please do not use this model for commercial use.</p>
With this file you will be able to print Desktop Mini Ball Valve with your 3D printer. Click on the button and save the file on your computer to work, edit or customize your design. You can also find more 3D designs for printers on Desktop Mini Ball Valve.