Destiny 2 Seal/Pin Holder - Modular, Magnetic
thingiverse
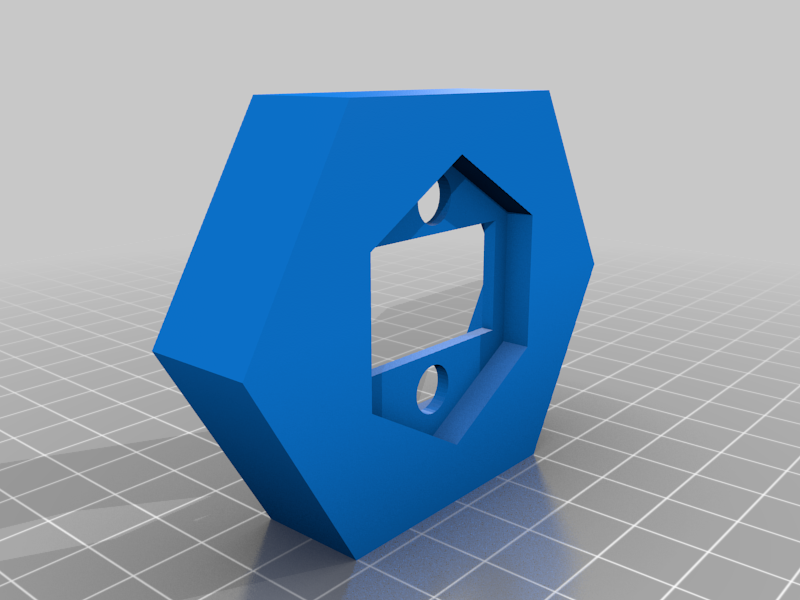
So after collecting a bunch of the Destiny 2 titles and buying the medallions, I wanted a way to display them in a neat but modular format. This allows me to change things around if I desire and also makes it easy to add new medallions as I purchase them. The main modules are “Destiny2_Seal_Holder” and “Destiny2_Seal_Holder_RectPinHole”. These are to mount your standard ‘Title’ medallions (Fatebreaker, Worthy, Reaper, etc.). The only difference is that the RectPinHole has a rectangular hole for the pins to pass through; doesn't look quite as nice to my eyes but I've had occasional issues with the rounded pin holes on my printer. They may work better with more tuning. There's also a “Destiny2_GG_Seal_Holder” for the 2020 Guardian Games pin. I didn't purchase the 2021 Guardian Games pin so unsure if it'll work with that one, although the shape looks the same. Nothing for the 2022 Guardian Games pin as I didn't purchase that one either. As of December 2022, I received my Witch Queen Legendary Campaign and Vow of the Disciple pins so have created holders for them as well. I didn't purchase the Duality (Thoughtstealer) pin so don't have one for the dungeon pins. I will be purchasing the Spire of the Watcher one but let's be honest, that's going to take a bit to arrive. (Please ignore the surface passes, I need to do some more tweaking over the holidays.) <b>EDIT AS OF 2023-04-01 (Not an April Fool's prank)</b> - I received my King's Fall raid pin the other week and it turns out it was <i>just bigger</i> than the Vow of the Disciple raid pin, so I had to go in and tweak the holder for the larger size. The Vow pin fits easily into the King's Fall holder but there's a lot of slop, so as of right now, these pins each have their specific sizes. We'll have to wait and see how the ones next year turn out! For mounting the holders, I have created two templates that match the hole pattern on the back of the seal holders. The two holes at the top are slightly smaller than the holes at the bottom and middle. The one template has a little ledge at the top for placing a level to make sure the initial mounted holder is level. Once the first holder is mounted, the template without the level ledge can be used to mark out the install locations for the next holder(s). For my display on the wall, the three middle holders (Realmwalker - purple, Guardian Games, Chosen - bottom blue) have nails to hold the middle of the display up. The rest of the holders are secured to them via the rare earth magnets mounted inside. The rare earth magnets I've used are ¼" diameter by 1/10" thickness from Lee Valley (available here: https://www.leevalley.com/en-ca/shop/hardware/rare-earth-magnets/magnets/disc/32065-rare-earth-circular-magnets?item=99K3101). They tend to be a friction/press fit in the holes but can be a little loose occasionally, so I usually just throw some super glue in there to secure them. I chose these as they weren't too large so the holders didn't stick out from the wall too much but still provide plenty of strength for securing additional holders to each other. To install the magnets, take your first holder and install the magnets whichever way you choose. Doesn't need to be specific for pole orientation. Once the magnets are installed in the first one, I tend to place the magnets for the next one on the outside of my completed ‘magnet template’ and then just move the 2nd holder around the first, installing them in their current orientation in the holes that match up. See the below photo for numbered holes on two holders (match the numbers on each holder). If you install the magnets properly, then you can secure the holders together in whichever (upright) orientation you want. If you install a magnet backwards… good luck on getting it out? If it was a little loose going in you may be able to just knock it out of the hole by knocking the holder on a solid surface. Included in the photos, I've got a few samples of my old layout on the wall, a couple different examples laying flat on my desk, and then my ‘new’ layout on the wall again (updated on 2022-12-12 to add the campaign and raid pins). <b><i>Print Info</i></b> I've had no issues printing these on my Prusa Mini, all done with various brands of PLA. I've done everything from 20% infill (overkill), but you can easily drop to 5% if you want. I've also recently done a couple with 4 perimeter walls instead of the standard 2 and am not quite sure which one I like better. The Legendary Campaign and Raid pin holders were printed with 3 perimeters each. When printing, I print with the display face on the build plate to get a nice smooth finish (or textured depending on your print sheet - the black one on the desk, and the purple one on the wall were both printed on the Prusa Mini textured sheet) for a pleasant presentation. I also print with supports which fills up the pin recess but it doesn't matter if that surface isn't as nice as the pin itself covers it up. <b>Side note related to the pins and not the 3d print</b> I highly recommend spray painting the pins with black and then cleaning off the raised areas. It really makes the pins ‘pop’ more. Can find directions on YouTube and Destiny subreddits if you search.
With this file you will be able to print Destiny 2 Seal/Pin Holder - Modular, Magnetic with your 3D printer. Click on the button and save the file on your computer to work, edit or customize your design. You can also find more 3D designs for printers on Destiny 2 Seal/Pin Holder - Modular, Magnetic.