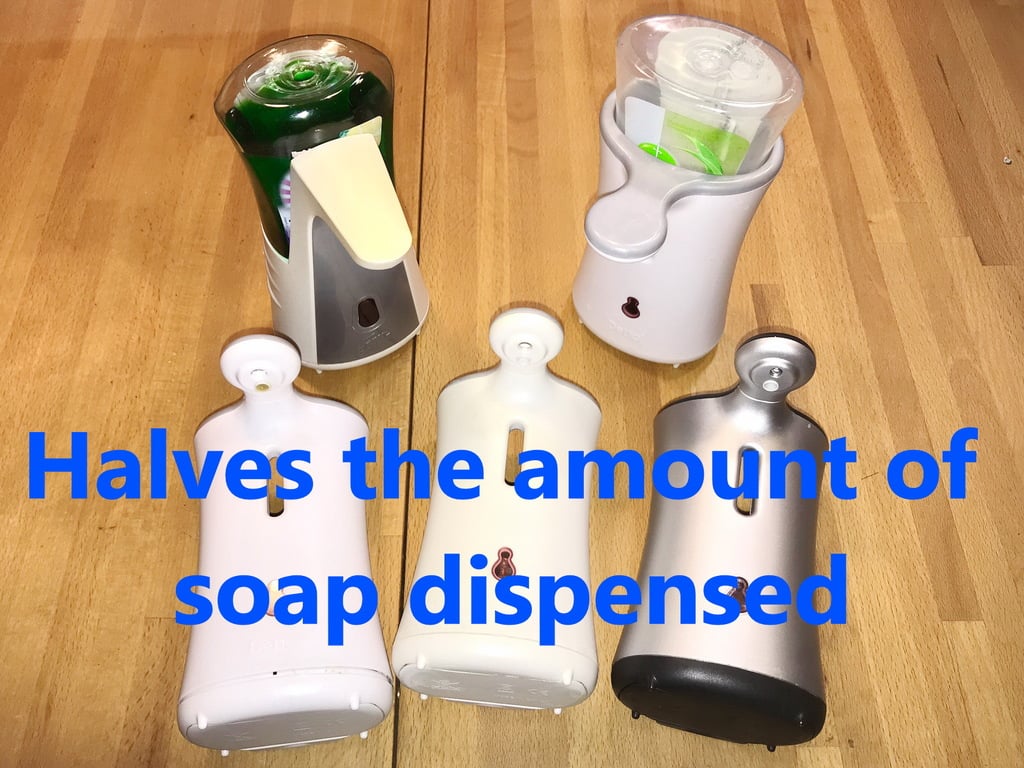
Dettol / Sacrotan Soap Saver (Modified Gear)
thingiverse
Hi ! Hand washing, which is essential in these difficult times and these automatic soap dispensers, Dettol or Sacrotan brand, are very practical... Another brand is Cillit Bang using the same internal pump. Have you ever noticed that these dispensers deliver much too much soap than what is necessary, so you have to buy refills more often. This is the economic model of these products, offer you a dispenser at cost price and win on the price of refills, a little like printers and their cartridges, automatic home deodorants, etc... In these times of scarcity where it can be dangerous to go out often to shop... Half of soap is more than enough -> saving soap will be important to keep his hands more often clean... Tools needed : Dremel, Soldering iron, sand paper, grease lube, cutter On FDM or FFF printer The parts (in two parts) must be printed with the hub 2 faces upwards, with supports. The important thing is that the side with the eccentric hub 2 is perfectly smooth, without any support marks. On SLA or DLP printer The complete two-piece set must be printed in one time with the hub 2 upwards at 45° for example. (see picture) You should use "Blu" It's a strong and precise High Resolution 3D Printing Resin by Siraya Tech (Blue) The important thing is that the face with the eccentric hub 2 is perfectly smooth, without any support marks, the key must be smoothed by means of a dremel to provide a part with a perfectly visible groove (see photo). The little axis must be able to run freely inside the new gear, enlarge a little bit the hole may be useful...(picture) Opening : Remove batteries and the 3 screws. Insert a blade in the space between the two upper part of the dispenser (near soap output and led assembly), Remove the internal plastic housing inpect the position of the wires and the soap tube remove the external housing. desold the 3 wires remove the pump assembly remove the 4 screws of the pump The pump must be modified to remove the intermediate panel (red/yellow rectangle following the photo), it is important to leave the plastic amount necessary to properly maintain the micro switch, to do this, the panel must be cut at 45° at this point following the purple profile on the photo. The cam must be polished with sandpaper to remove any trace of support (photo), the shaft must be redrilled with a dremel so that the original small shaft can be inserted very easily in the shaft hole. Before re-inserting the new gear, it is good to disassemble the cylinder part and to clean the whole, (remove all traces of dried soap) then grease the piston with Vaseline or standard grease. (see picture) clean also the lens in front of the led (orange/green wires) Re-mount the piston-cylinder assembly and insert the new gear, checking that the new part rotates properly. If you hold the assembly facing you, with the new gear on the left and the switch on the right, the gear turns counter-clockwise. the cam must push the switch blade correctly, the piston moves up and down correctly. Put the last long original gear back in place (the one between the new gear and the motor), put grease everywhere. Close the housing. it is now time to test the assembly with a small 4.5v power supply. put the led in front of the receiver (window) and remove it briefly and then put it back in front, the pump must work only once. If the pump work twice or more, the junction between the Gear and the Cam is broken. You may use "Assemblage 2mm Solid State", on this single part, the gear and the cam are in a single piece and the shaft is replaced by a more resistant junction. In this case you need to enlarge the space by removing totally the plastic (between the gear and the cam) of the housing On 8 modified devices, I had a failure when trying it with the power supply, the resin part was not strong enough and the gear axis broke, it had as symptom to give two or three doses of soap instead of one, in fact the micro switch remained activated (or not), in any case it was not activated anymore by the cam since it was broken. Reassembly must be done easily: put the pump unit back in place, solder the wires, make sure to reposition the small switch and its plastic cover. re insert the external box, replace the wires correctly and the led as on the picture, screw the screws back in as on the picture using gravity, they will slide by themselves in their places, it will just be necessary to screw them. I hope you will be happy with this little modification and your hands will be clean for much longer time ;) Please a little like and a picture of your realization or assembly will always be a pleasure.
With this file you will be able to print Dettol / Sacrotan Soap Saver (Modified Gear) with your 3D printer. Click on the button and save the file on your computer to work, edit or customize your design. You can also find more 3D designs for printers on Dettol / Sacrotan Soap Saver (Modified Gear).
