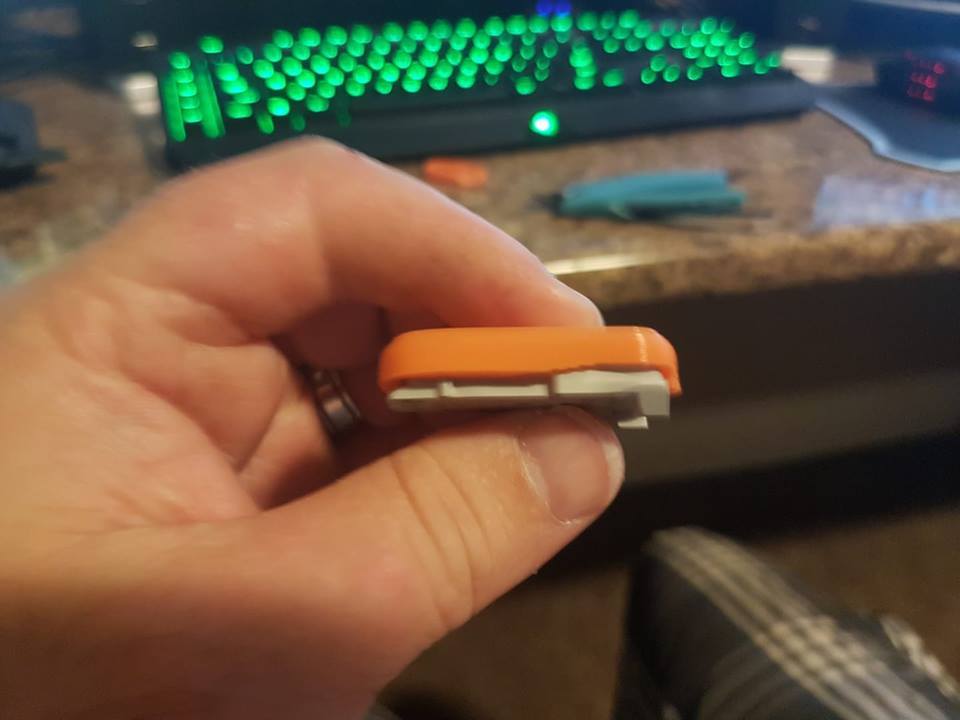
Dexcom G4 / G5 Battery Cap for original and LR44/357 size batteries
thingiverse
For many people using the Dexcom G4/G5 CGM, the cost is a serious burden. This battery cap allows you to safely replace the batteries and reuse the transmitter. The battery cap is designed to be used on a transmitter that has been modified using a belt sander. sand down the transmitter casing until both battery tops have been completely exposed (removal of the top battery tab is fine. pry batteries out carefully and be cautious not to break the welded battery tab under the battery in the process. It will need to be pried off of the battery using a razor blade or some other similar tool. Once removed, expose the verticat portion of the top tabs by chipping away the sidewall where they exit from the plastic on the top where we ground away. once done, carefully fold the corners of the vertical tab inwards so as to make contact with the side of the new battery casing. Insert new batteries (original size or LR44 (NiMh) or 357 (silver oxide - reccomended) and fit cap onto transmitter by hooking the front portion in and pressing the rear section firmly into place. This will require quite a bit of force. You can add a sealant under the cap to ensure watertight operation although as it has been modified there is no absolute guarantee and I reccomend simply removing the transmitter for activities where it may become wet. once batteries are replaced, test the voltage accross the 2 small metallic terminals in the bottom - it should test at 0.02v. Bind the transmitter and continue on forever! ALL DONE!
With this file you will be able to print Dexcom G4 / G5 Battery Cap for original and LR44/357 size batteries with your 3D printer. Click on the button and save the file on your computer to work, edit or customize your design. You can also find more 3D designs for printers on Dexcom G4 / G5 Battery Cap for original and LR44/357 size batteries.