Dial Indicator mount for Rep 2
thingiverse
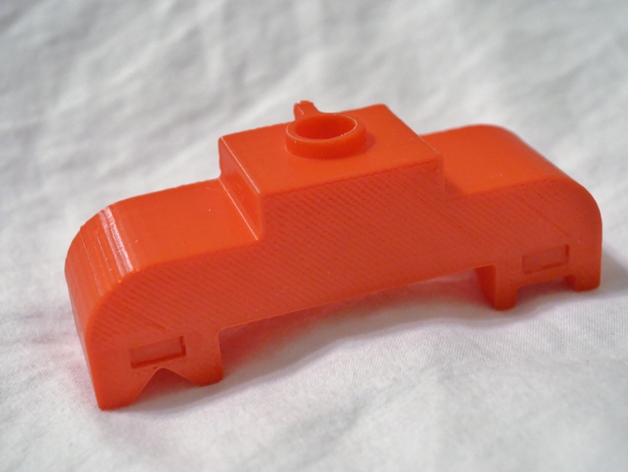
Recently, I revamped my printer's leveler design and uploaded a new version. During my move, I lost the original printout and decided to make some improvements. The changes include moving magnet holes closer to the base for a firmer grip on the gantry, enlarging caps to fit better in the holes, and altering the appearance as I wasn't fond of its boxiness. Although many similar levelers exist, mine was specifically designed for the dial indicator from this link: http://www.harborfreight.com/1-inch-travel-machinists-dial-indicator-623.html. To assemble, place two small .25" magnets in the tiny slots and attach caps on the backside, securing everything with glue for a stable mount on the gantry. This improved leveling setup has made my life much easier. For printing instructions, use PLA at 2mm thickness with 10% infill, no supports are needed. While running your regular leveling script, adjust the head over one spring and mark the level point using a dial indicator. After exiting the script, move the gantry to other screw/spring levelers and ensure they align with the same marked level point on the dial indicator for accurate bed leveling. This method also helps in identifying any issues with your stock acrylic bed.
With this file you will be able to print Dial Indicator mount for Rep 2 with your 3D printer. Click on the button and save the file on your computer to work, edit or customize your design. You can also find more 3D designs for printers on Dial Indicator mount for Rep 2.