Dial Indicator Replicator 2X
thingiverse
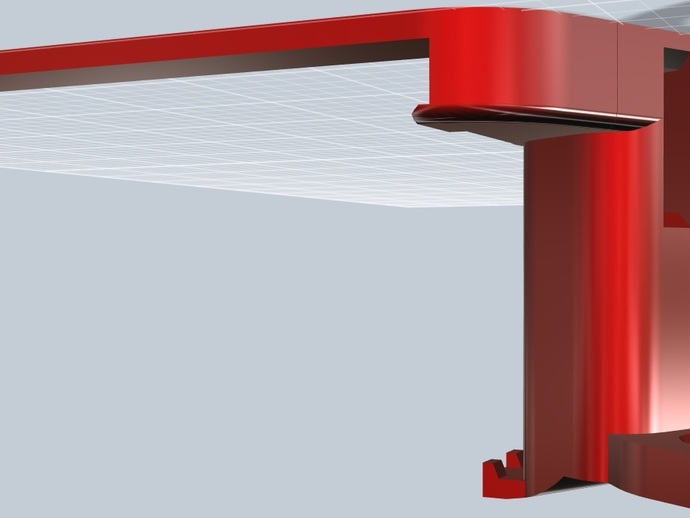
This tool is specifically designed for use with a Dial Indicator on a Replicator 2x printer. To utilize it, start the leveling script from the replicator's menu and cancel it after the first position. Next, raise the build plate and measure it using the dial indicator while ensuring proper calibration at your desired height - for instance, 0.1mm. Zero the dial indicator once it's positioned correctly. Now that it's calibrated, you can proceed to use the Jog function in the menu and move the indicator all around the build plate's positions with screws as reference points. Repeat this process a few times for accuracy. If mirroring your object, place it on the opposite side since the STL is designed for the right side of the extruder/nozzle. The part was created using 123D Design software, featuring 4 or more shells and low infill percentage. The arm that goes over the fan requires extra attention due to its critical nature; having more shells increases rigidity and prevents breakage. Printing with 10% infill and 4 shells is recommended, and support use is necessary. Recently, a version 2 of this tool was developed, featuring a smaller gap in the lower clip for better hooking into the carriage.
With this file you will be able to print Dial Indicator Replicator 2X with your 3D printer. Click on the button and save the file on your computer to work, edit or customize your design. You can also find more 3D designs for printers on Dial Indicator Replicator 2X.