Diamond Hotend Mounting With Extra Attach Points
thingiverse
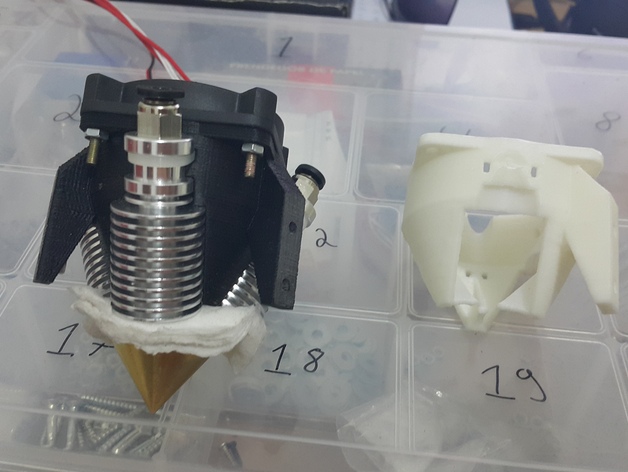
Remixed: Moved blower attach block away from screw path, now one can use nut to mount something else, like LED PCB, under top fan. Added secondary attach point for future height probe. Print Settings Printer Brand: RepRap Printer: Prusa i3 Improved for Lasercut Rafts: Yes Supports: No Resolution: 0.2 Infill: 50% Notes: Printed in black ABS at 230 degrees celsius, used 4 raft layers, 10mm brim, hairspray, heated bed to 110 degrees, and "build chamber" for extra adhesion. Post-Printing Removed bulk raft by peeling. Taped sandpaper to flat surface. Sanded away remaining raft, leaving top fan mount flat. Sanded all mounting surfaces flat (blower, probe, back mounting plate). Inserted six trapped nuts BEFORE mounting hotend. Used zip-ties to hold back of top fan, but screws to hold front. Intent is to mount LED lighting PCB there later. Future is now available.The white parts in the pictures are from original thing, check "Remixed From" link. Plan is to change them by: Move fan support plate mount holes to correct position. Add clearance between mounting plate and fan, so it can accommodate M3x8 screw heads under fan, and remove washers. Clear neck-down where fan nozzle attaches to fan. It gets really narrow there, while haven't tested yet, believe it would reduce airflow. Plan is to make it thin wall (
With this file you will be able to print Diamond Hotend Mounting With Extra Attach Points with your 3D printer. Click on the button and save the file on your computer to work, edit or customize your design. You can also find more 3D designs for printers on Diamond Hotend Mounting With Extra Attach Points.