Digital clock - added extra button
thingiverse
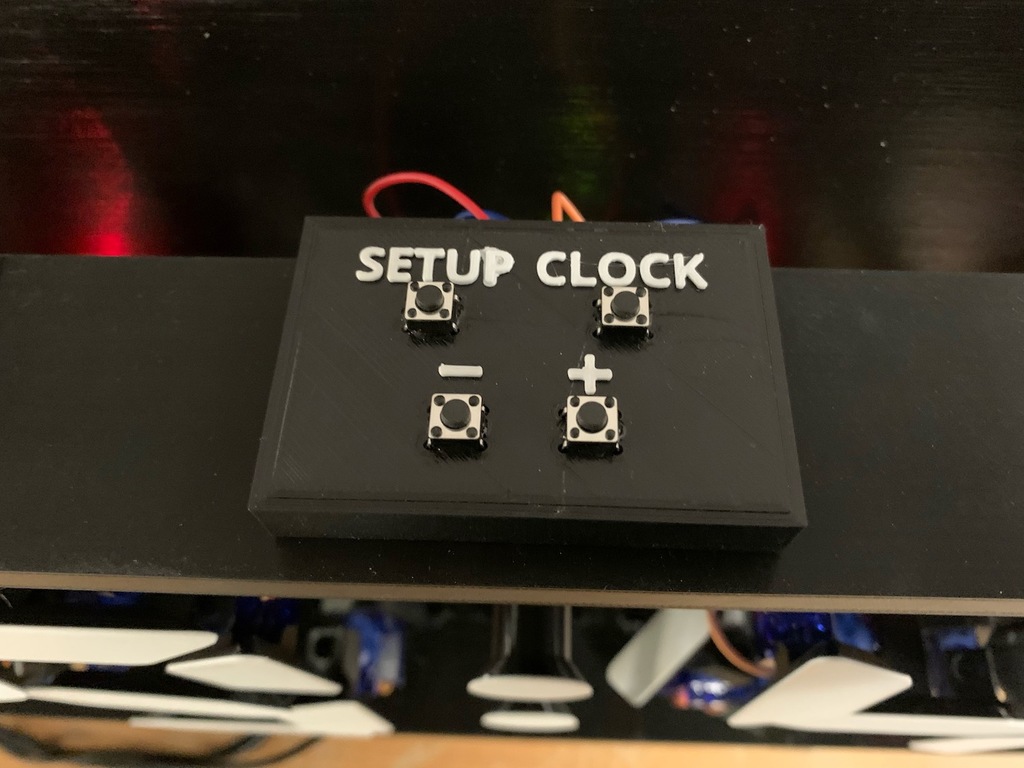
I made a few changes to the excellent Arduino based digital clock version by Stork15. First, I wanted the ability to change the "on" and "off" servo positions of each of the segments, so I added a SETUP button. When you go in to setup mode, it cycles through the on and off positions for each segment of the clock and you use the + and - buttons to set the correct positions. When you are done, the values are stored in the Arduino's EEPROM so they are there each time the clock is plugged in. I added my code here. It's not the world's greatest or cleanest coding job ever!! I added a picture of the way I wired my buttons together. If you use the standard size buttons, you can print the face plate and case they go in. I soldered everything together on the back of the PLA circuit board. Shockingly, it worked and didn't melt the print. This is the web site I used to figure out how to wire all the buttons to a single analog pin on the Arduino. https://www.the-diy-life.com/multiple-push-buttons-on-one-arduino-input/ This is a remix from https://www.thingiverse.com/thing:3375870
With this file you will be able to print Digital clock - added extra button with your 3D printer. Click on the button and save the file on your computer to work, edit or customize your design. You can also find more 3D designs for printers on Digital clock - added extra button.