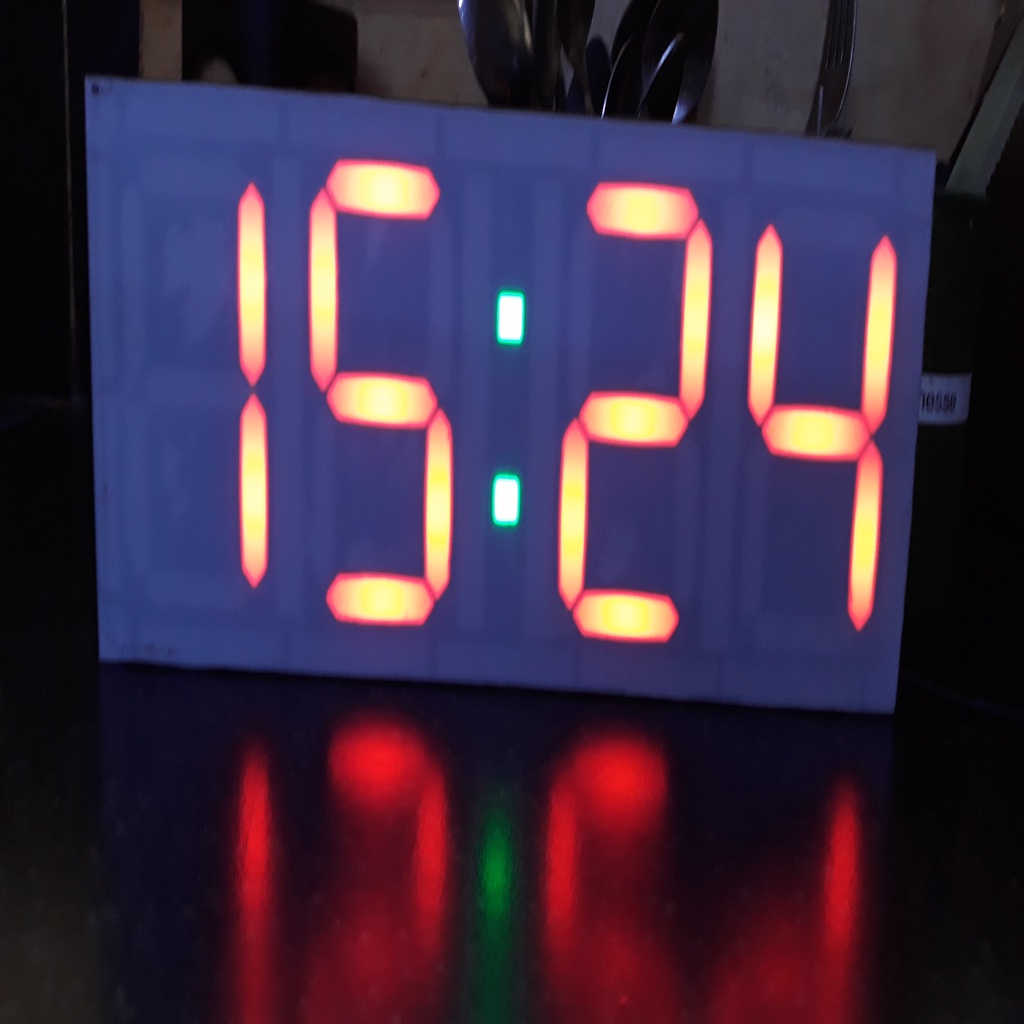
Digital Clock
thingiverse
Before you plug anything in, hook up the Buck converter (LM2596S) to a 12v power source and set the output voltage precisely to 5.0 volts. Print the face.stl file in white at 0.15 layer thickness. The rest can be printed at 0.2 layer height. Make sure when you attach the LEDs to the plate that their directions align with the layout. I've used solid wire for connecting the LEDs together with the printed plate (led_plate_x_4). The clock dims as it gets darker, so the light won't bother you at night but is still bright enough to read the time. There are two push buttons to set the hours and minutes. The software for the Uno is "corrie_clock.tex". Open this file in Notepad, copy and paste it into the Arduino programmer. Have fun!
With this file you will be able to print Digital Clock with your 3D printer. Click on the button and save the file on your computer to work, edit or customize your design. You can also find more 3D designs for printers on Digital Clock.