Dilbert
prusaprinters
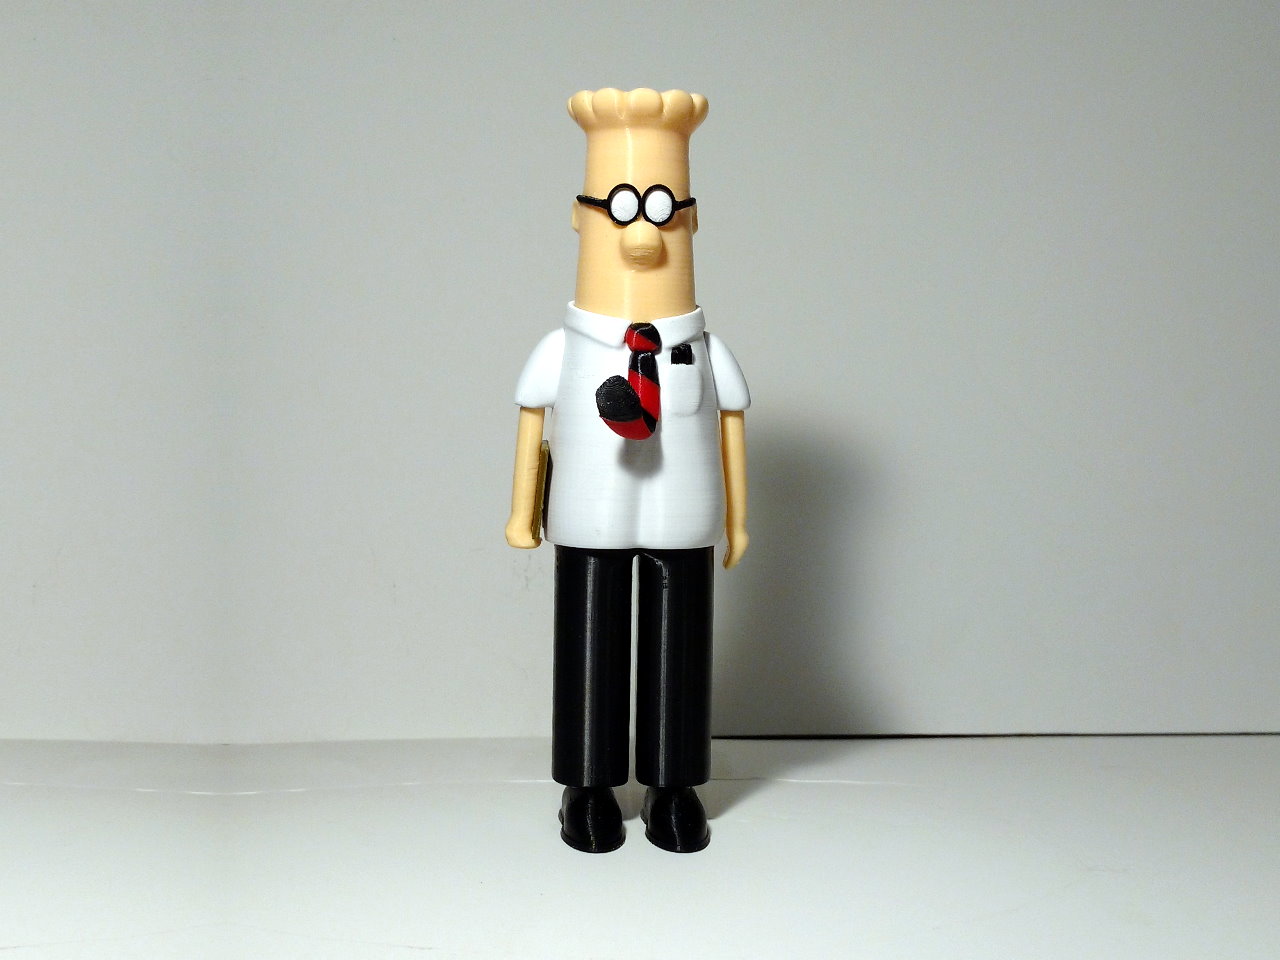
<p>Dilbert, from the comic strip 'Dilbert' by Scott Adams.</p> <p>If you have not experienced the profound wisdom that Scott Adams voices through Dilbert, then I highly suggest that you check out his comic strip.</p> <p>No supports are required. If you have the right filament colors, no painting is needed.</p> <p>The completed model is 225mm tall after assembly.</p> <p>Enjoy!</p> <h3>Print instructions</h3><p>Rafts: Doesn't Matter<br/> Supports: No<br/> Resolution: .2mm<br/> Infill: 10%</p> <p>Notes:<br/> See below for some printing tips.</p> <hr/> <p>Building the model<br/> Colors and multiple printed pieces</p> <p>Following are the colors that I used and notes if pieces are to be printed multiple times.<br/> ..<br/> Skin/Beige:<br/> head<br/> arm_left<br/> arm_right<br/> ..<br/> White:<br/> socks (2 copies)<br/> sleeve_right<br/> sleeve_left<br/> shirt<br/> eye_right<br/> eye_left<br/> ..<br/> Black:<br/> shoes (2 copies)<br/> pants<br/> glasses<br/> pens<br/> tie_a<br/> tie_c<br/> tie_e<br/> tie_g<br/> ..<br/> Red<br/> tie_b<br/> tie_d<br/> tie_f<br/> ..<br/> Gold<br/> folder<br/> ..<br/> Any color (hidden connector)<br/> bump (2 copies)</p> <hr/> <p>Printing and assembly tips</p> <p>Printing Tips:<br/> 1-The glasses were designed to be printed with 2 shells (.4mm nozzle). Other settings should work, but I find for small pieces two shells helps ensure a good print.<br/> ..<br/> 2-Since the tie is made up of smallish pieces, people with 'fat fingers', like myself, might make a mess when gluing the pieces of the tie together. I decided (based on my wife's suggestion) to include a small hole through all the tie pieces to help in positioning them while gluing. I pushed a piece of 1.75mm filament slightly into one piece and cut it short so that 2mm or so stuck out. The next piece can then be pushed onto this and the two pieces will stay together while gluing. Continue this process for the rest of the tie pieces, if needed.<br/> ..<br/> Assembly tips<br/> -The diagram jn the pictures section will help in assembling the model.<br/> -The model is meant to be glued together.<br/> -Assembling the model is straight forward. Just be sure to glue all of the tie pieces together to create the full tie separately. I suggest attaching the completed tie to the rest of the model as the last step.</p>
With this file you will be able to print Dilbert with your 3D printer. Click on the button and save the file on your computer to work, edit or customize your design. You can also find more 3D designs for printers on Dilbert.