DIN 35 Rail for Ultimaker 2
thingiverse
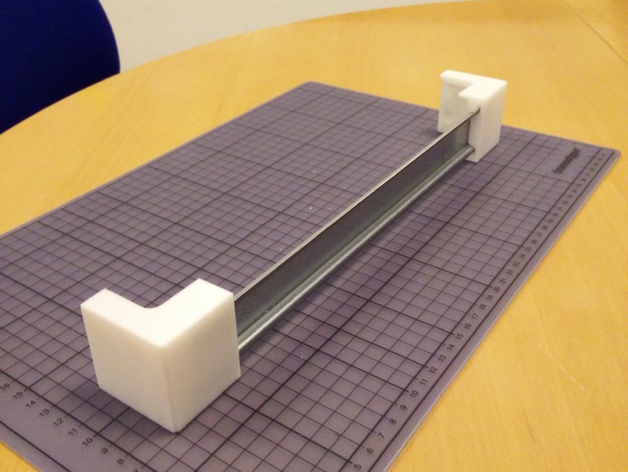
A simple way of mounting a DIN 35 rail to the Ultimaker 2 Instructions To make this rail you will need a piece of DIN 35. Simply print both corners, no support required. The DIN 35 rail snaps right in to the printed parts. For a more permanent and stronger attachment add glue to the printed parts before inserting the rail. If it proves to be useful to people then I will start working on models that makes it possible to attach rails to all sides of the Ultimaker 2 in any combination.
With this file you will be able to print DIN 35 Rail for Ultimaker 2 with your 3D printer. Click on the button and save the file on your computer to work, edit or customize your design. You can also find more 3D designs for printers on DIN 35 Rail for Ultimaker 2.