DIN-35 Relay Board Mount
thingiverse
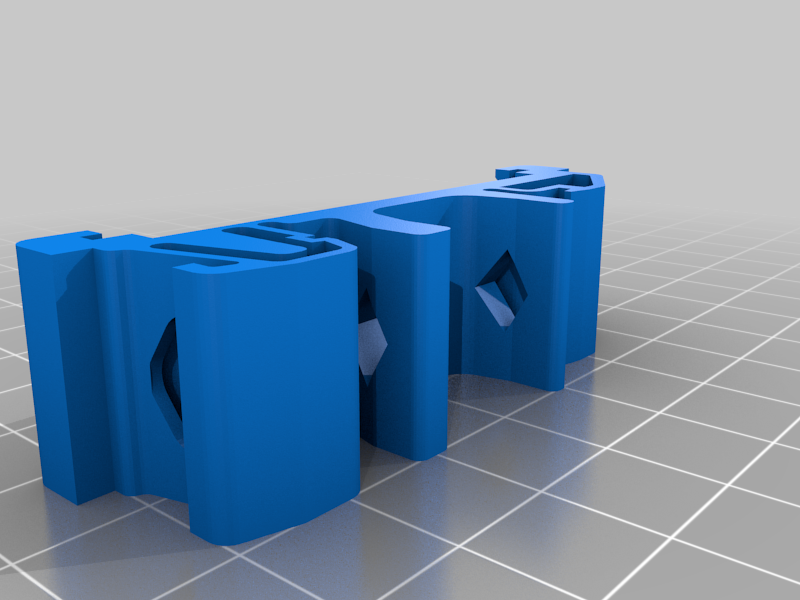
I made this DIN-35 rail mount for the relay modules I prefer use on my automation and IOT projects: https://www.amazon.com/Relay-Module-Channel-Opto-Isolated-Trigger/dp/B09G6H7JDT/ref=sr_1_4?keywords=5v+relay&qid=1656290200&sr=8-4 ***Printing*** The 'dinRelay.stl' file fits the 51.5x26 relay I like. I also uploaded one that fits a 57x17 relay. No supports are needed and most rigid filaments will work (PLA, PETG, ABS... pay attention to how hot it might get). As always, use common sense and do what you know works well for your setup. I printed in ABS, using an 0.4mm nozzle, 2x0.45mm walls, 40% infill, 0.3mm layer thickness, no supports, 8-lines of brim, over 105C PVA coated borosilicate glass, inside a 48C controlled temp chamber. Those with uncommonly large nozzles should beware, the stl has areas with ~0.9mm wall thickness. ***Assembly*** The relay PCB slides in with a secure friction fit. There is a 1mm thick sidewall on one side that secures the board and provides insulation between adjacent devices. This way you can slide them right up against each other for a clean/compact look. There are 2 holes that fit short M3 bolts for more secure mounting. I found that bolts are not necessary, but the option is there if you need it. After sliding in the relay, the mount snaps onto a common DIN-35 rail like any other din device. Similarly, it is easily removed from the rail by prying on the center of the tab with a flathead screwdriver.
With this file you will be able to print DIN-35 Relay Board Mount with your 3D printer. Click on the button and save the file on your computer to work, edit or customize your design. You can also find more 3D designs for printers on DIN-35 Relay Board Mount.