Dino-Clip with printed snap-together axles - REMIX
prusaprinters
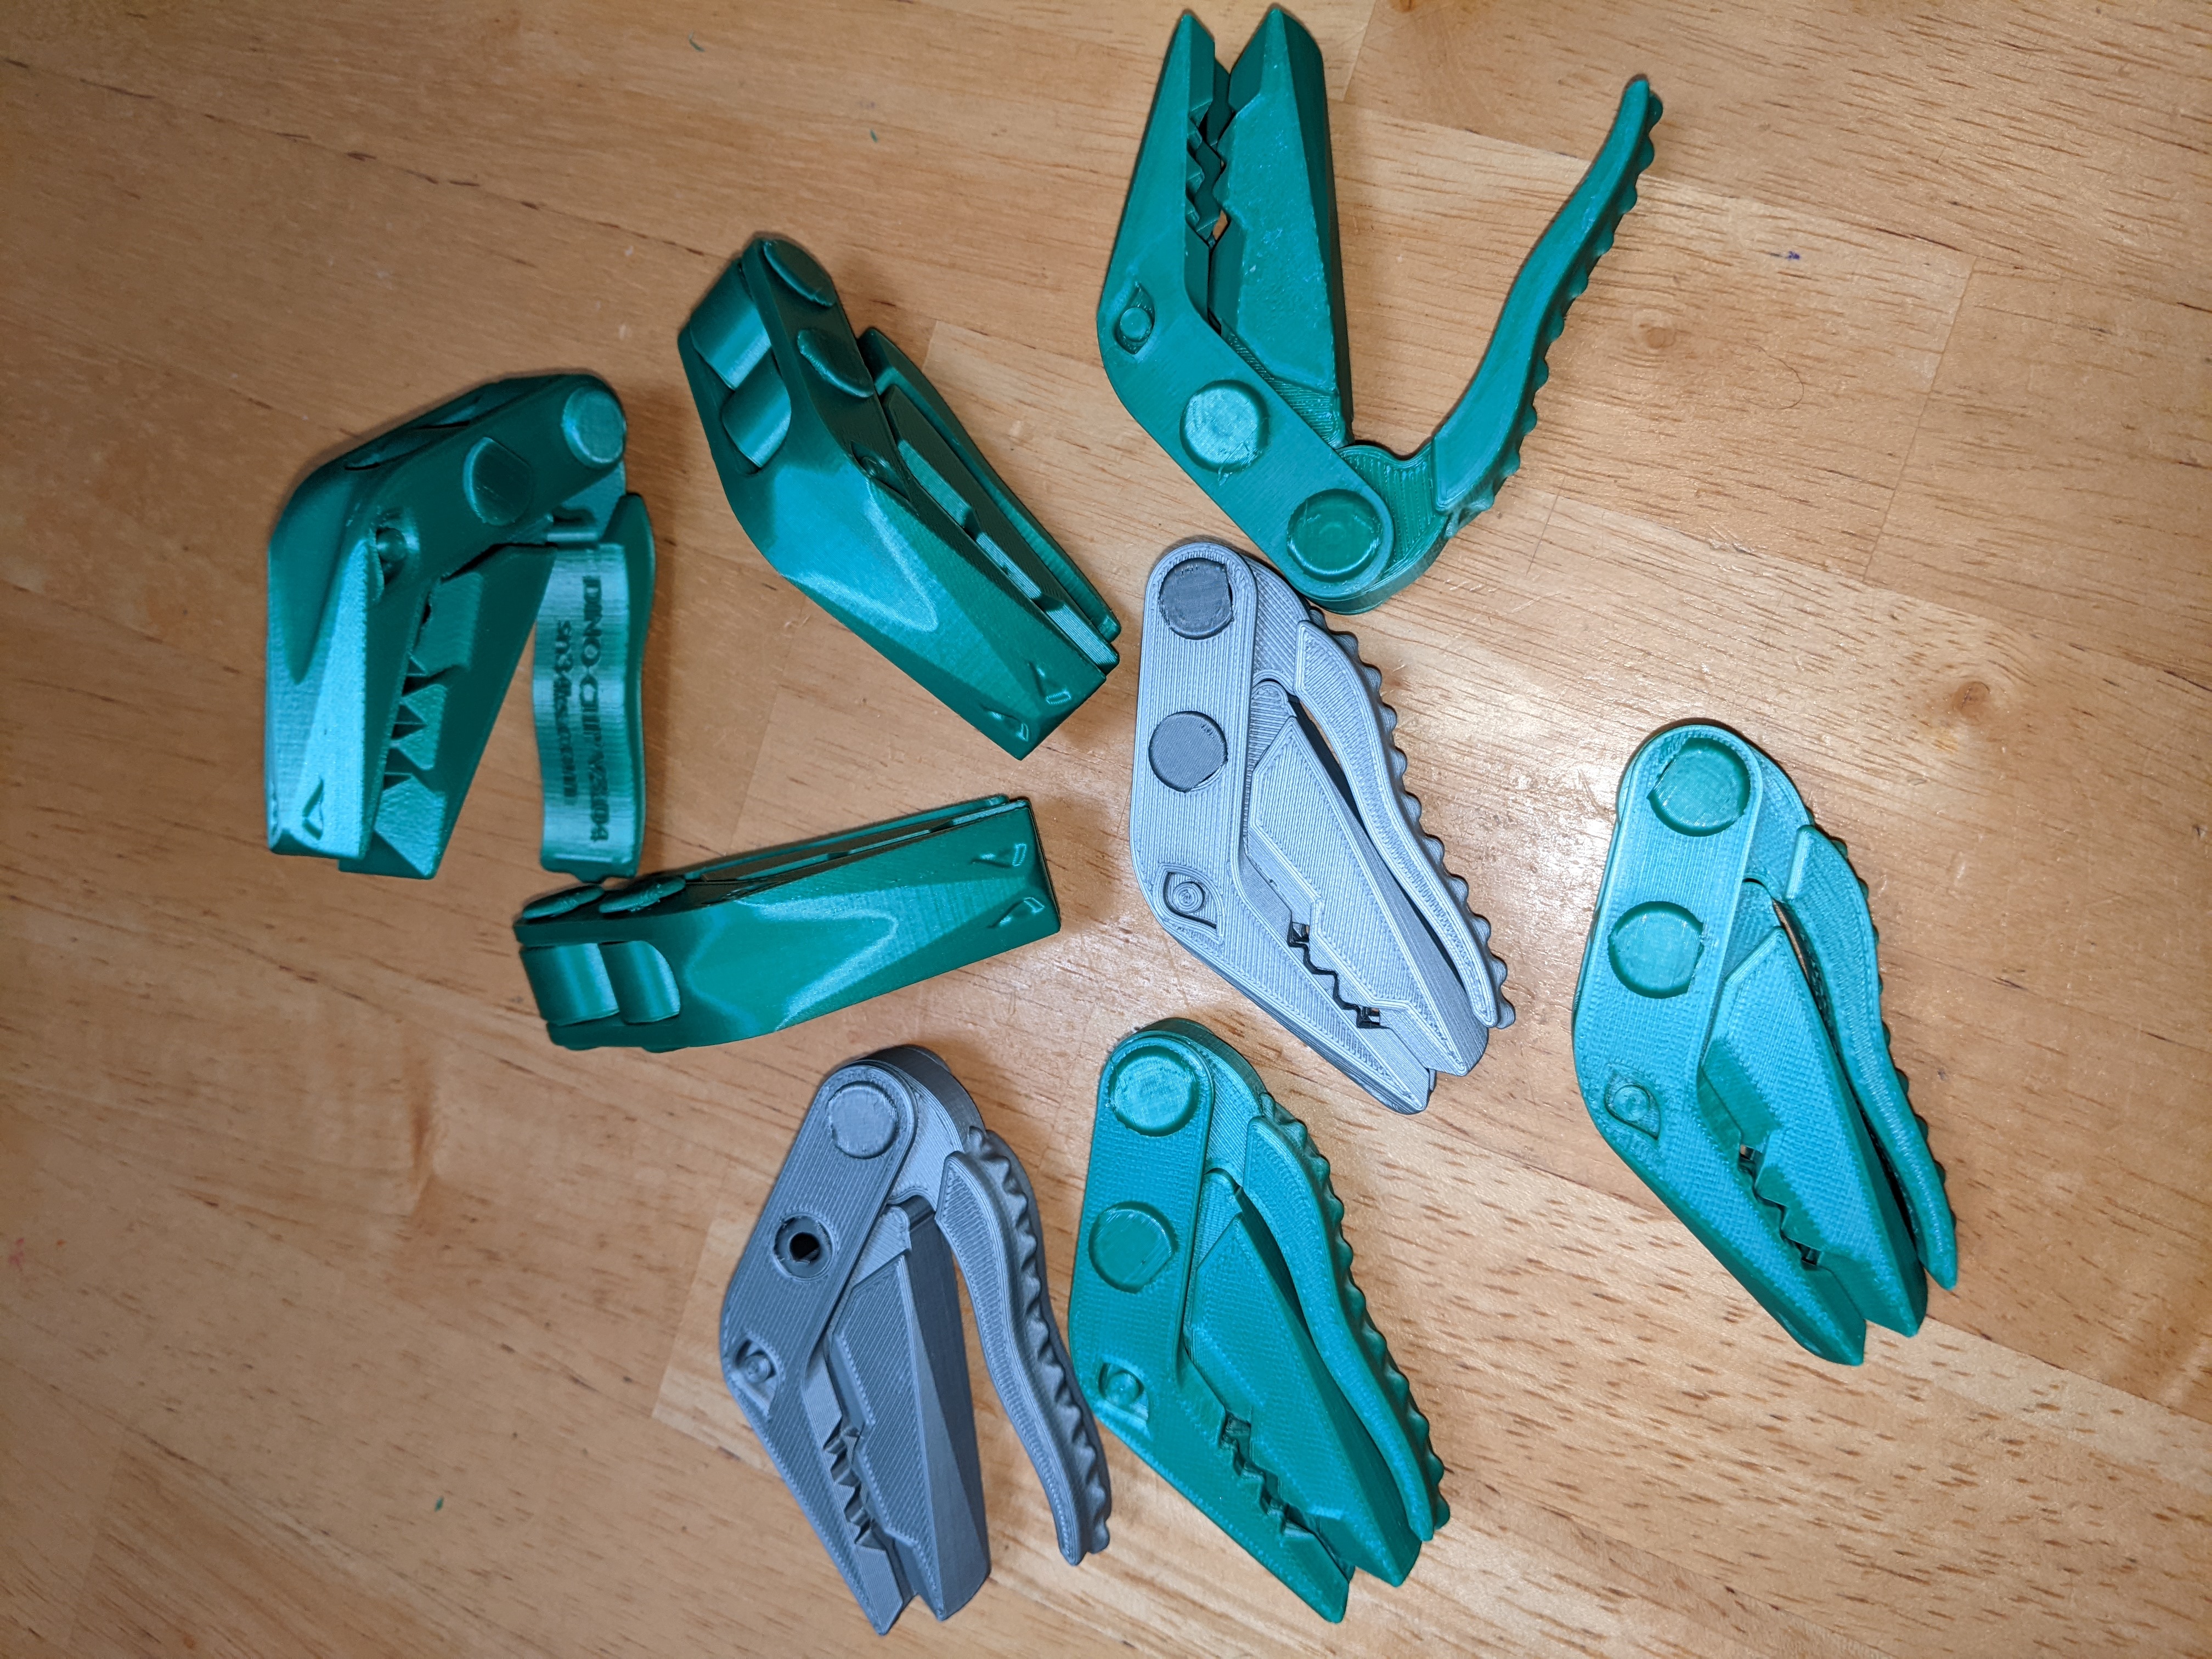
<p>Print the dino-clip in place without supports. Print two sets of axles for each hole with supports. Works great at 0.2mm. Set Infill to any percentage, I am using 20%.</p><p>Works best to insert both outer axle pieces at the same time or do the lower cam piece first to avoid bending and breaking outer arms. Start inserting each outer axle piece into each hole until it just holds, flip over dino-clip and either lean on it with bodyweight or use a rubber mallet to evenly insert axles. The outer axle will insert until flush with the opposite axle arm. Then, pinch the inner axle piece and insert it into the outer axle hole. It seems to work well to align the gap with the long width of the outer axle opening, but either way should work.</p><p>I tried to illustrate assembly with photographs.</p><p>I found it works best to not use supports on Dino-Clip but it does leave a little stringing in the hole that can be cleaned up before assembly (UPDATED: Stringing removed with modification).</p><p><strong>UPDATED:</strong> Modified the models to remove stringing and for a snugger fit of the smaller axle insert piece.</p><p>Sneaks' markings are left in place without modification.</p>
With this file you will be able to print Dino-Clip with printed snap-together axles - REMIX with your 3D printer. Click on the button and save the file on your computer to work, edit or customize your design. You can also find more 3D designs for printers on Dino-Clip with printed snap-together axles - REMIX.