DIP IC Pin straightener
thingiverse
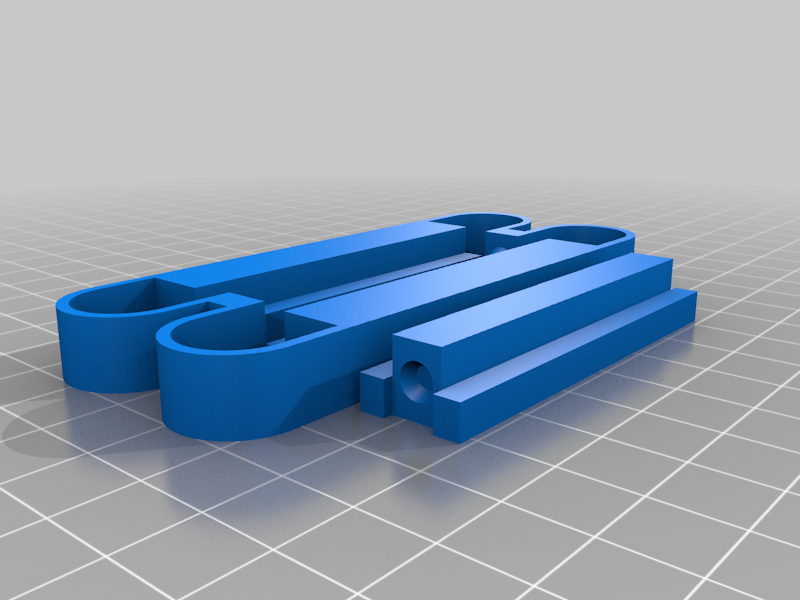
This tool can be used to straighten standard DIP IC legs before insertion into a breadboard, PCB or protoboard. When manufactured, ICs are made with the legs slightly splayed so that they will stay in PCBs when inserted by automatic placement machines. This means when doing this manually it can be very tricky to insert chips. You can bend them carefully against a flat surface but this is prone to error and can cause the pins to be "bowed" so they collapse and fold under the chip, not making a reliable connection to the socket/PCB. if you have a chip with bent legs, you can use this tool to alighn them. Carefully straighten them first with small pliers, making sure they are vertical, then insert them into the tool and squeeze the sides together to align the pins correctly. This tool is two sided, with 0.6" and 0.3" spacing for standard DIP ICs of up to 40 pins. Printing: Both parts are in the same STL file, and print in the given orientation without support. The centre section snaps into the outer using the conical pins to locate it. You may need to "deburr" or gently sand the corners of the centre section to make it fit snugly. The spring tension of the outer keeps the inner part in place without any glue being necessary. I used PLA with default profile settings in PrusaSlicer but I imagine any filament within reason will do. You could even jazz up your day at the soldering iron by using glitter filament!
With this file you will be able to print DIP IC Pin straightener with your 3D printer. Click on the button and save the file on your computer to work, edit or customize your design. You can also find more 3D designs for printers on DIP IC Pin straightener.