Direct drive extruder mount Ender 3 V2
thingiverse
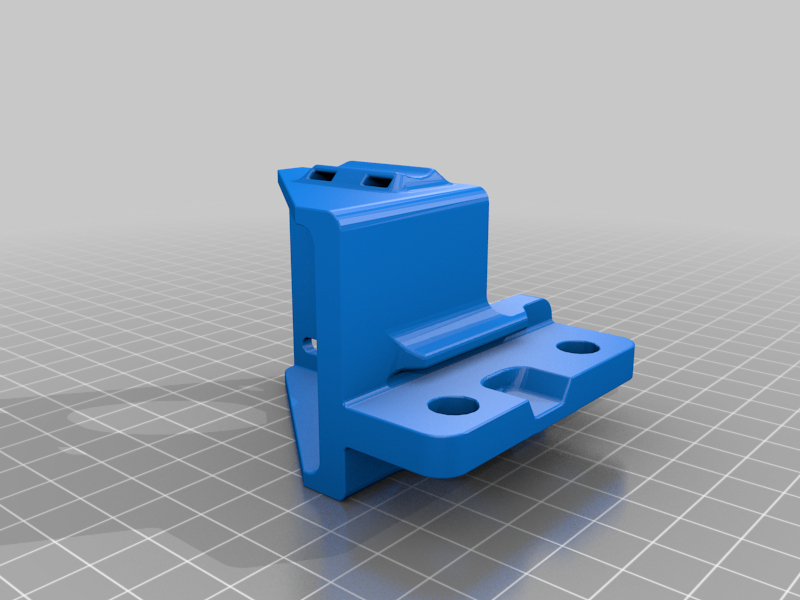
#Ender 3 v2 compatible direct drive extruder mount Based on the CR-10 / Ender 3 Direct Drivinator by Madau3D ----------------------------------------------------------------------------------- I printed the version without a logo that was remixed by MakerLowie. The finished part was excellent, the dimensions were almost all spot on, except for one small detail. I found that on the Ender 3 V2, the screw that mounts the stock fan/shroud to the gantry plate had no clearance to the part. There is a recess that looked like it was designed for it, but I found that it just didn't line up. So I increased the size of the recess slot to allow more clearance for the screw. Print Settings -------------------- Printer brand: Creality Printer: Ender 3 v2 Rafts: No Supports: Yes Resolution: 0.2 Infill: 15% gyroid Mounting --------------- To mount this, you will need to remove the fan cover, once removed, swing it out of the way, next, remove the bowden tube, and the pressure fitting for access to the allen key screw. Remove the nut for the right guide wheel, the wheel, and the spacer. Insert the spacer into the mount, and then you can get the mount in place while rotated to the right. Refit the wheel, and tighten. Refit the pressure fitting, and a short length of bowden tube cut to about 35mm long (this measurement may vary depending on your hot end/extruder setup) Refit the fan cover, and screw. Now remove the wheel from the left side of the mount, and you can now rotate the mount down in place, it clips over the top of the gantry mount. Once in place, fit the spacer into the mount, and refit the wheel, tightening down. Install the extruder and extruder motor onto the bracket, but leave the screws loose enough for the motor/extruder to slide freely in the slotted holes. It is necessary to extend your extruder motor wires and re-route them through the hot end braided sheath to retain your full print volume The wires and filament need to be routed IN FRONT of the frame uprights, or you will loose Z height as there will be interference with the top cross bar. Update ------------ Version 1.1 I've removed the clearance that I've added for the shroud mounting hole that inspired me to work on this in the first place. Instead, I've changed it to a through hole aligned with the mounting screw. So instead, you would install this to the X carriage mount as before, however, you would now be able to leave the shroud off, installing the mounting screw right through the extruder mount. I believe this will make mounting, and removing the shroud far easier than the previous design, whilst also making the whole assembly more rigidly secured, instead of just relying on the fit of the spacers, and the friction fit with the grove at the top of the part. Some notes for installation, the bowden tube should be 55mm long, assuming that the Ender 3 v2 files that I have are accurate. I wont know until I have all the parts that I need to install it. Version 1.2 Removed until I can get the shroud mounting hole in the correct location. - Use V1.1 In this version, I have slightly adjusted the position of the extruder by 0.5mm in -X, and 0.5mm -Y to more precisely align the bowden tube according to the Ender cad files that I have.
With this file you will be able to print Direct drive extruder mount Ender 3 V2 with your 3D printer. Click on the button and save the file on your computer to work, edit or customize your design. You can also find more 3D designs for printers on Direct drive extruder mount Ender 3 V2.