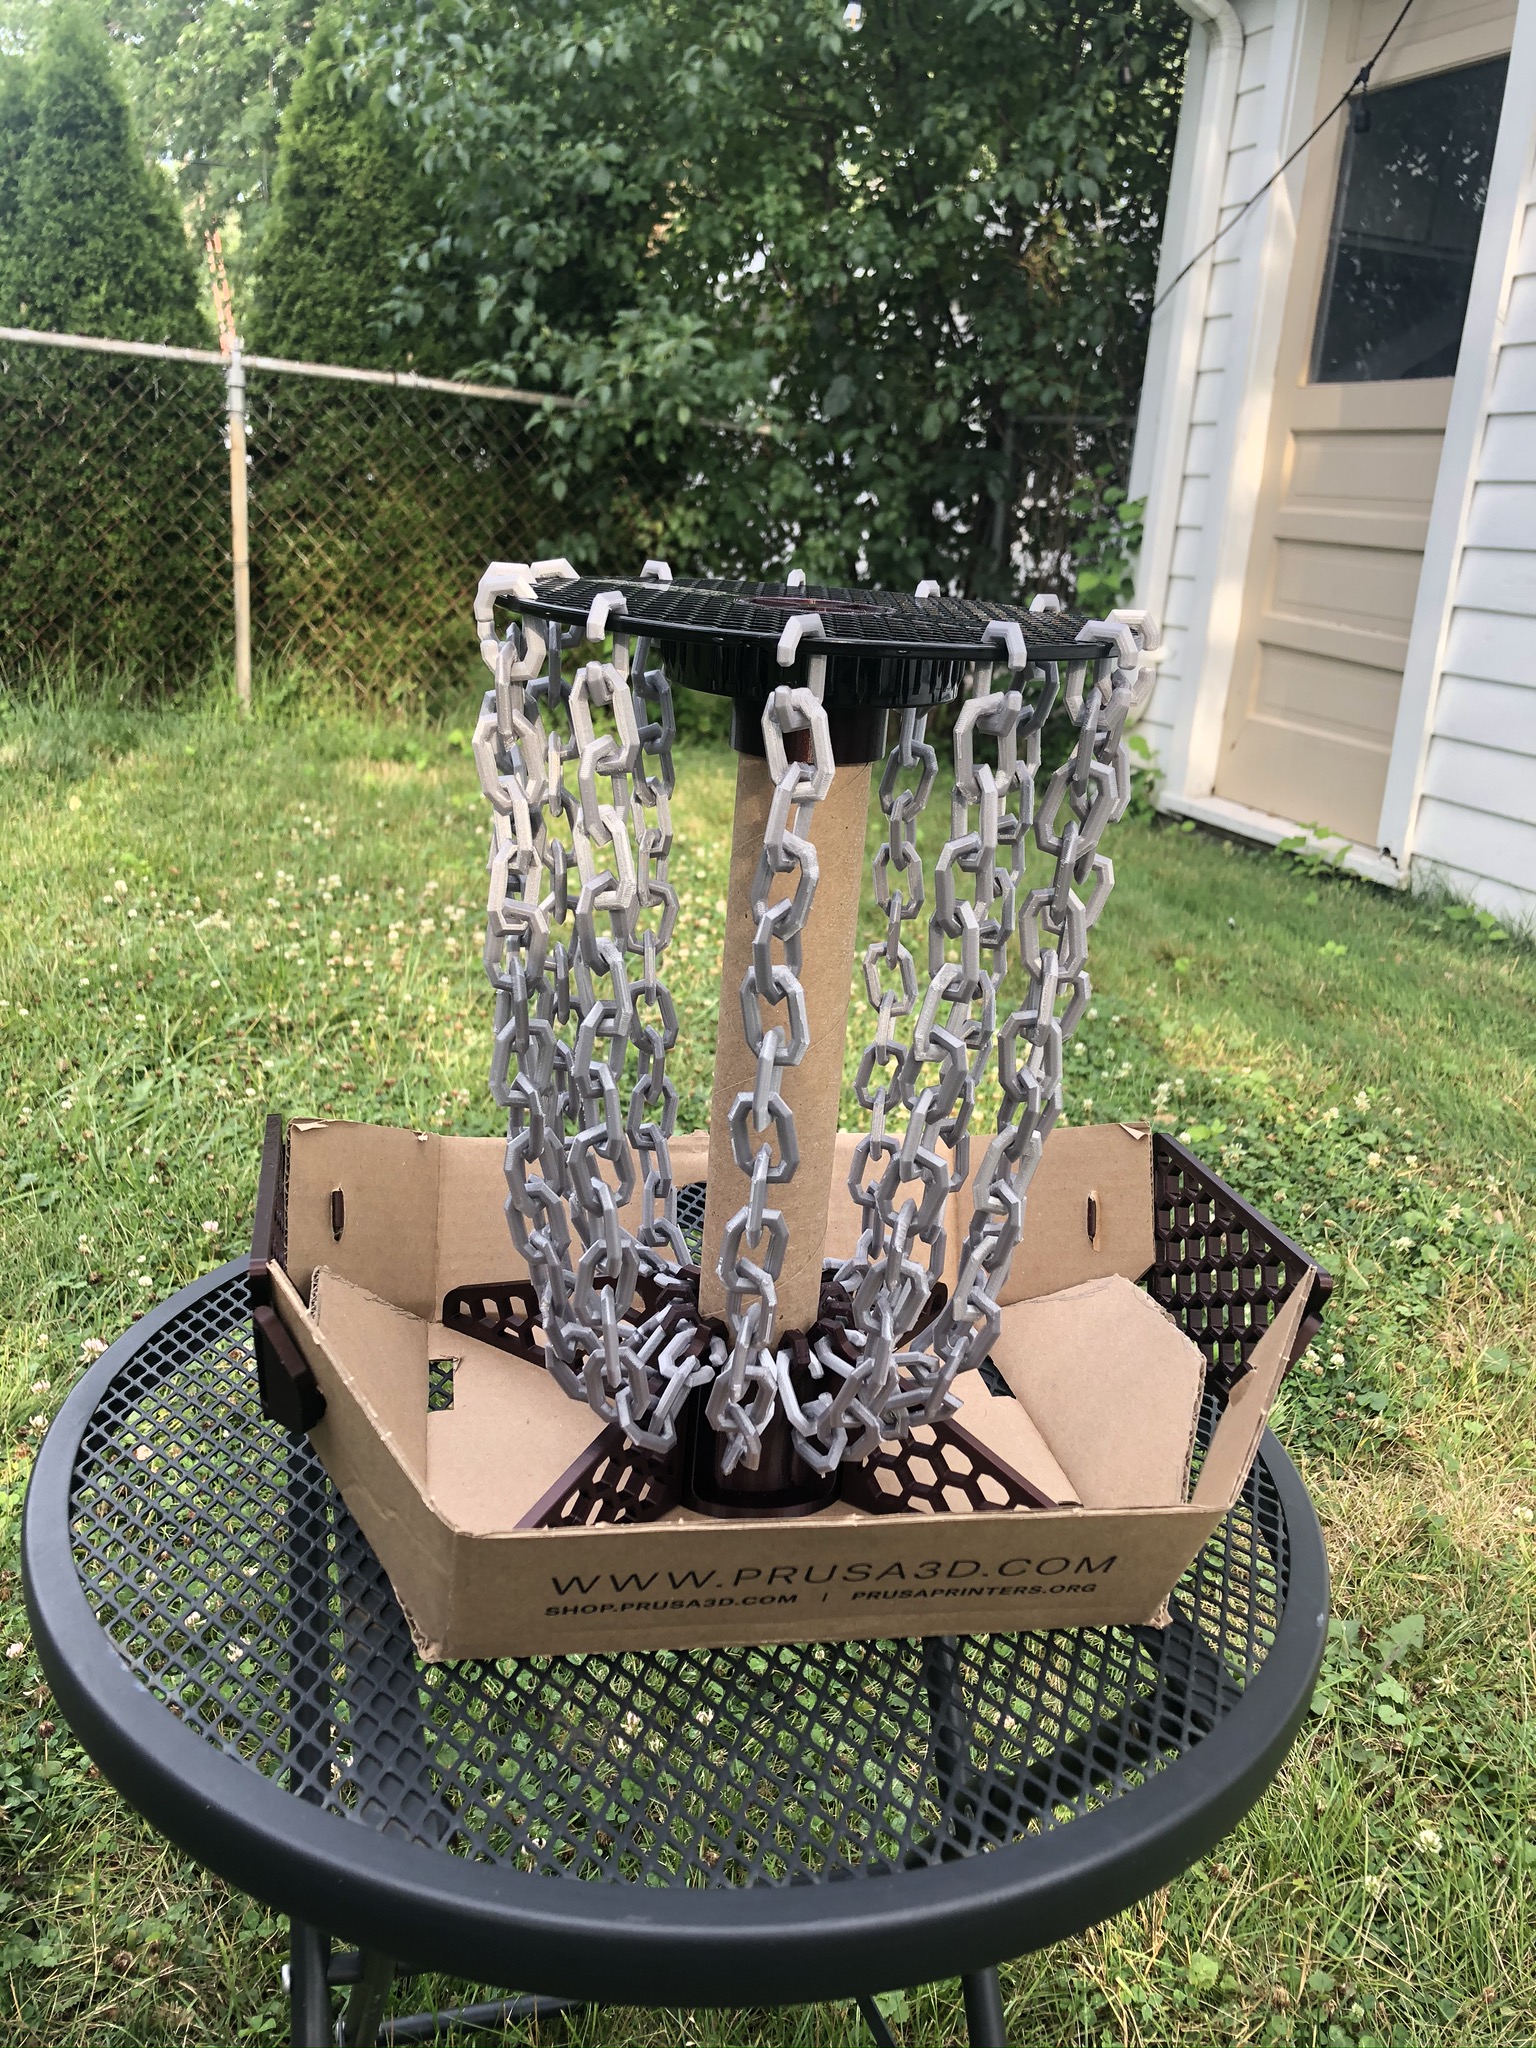
Disc Golf Hole - Upcycle Entry
prusaprinters
<p>Need a fun household game you can make yourself? How about a 3D printed disc golf hole?</p> <p>This project uses 3D printed parts, an empty Prusament spool, an empty Prusament box, and an empty paper towel roll to make a disc golf hole.</p> <p>This game can be played, indoors or outdoors, and it works just like a regular disc golf hole. Better yet, you could make a bunch of these and set up a whole course around the house, or backyard.</p> <h3>Print instructions</h3><p>Step 1 - Print the following components:</p> <p>Base.stl x1<br/> Side Wall.stl x2<br/> Support Leg.stl x4<br/> Top Mount.stl x1<br/> Full Chain.stl x12 (<em>this print needed a raft to get the chains to stay on the build plate)<br/> Broken Link x24<br/> Disc x2 (</em>this is the only model that needed supports, other frisbee designs might work well too)</p> <p>Step 2 - Gather the following additional components</p> <p>1 empty Prusament Roll<br/> 1 empty Prusament Box<br/> 1 empty paper towel roll</p> <p>Step 3 - Prepare the Prusament box:</p> <p>Unfold the box and cut the lid of the box just along the seam that is right above the small circular hole on the back.</p> <p>Next line up the edges of the hinged flaps on the Side Wall.stl parts with the ends of the small cardboard flaps of the box and mark with a pen or pencil a line where the flange on the Side Wall.stl part contacts the cardboard. Do this for all four flaps.</p> <p>Next use a knife to cut along the line you just marked on each of the four small flaps of the box.</p> <p>Now push the flanges on the Side Wall.stl part through each of the slots in the small carboard flaps so that the flaps will now stand up on their own.</p> <p>Next, Lift the large flap of cardboard up until it meets the suspended Side Wall.stl, and trace with a pen of pencil the outline of where is touches the small flaps and the 3D printed part. Do this for both sides.</p> <p>Now cut the cardboard along the line you just traced on both sides.</p> <p>Now, fold up the trapezoidal shape on either side before reinstalling the Side Wall.stl parts.</p> <p>Step 4 - Assemble the remaining parts:</p> <p>First, place each of the four Support Leg.stl parts into the Base.stl part.</p> <p>Now, slide the paper towel roll into the Base.stl.</p> <p>Next, slide the Top Mount.stl onto the top of the paper towel roll:</p> <p>Now, place one the plastic halves of your empty Prusament spool on top of the Top Mount.stl.</p> <p>Finally, hook a Broken Link.stl through each of the loops on the Base.stl and Support Leg.stl parts, and use these to connect to the twelve Full Chain.stl parts. And connect the full chains to the holes in the Prusament spool using the remaining Broken Link.stl parts. (<em>Note if the chain keeps coming undone at the bottom you can use a twist tie, or zip tie to connect the lowest loop on the chain to the corresponding loop on the base</em>)</p> <p>If you want to see these instructions with pictures, or have any questions please reach out to me on twitter @mikemakes3d or instagram @MikeMakes3D.</p>
With this file you will be able to print Disc Golf Hole - Upcycle Entry with your 3D printer. Click on the button and save the file on your computer to work, edit or customize your design. You can also find more 3D designs for printers on Disc Golf Hole - Upcycle Entry.
