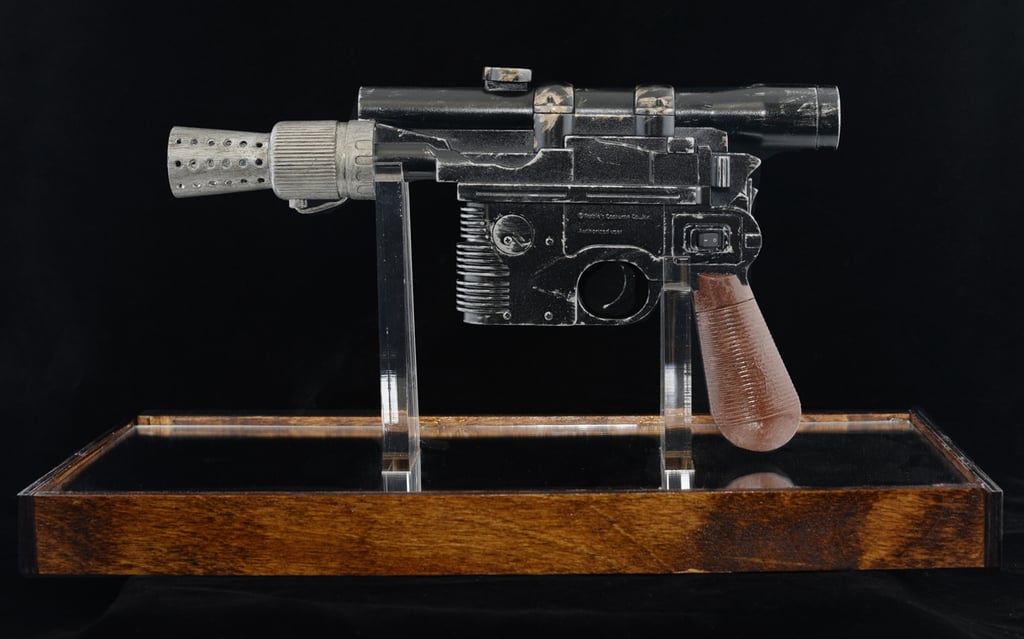
Display stand for toy Han Solo DL-44 blaster
thingiverse
This display stand was designed for a modified toy Han Solo DL-44 blaster as part of a bigger electronics project that uses the blaster to control edge-lit displays of other Star Wars characters. The stand is made to fit this particular version of the blaster available at Walmart, which I am pretty sure is the same thing as this Rubies version. (The modifications I made to my blaster had no impact on where the stand grips the blaster, so this stand should work fine for a new or unaltered toy blaster.) The faux gun stand was designed to be laser-cut from plywood and acrylic. So, the .STEP and .STL files that I generated and included here have not been printed and tested, though they should probably work together okay since they were generated from the same SolidWorks files that I used to make my 2D files for. Everything was held together with hot glue, except for the clear acrylic pieces, which, IIRC, were fastened with 1/4-20 screws and nuts (the hole has a diameter of 1/4", which could be okay for 1/4" screws since the laser kerf will make the cutout bigger than that). Before adding the acrylic pieces, I stained the wood and gave it a couple coats of polyurethane. Here is a list of how many parts you will need to cut and from what material: <table> <tr> <th>Part Name</th> <th>Quantity</th> <th>Material</th> </tr> <tr> <td>top</td> <td>1</td> <td>3mm or 1/8" silver mirrored acrylic</td> </tr> <tr> <td>starbird</td> <td>1</td> <td>3mm or 1/8" gold mirrored acrylic</td> </tr> <tr> <td>blaster_holder_rear</td> <td>1</td> <td>1/2" clear acrylic</td> </tr> <tr> <td>blaster_holder_front</td> <td>1</td> <td>1/2" clear acrylic</td> </tr> <tr> <td>starbird_holder</td> <td>1</td> <td>3mm or 1/8" plywood</td> </tr> <tr> <td>starbird</td> <td>1</td> <td>3mm or 1/8" plywood</td> </tr> <tr> <td>support_channel</td> <td>4</td> <td>1/4" plywood</td> </tr> <tr> <td>siding_outer_long</td> <td>2</td> <td>1/4" plywood</td> </tr> <tr> <td>siding_outer_short</td> <td>2</td> <td>1/4" plywood</td> </tr> <tr> <td>siding_inner_long</td> <td>2</td> <td>1/4" plywood</td> </tr> <tr> <td>siding_inner_short</td> <td>2</td> <td>1/4" plywood</td> </tr> <tr> <td>bottom_with_starbird_cutout</td> <td>1</td> <td>1/4" plywood</td> </tr> </table> To show how the parts fit together, I have included a picture of a 3D model of the stand with a few components made transparent. You can also check out my Imgur build log, which shows a few steps of the assembly. PRO TIP: I added a white paper cutout of the starbird to the area immediately behind the gold starbird piece, which makes the letters much easier to see. That piece of paper is attached to a thin 3mm (or 1/8") plywood cutout of the starbird, which is fixed to the ["bottom_with_starbird_cutout" piece by the "starbird_holder"].
With this file you will be able to print Display stand for toy Han Solo DL-44 blaster with your 3D printer. Click on the button and save the file on your computer to work, edit or customize your design. You can also find more 3D designs for printers on Display stand for toy Han Solo DL-44 blaster.