DIY 3D Printed Mood Lamp
thingiverse
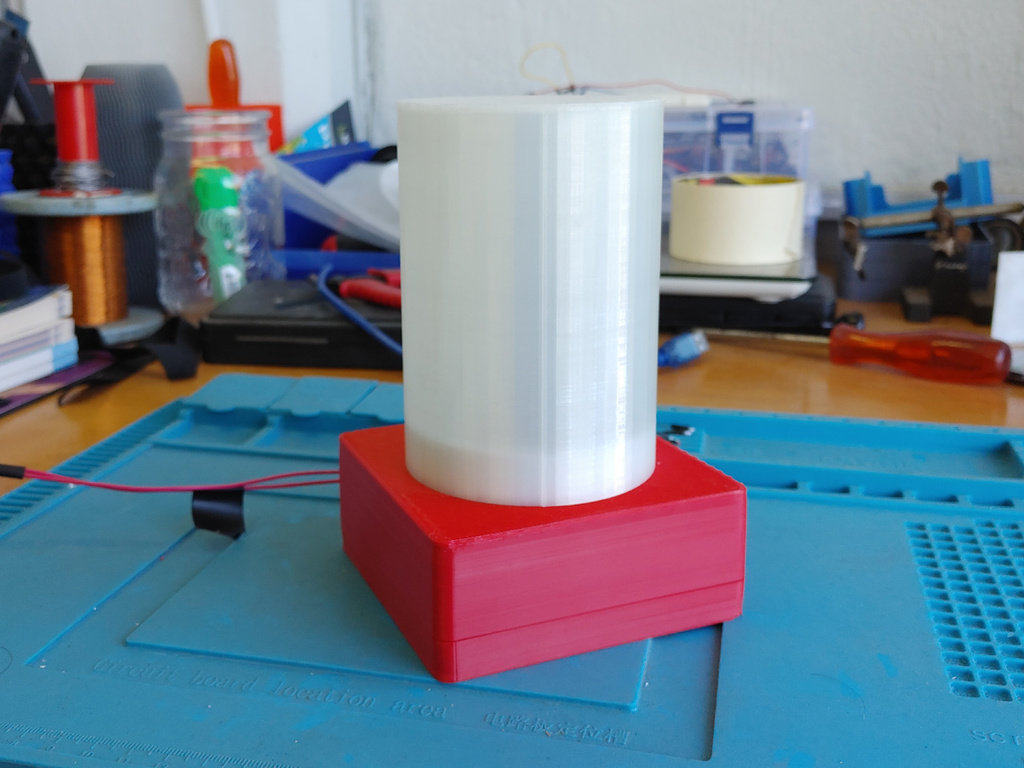
DIY 3D Printed Mood Lamp ===================== T.Meadows - DIYElectronics ------------------------------------- Howzit going everyone, Thomas here for another Takeover. Today I will be talking about my custom Mood Lamp project. I saw a project on Instructables a while ago for a DIY Mood Lamp. However, after diving into it I found that the project got rather pricey and a bit complicated for more entry-level makers. I used this project as inspiration to make my own mood lamp. I tried to keep it fairly simple and affordable. The enclosure that houses the Neopixel ring and Arduino Pro Mini was 3D Printed on the Ender 6. I set it up to work with USB as I wanted to have it sitting on my desk next to my PC. This project could be taken further by adding features such as Wifi. Thanks to MeesterED for making the original designs. If you like this remix please go check out the original, especially if you like candy. - 3D Printer - [SAFilament Red PLA](https://www.diyelectronics.co.za/store/pla/3307-sa-filament-pla-filament-175mm-1kg-red.html), [eSUN Cold White PLA](https://www.diyelectronics.co.za/store/pla/1957-esun-pla-filament-3mm-cold-white.html?search_query=esun+cold+white&results=3), and [eSUN Natural PLA](https://www.diyelectronics.co.za/store/pla/996-esun-pla-filament-175mm-natural.html?search_query=esun+natural&results=57) - [Arduino Pro Mini V2](https://www.diyelectronics.co.za/store/boards/1501-arduino-pro-mini-v2-5v16mhz-328p.html?search_query=arduino+pro&results=444) - [16 LED Neopixel Ring](https://www.diyelectronics.co.za/store/neopixel/2353-16-led-neopixel-ring-rgb-ws2812.html) - [FTDI FT232R USB Programmer](https://www.diyelectronics.co.za/store/serial/1460-ftdi-ft232r-usb-ttl-serial-breakout-module-programmer-ver2.html?search_query=ftdi&results=12) - [USB 2.0 CABLE AM-AM](https://www.diyelectronics.co.za/store/usb/1172-usb-20-cable-am-am-15m.html?search_query=usb+cable&results=192) - Assorted [breadboard jumpers](https://www.diyelectronics.co.za/store/connectors-wiring/3-breadboard-jumpers.html?search_query=jumper+cables&results=29) and wires - Soldering equipment Coding: ---------- I used the [Neopixel library](https://github.com/adafruit/Adafruit_NeoPixel) and parts of the code from [Tweaking4All](https://www.tweaking4all.com/hardware/arduino/adruino-led-strip-effects/). I highly recommend checking out their site as it has plenty of useful information relating to Neopixels and LEDs. Instructions: ---------------- - **Strip USB cable** Cut one end off your USB. I left quite a bit of cable as I am not the best at stripping cables so I wanted space in case I needed to redo it. You can cut it much shorter if you are comfortable. The wires you are looking for are the red and black, use a multimeter to check they are the correct wires. For me red was positive. - **Twist or solder wires to positive and negative** Take some spare wires and either twist or solder them to the USB cable. I twisted them together instead of soldering. I added electrical tape around the connections for extra support and then I added heatshrink to secure the cable. - **Upload code to the Arduino Pro Mini** Connect the Arduino to the programmer and upload the code. The code I uploaded was very simple as it would help with testing. It is fairly easy to reconnect the Arduino and upload a more advanced code in the future. - **Strip breadboard jumper tips** Strip the heads off the breadboard jumpers. You will need 3 but it might be useful to do a few extra in case some of them break as they can be rather flimsy. - **Solder the positive USB wire and a jumper cable to the VCC port on the Arduino Pro Mini** This is where things get intricate. Place the positive (Red) USB wire in the VCC port and slide in a jumper cable alongside it. Once they are situated in a way you like then solder them into place. Be careful as the board is very small so it is easy to accidentally bridge ports. - **The other wire needs to be soldered to the Ground port** Take the black USB wire and place it in the ground (GND) port on the Arduino. Slide in a jumper cable and solder in place. - **Solder a jumper to the port you defined in the code** When you write the code you have to specify a port that will be used, I used port 6. Place the third jumper cable into the port and solder in place. - **Align the cables to the Neopixel ring and solder it together** This part can be rather tricky as you want to limit the strain you put on the wires as they can break. Solder the cables as follows (Arduino to Neopixel). Replace port 6 with whichever port you specify in your code. VCC -> 5V Port 6 -> DI GND – > GND Testing and Assembly: ------------------------------ Now that everything has been set up it is time to test and assemble. Testing is fairly straightforward as you can plug it into a PC USB Port or a power bank (just check the output voltage as 5V is recommended). Assembly is also fairly straightforward. Insert the connector to the top half of the base. Slide the USB cable through the center hole in the top half of the base. The Neopixel ring should rest almost flat on the connector. The top half of the base should slide onto the bottom using the 4 pegs on the corners. Finally slide the cylinder over the connector. You can glue the parts together if you prefer but I decided not to in case I wanted to modify the project later on. Thoughts: ------------- I am happy with how the mood lamp turned out and after fully assembling it and turning it on I found the cylinder creates a cool effect that I did not expect. If I was to do anything differently I would try to make the cylinder thinner so that more light gets through. I would also try making it a bit more powerful and not have it powered through the Arduino Pro Mini. I really enjoyed this project and learnt quite a bit while making it. [Blog Post](https://www.blog.diyelectronics.co.za/diy-3d-printed-mood-lamp/) [Facebook](https://www.facebook.com/diyelectronics/?ref=page_internal) [Instagram](https://www.instagram.com/diyelectronics_/) [Twitter](https://twitter.com/DIYElectronicza) [TikTok](https://www.tiktok.com/@diyelectronics?) [Store](https://www.diyelectronics.co.za/store/)
With this file you will be able to print DIY 3D Printed Mood Lamp with your 3D printer. Click on the button and save the file on your computer to work, edit or customize your design. You can also find more 3D designs for printers on DIY 3D Printed Mood Lamp.