DIY 3D-printer mounting kit with simple belt fastener
thingiverse
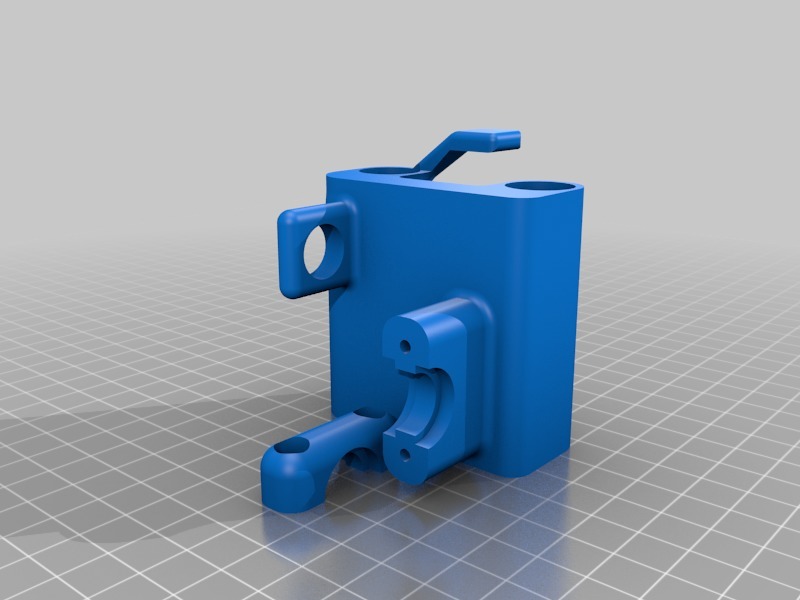
I designed these parts specifically for my DIY printer, which nearly doubles its printing range compared to my previous steel setup. Hopefully, they'll prove helpful to others or at least provide a useful idea. Keep in mind that I have no experience with CATIA, so this design is far from perfect, but as you can see from the pictures, it does a great job. It's surprisingly easy and quick to secure a 5mm belt with the right tension by inserting it into the slit at the back of the extruder mount. The standard round bearings are also simple to glue in place. This setup is designed for use with 8 mm rods and threads, which can be secured with standard guidance - either glued or screwed. The rods don't even need to be mechanically fixed to the carriages because they're held in place once the entire setup is assembled (the rectangular holes were originally intended for securing the rods with strips). The stepper motor is simply clamped onto the carriage using 4*M4 hexagon screws that I had already mounted, requiring no additional tightening. The extruder mount requires a significant amount of support, but it works well. Both carriages can be printed with an infill of just 10% to 20%, and some support is also required.
With this file you will be able to print DIY 3D-printer mounting kit with simple belt fastener with your 3D printer. Click on the button and save the file on your computer to work, edit or customize your design. You can also find more 3D designs for printers on DIY 3D-printer mounting kit with simple belt fastener.