DIY Bluetooth Coffee/Espresso Scale
prusaprinters
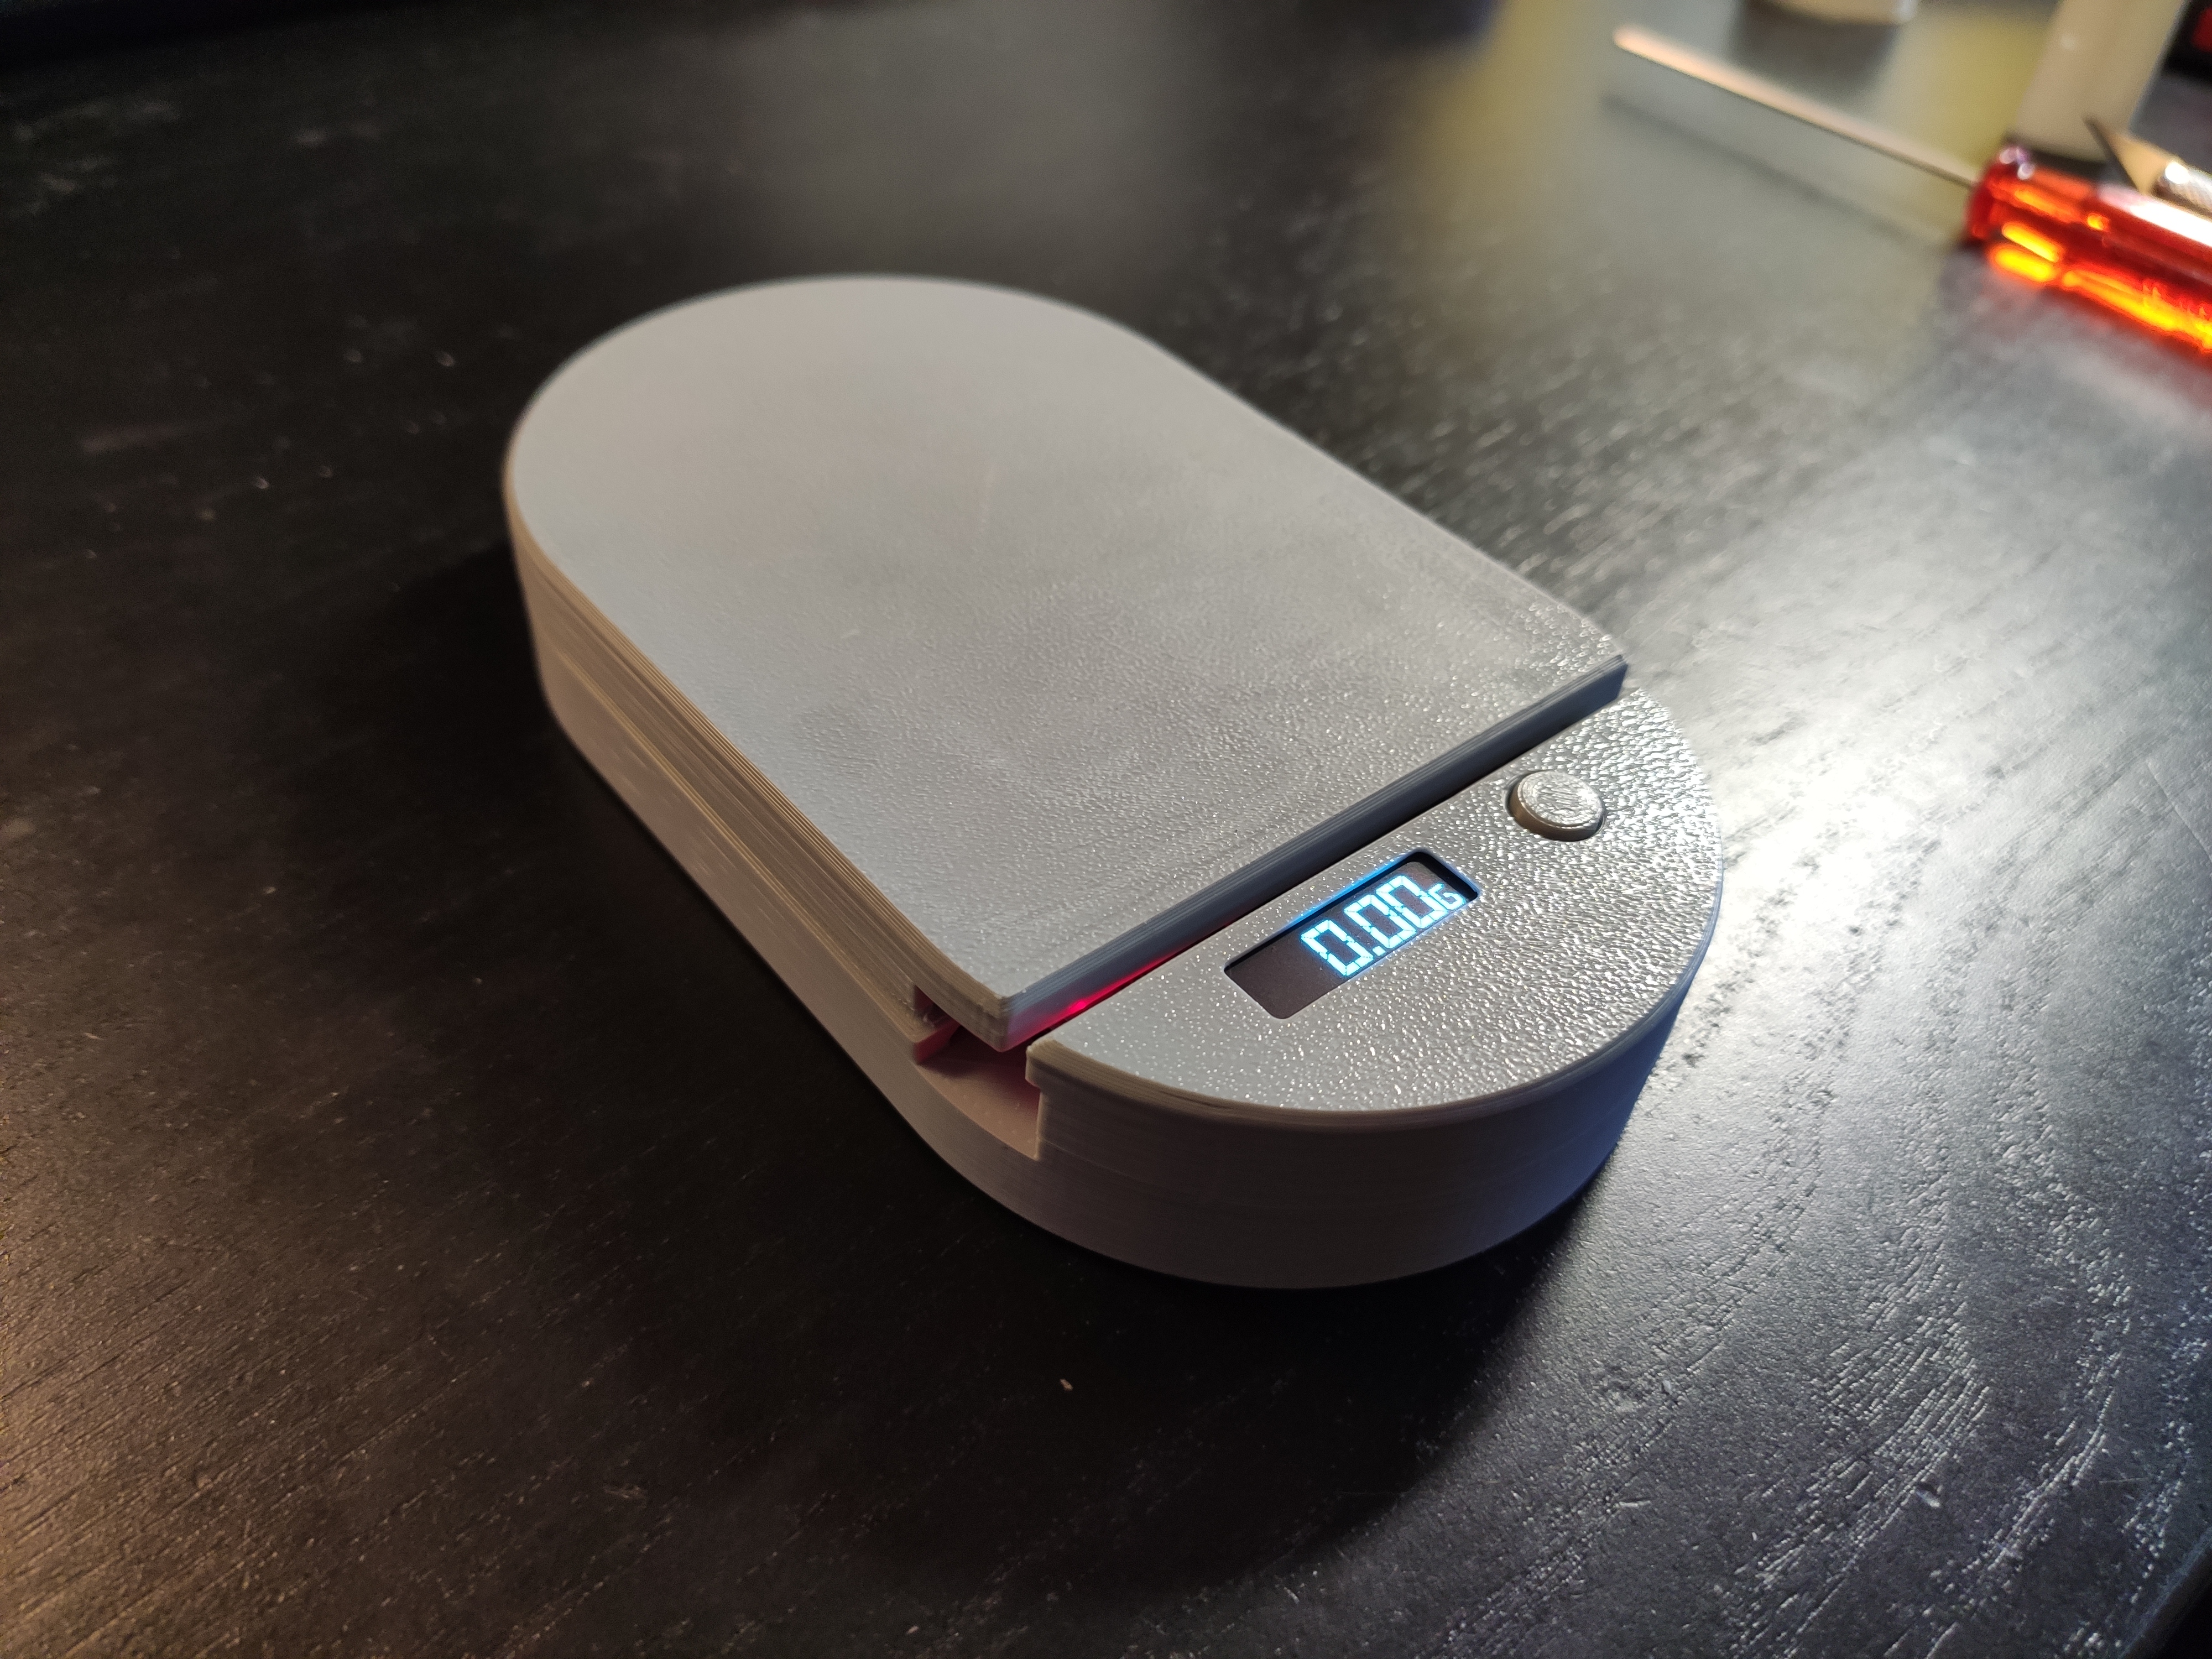
<p> </p><figure class="media"><oembed url="https://www.youtube.com/watch?v=_Y4ka5QkGaM"></oembed></figure><p> </p><p>Seeing how smart espresso or coffee scales can cost hundreds of dollars, I decided to build my own. I designed all of the 3D files and created a companion web-app that runs in any browser that supports the Bluetooth API (Chrome would be my choice).</p><p>The open-source code for the app and firmware can be found at <a href="https://github.com/beeb/coffee-scale-app">https://github.com/beeb/coffee-scale-app</a></p><p>I sourced the springs and contacts for the 18650 Li-ion cell from some AA batteries holder I had laying around, see picture attached (you lift the small rivet prongs with a blade to remove it from the plastic housing, then transfer to the printed base and bend them back outwards to secure them.</p><p>Bill of Materials:</p><ul><li>Sparkfun Mini Load Cell - 500g, Straight Bar (TAL221)</li><li>HX711 Load cell amplifier (any manufacturer)</li><li>Sparkfun ESP32 Thing</li><li>128x32 OLED module with I2C capability (40x12mm - SSD1306)</li><li>2 x 47kOhm or 100kOhm or 220kOhm resistors (for battery voltage divider - they need to have both the same value)</li><li>SPST Rocker switch</li><li>M3 screws</li><li>Spring and contact from battery case</li><li>18650 Li-ion battery</li></ul><p>The OLED screen, HX711 breakout board, and ESP32 are held in place with thin double-sided sticky tape (a small surface on either extremity is enough). Depending on the thickness of the tape, you might need to sand down the button cap a little bit so that it doesn't depress the button in its resting position.</p><p><strong>NOTE: </strong>If your HX711 breakout board has separate VCC and VDD pins, one user mentioned they had to short/bridge the two pins together in order to have correct readings.</p><p>Since my power switch was so big, I couldn't fit it nicely on the sides of the scale, so I decided to make it accessible from the bottom.</p><p>The ESP32 Thing has a built-in charging circuit which means that USB can charge the Li-ion cell when the switch is in the ON position.</p><p>The battery voltage is in the range of 2.5V to 4.2V which exceeds the maximum 3.6V of the ESP32 pins. As such, I made a very basic voltage divider with 2 resistors having the same value. I directly soldered the resistors on the GND + VBAT pins and ran a couple of wires to the sensing pin. The resulting sensed voltage between the two resistors will be half of the real voltage. The code has a lookup table (with interpolation) to determine the remaining capacity percentage.</p><h3>Print instructions</h3><p>Printed in PolyMax PLA but pretty much any material should work.</p><p>No supports needed, overhangs print as bridges.</p>
With this file you will be able to print DIY Bluetooth Coffee/Espresso Scale with your 3D printer. Click on the button and save the file on your computer to work, edit or customize your design. You can also find more 3D designs for printers on DIY Bluetooth Coffee/Espresso Scale.
