DIY Close Loop Control Filament Dryer
thingiverse
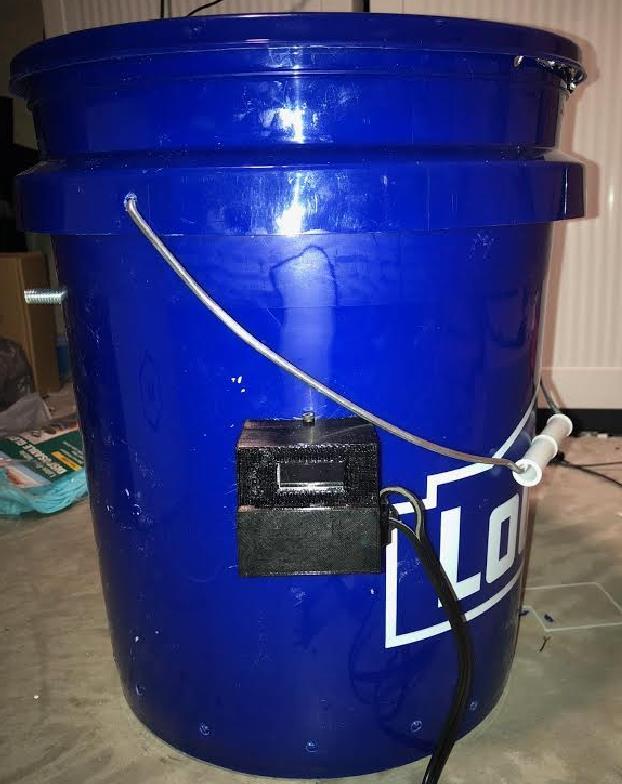
When printing with materials like Nylon, PETG, or Ninjaflex, one discovers that some of these filaments can be highly absorbent. They soak up water from the air, causing print quality and ease of printing to plummet and resulting in miserable prints. One method to dry filament is placing it in an oven. This works well if you're willing to spend money on a food dehydrator or your spouse doesn't mind putting plastic into your new kitchen oven. Another way is to use a chamber and a light bulb. This method works, but different materials require different temperatures due to their glass transition temperature. By using Arduino, we can build a closed-loop controlled drying box that functions similarly to an oven. Simply set the maximum temperature allowed, the amount of temperature tolerance, the number of hours you want to dry, and you're ready to go. The controller heats the chamber up to your max set temp, turns off the light until the chamber reaches the Max temp - tolerance, then turns it back on again to continue cycling. After the specified number of hours, the controller switches to "Humidity Hold mode." You input a maximum percentage humidity to hold in the chamber, and the controller only turns on the light long enough to keep the humidity below that percentage. This is a nice energy-saving feature if you're not going to get to your newly-dried filament right away and bag it up. Through our testing, I've been able to dry Nylon that was submerged in water for several days and achieve perfect prints again. You can see the results of the dryer in my 3-part YouTube series here: https://www.youtube.com/watch?v=nOc5qVhb3rc Part 1 https://www.youtube.com/watch?v=NQ3DC4GpA3w Part 2 https://www.youtube.com/watch?v=ehsgazhJ17U Part 3 The instructions will be posted on Instructables soon, but for now, here's a link to the Word document that takes you step by step through the entire assembly process; pictures included. UPDATED 6/5/18 - Updated code to fix small bug. https://www.dropbox.com/s/kurxwfxka75e9hu/DIY%20Closed%20Loop%20Controlled%20Filament%20Dryer%20V3.doc?dl=0 If you encounter any issues or have questions, don't hesitate to contact me. This project is really fun and I hope some of you take the time to give it a shot!
With this file you will be able to print DIY Close Loop Control Filament Dryer with your 3D printer. Click on the button and save the file on your computer to work, edit or customize your design. You can also find more 3D designs for printers on DIY Close Loop Control Filament Dryer.