DIY CMM Arm Digitizer
thingiverse
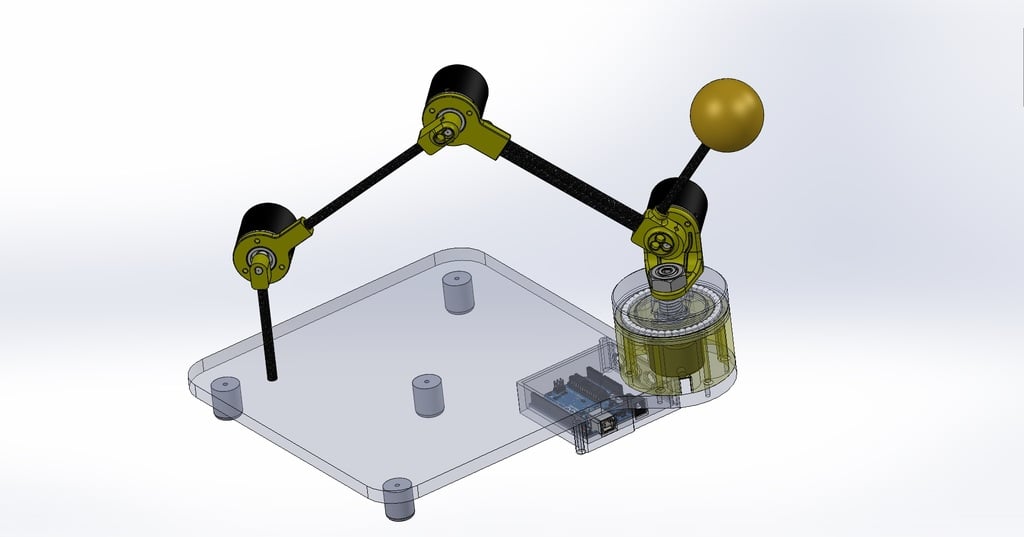
The original DIY Digitizer project used 3D Printing, CNC Router and Laser cutting this project has been designed to use only 3D Printing. This list includes a BOM file of links and part numbers used of both standard and large build. Also incuded are the PDF templated for drilling the base plate which can be made form any known flat rigid materiel like PolyCARB, Carbon or Fiberglas plate, 12" x 12" by alt least 0.25" Please look at the original project of additional information http://fablab.ruc.dk/diy-digitizer/ This document will be up dated as the project progresses 05-20-2018 1) Counter balance added to improve ease of motion 2) 2 different Arduino enclosures one for 3 encoders and one for 4 3) pictures of 4 encoder assembled unit added 4) The tubes that make up the arm also work as wire guides to do this the rubber sleeve is cut around the cable and slid off over the shield wire. Scrunch the shield over the 4 conductor and trim them back about 12" at first. Use the shield wire as a snake wire to run the cable though the tubes, if the rubber over sleeve was removed carefully without splitting length ways the shield wire is used to re install the sleeve when using the 4 encoder between encoder 3 and 2 and from the base to the Arduino Enclosure as in the photo. 5) all PCB connections were made on the back side of the prototyping board with PC type pines and connectors
With this file you will be able to print DIY CMM Arm Digitizer with your 3D printer. Click on the button and save the file on your computer to work, edit or customize your design. You can also find more 3D designs for printers on DIY CMM Arm Digitizer.