DIY Enclosure LACK Riser
prusaprinters
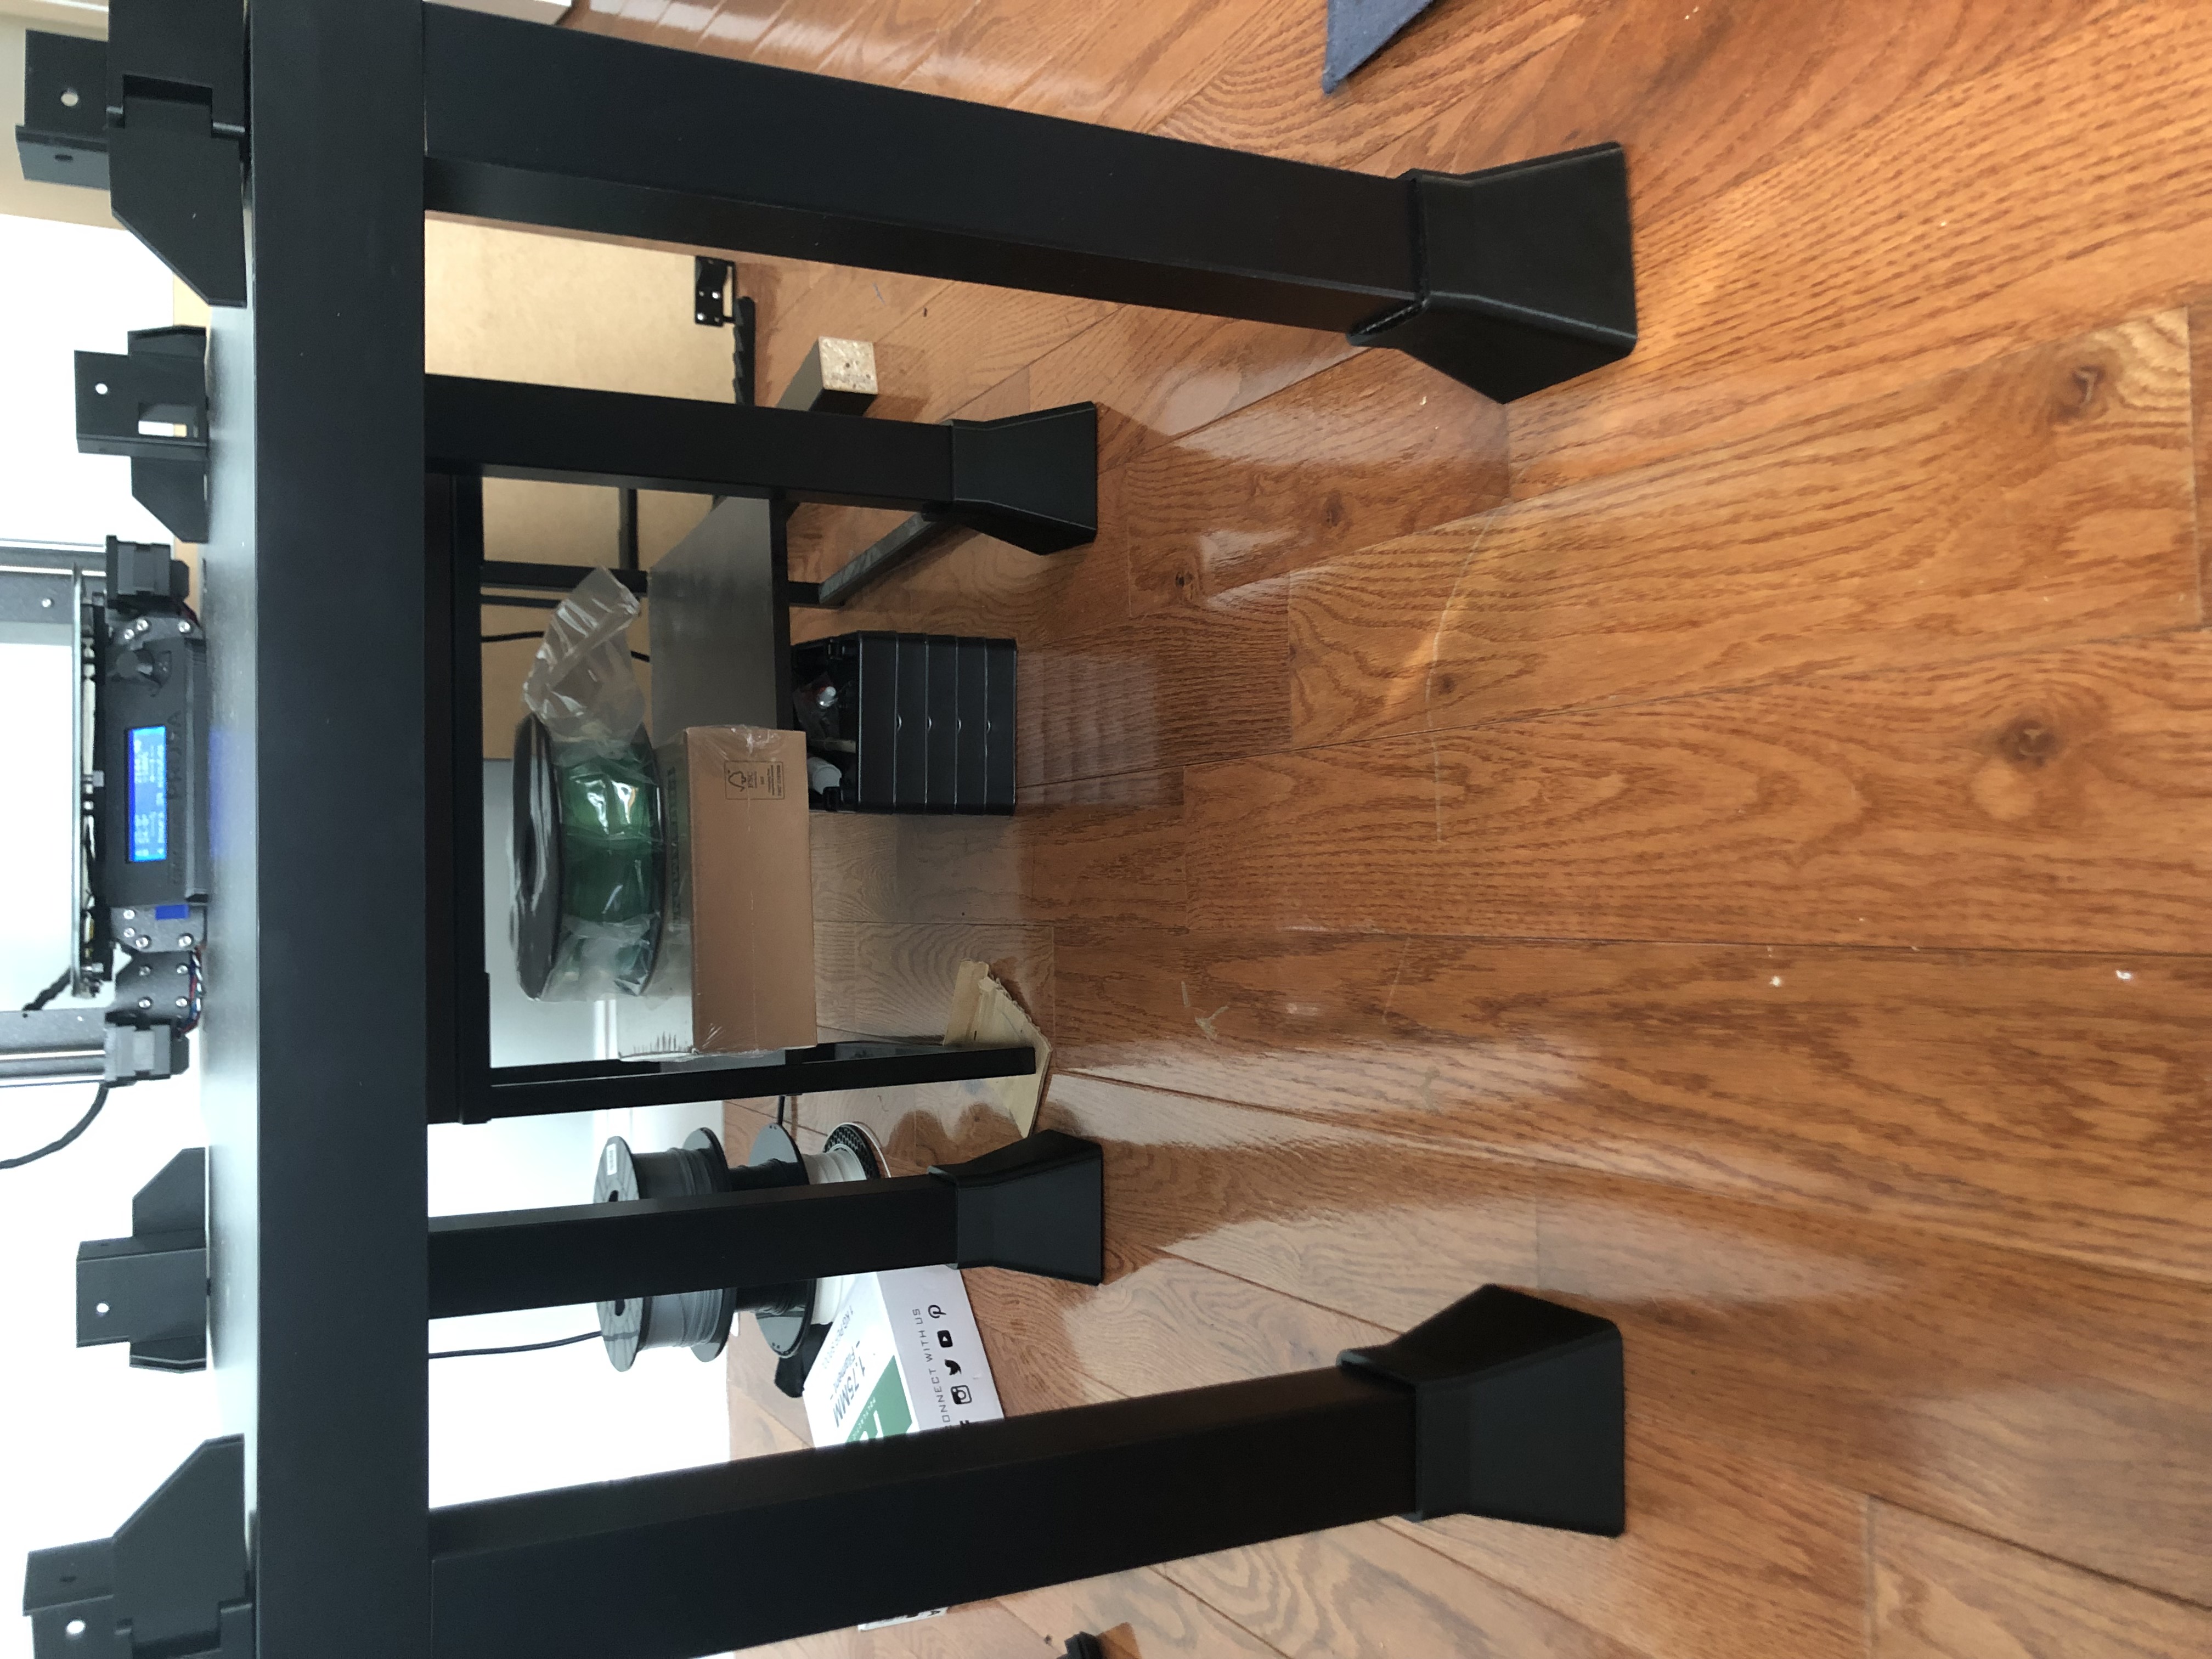
<p>If you're like me, you made the DIY Prusa enclosure with the IKEA LACK tables (link <a href="https://blog.prusa3d.com/cheap-simple-3d-printer-enclosure_7785/">here</a>)</p><p>However, I found that the LACK tables are too short and I can't easily troubleshoot my printer without sitting on the ground, and I don't want the added instability of stacking another LACK table underneath. </p><p>BOOM - introducing these LACK risers. Print 4 of these bad boys and they will raise your table up to a standard bedside table height (~21 inches). Each one takes 1x #10 (3/16) wood screw and I'd recommend a pan head since there's no countersink in the model. Use pilot holes! The link to the ones I used is <a href="https://www.mcmaster.com/91555A136/">here</a>, or just get them at home depot. Theoretically, the screw is optional. </p><p>The image shows the Prusa printer on a standard bedside table, and the LACK table with the risers in front of it, comes out to the same height. </p><p>Enjoy! </p><p> </p><p>Edit: included a .3mf that prints all 4 (PLA) and g-codes for both!</p>
With this file you will be able to print DIY Enclosure LACK Riser with your 3D printer. Click on the button and save the file on your computer to work, edit or customize your design. You can also find more 3D designs for printers on DIY Enclosure LACK Riser.