DIY Filament Dry Box
prusaprinters
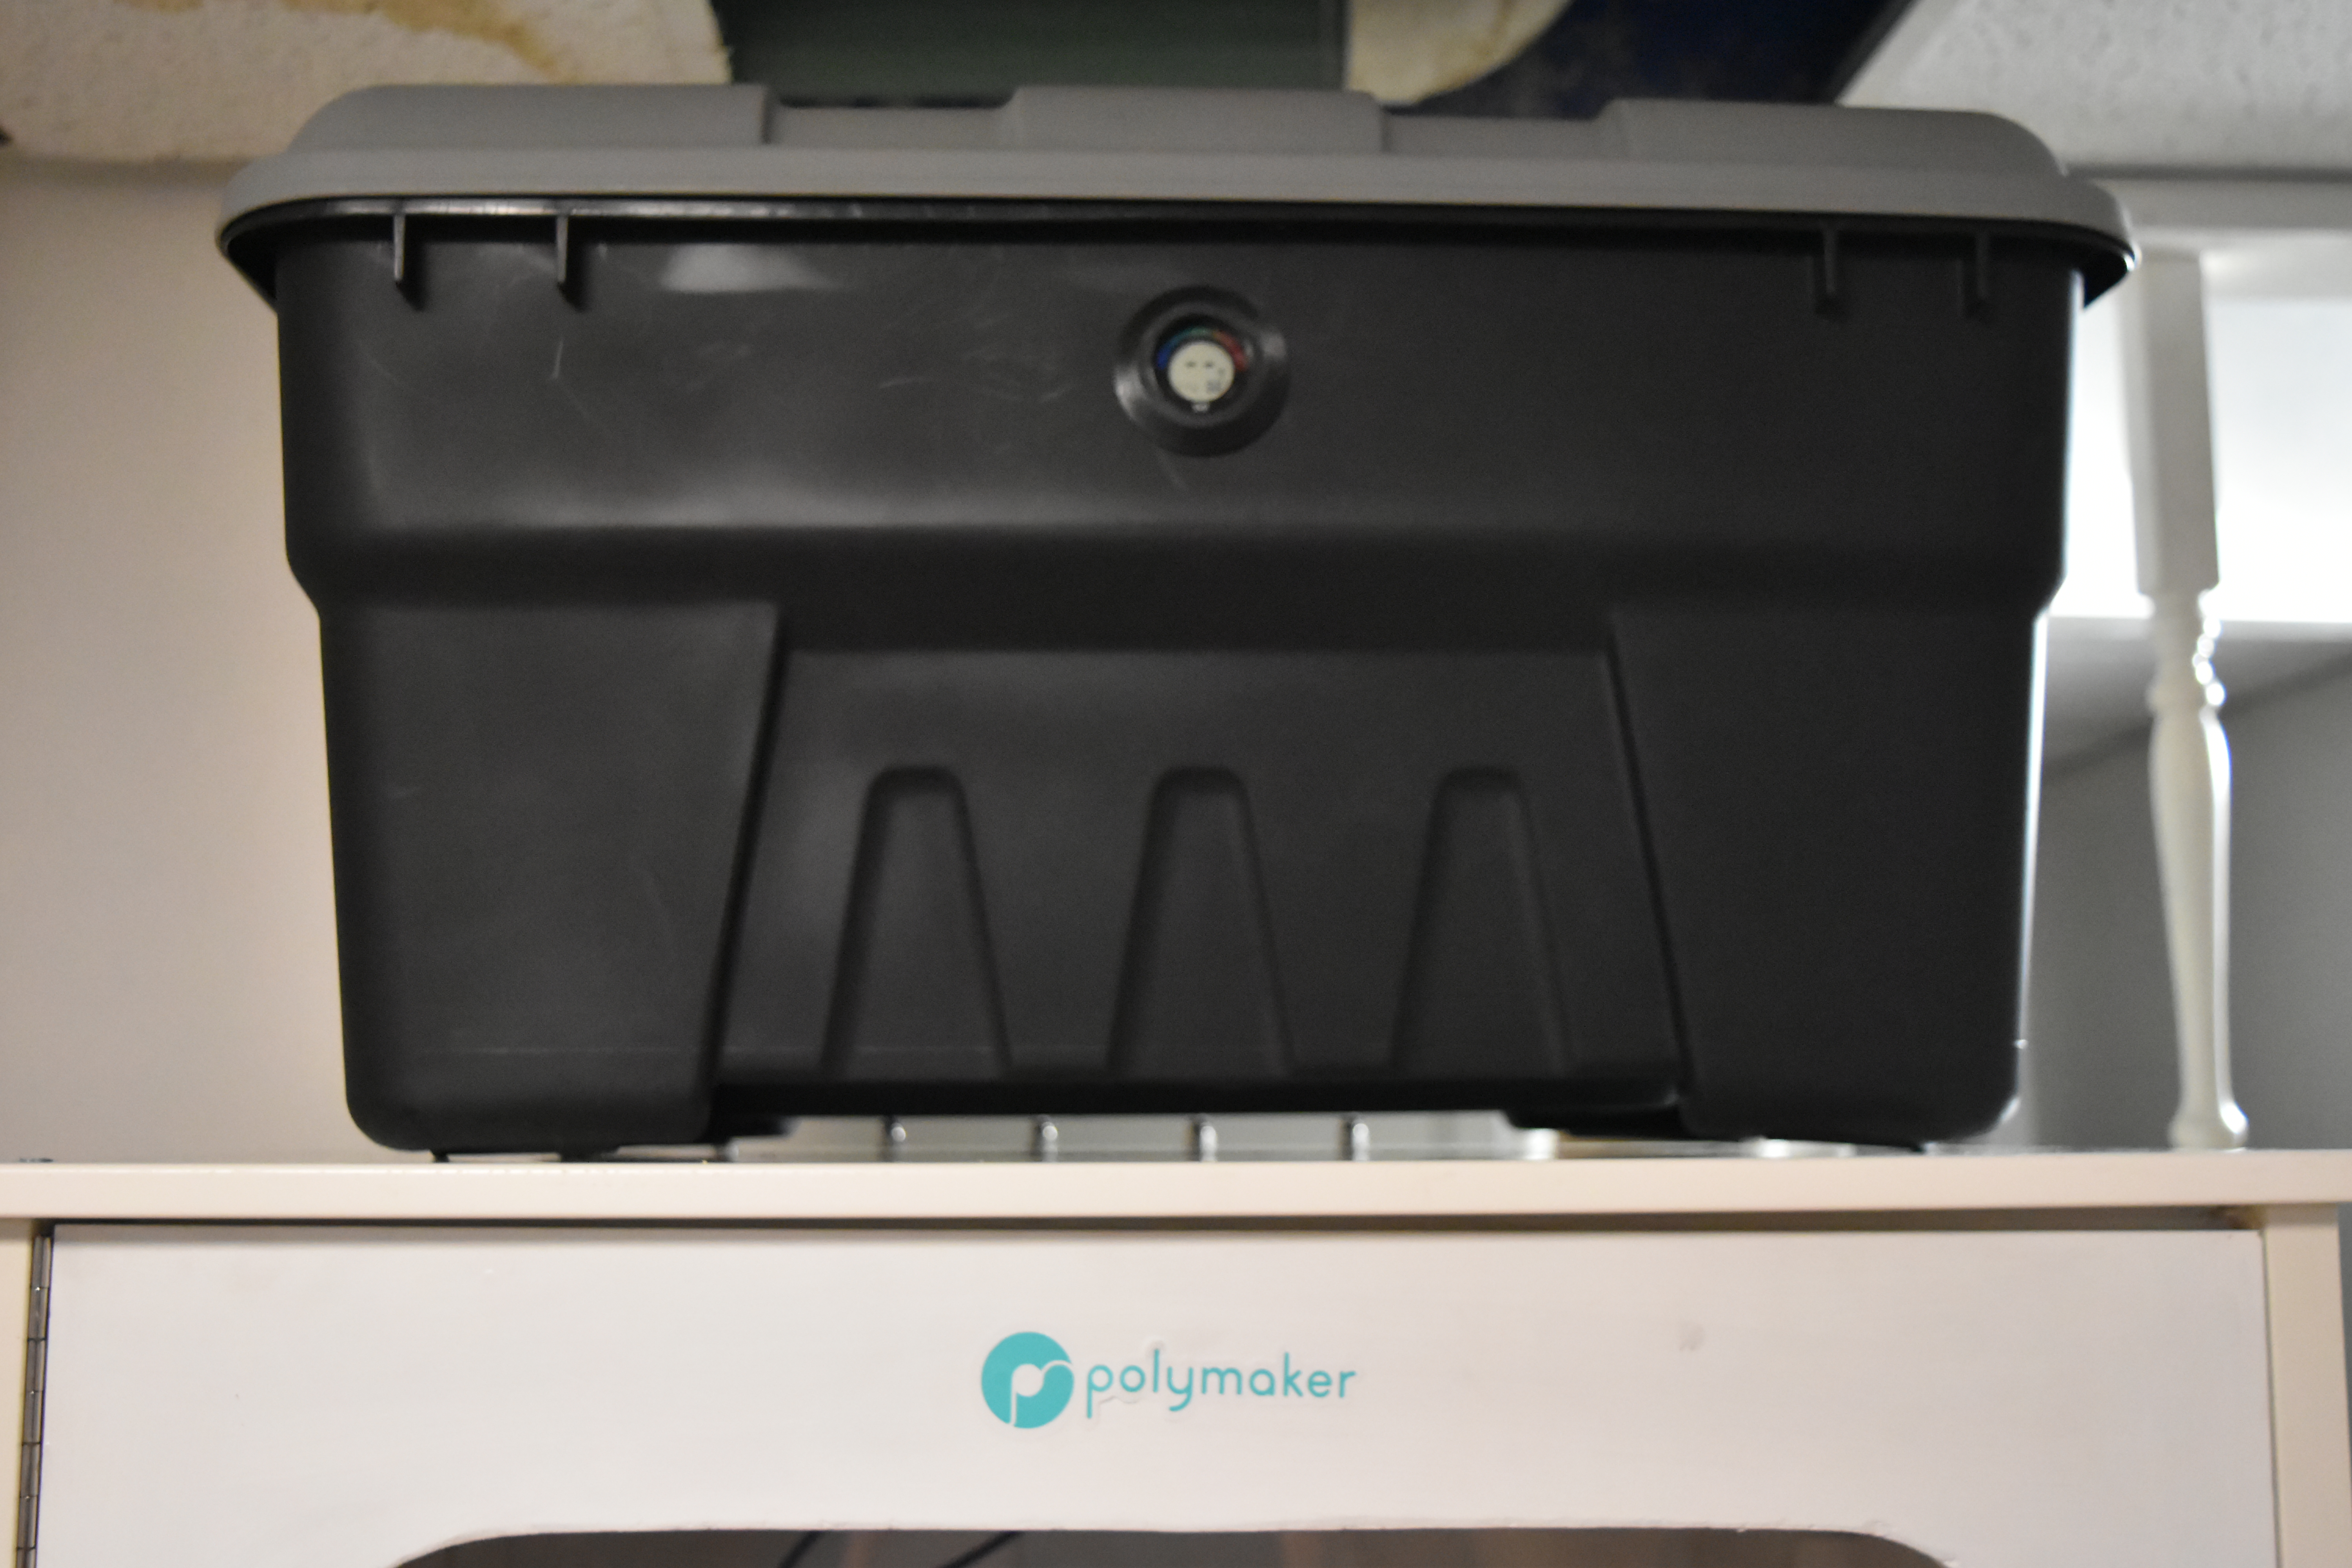
<p>Are you tired of wet filament? Well, then you should make a filament dry box. This filament dry box is easy to make and works well. The parts needed are listed below:</p><p>----------------------------------------------------------------------------------------------------------------</p><p>Teflon tubing and fittings:https://www.amazon.com/SIQUK-Fittings-PC4-M10-Connector-Filament/dp/B07PV9LCLY/ref=sr_1_3?keywords=SIQUK+4+Pieces+Teflon+Tube+PTFE+Tubing%281+Meter%29+with+8+Pieces+PC4-M6+Fittings+and+8+Pieces+PC4-M10+Male+Straight+Pneumatic+PTFE+Tube+Push+Fitting+Connector+for+3D+Printer+1.75mm+Filament&qid=1637595461&s=industrial&sr=1-3</p><p>Silica dry gel:https://www.amazon.com/Dry-Desiccant-Indicating-Industry-Standard/dp/B01I5Y2DG6/ref=sr_1_1?keywords=Dry%2B%26%2BDry%22%2B%5B1%2BQuart%2BPremium%2BOrange%2BIndicating%2BSilica%2BGel%2BDesiccant%2BBeads(Industry%2BStandard%2B2-4%2Bmm)%2B-%2BRechargeable%2BSilica%2BGel%2BBeads(2%2BLBS)&qid=1637595667&s=industrial&sr=1-1&th=1</p><p>Container used (U.S.) Note: You can use any box, this is just the one I used:https://www.lowes.com/pd/United-Solutions-14-Gallon-Action-Packer-174-Storage-Tote/1003192626</p><p>Humidity gauge:https://www.amazon.com/JEDEW-Hygrometer-Thermometer-Humidifiers-Dehumidifiers/dp/B07GR65CNT/ref=sxin_14?asc_contentid=amzn1.osa.dfa3abdc-2f38-42df-9594-e90c75829ffd.ATVPDKIKX0DER.en_US&asc_contenttype=article&ascsubtag=amzn1.osa.dfa3abdc-2f38-42df-9594-e90c75829ffd.ATVPDKIKX0DER.en_US&creativeASIN=B07GR65CNT&cv_ct_cx=humidity%2Bgauge&cv_ct_id=amzn1.osa.dfa3abdc-2f38-42df-9594-e90c75829ffd.ATVPDKIKX0DER.en_US&cv_ct_pg=search&cv_ct_we=asin&cv_ct_wn=osp-single-source-pecos-desktop&keywords=humidity%2Bgauge&linkCode=oas&pd_rd_i=B07GR65CNT&pd_rd_r=d50bd85e-3432-432c-941d-74f10c54283c&pd_rd_w=o6VTU&pd_rd_wg=XGwva&pf_rd_p=f7985bdb-17c9-480e-b542-b87410a0a457&pf_rd_r=EN80B0NSNDMNKEWYWEJP&qid=1637595887&sr=1-3-c26ac7f6-b43f-4741-a772-17cad7536576&tag=thisoldhouse05-20&th=1</p><p>----------------------------------------------------------------------------------------------------------------</p><p>Printed parts:</p><p>Humidity gauge cover:https://www.thingiverse.com/thing:5143750</p><p>Tube holder:https://www.prusaprinters.org/prints/81220-tube-holder-for-filament-dry-box</p><p>Filament guide(optional):https://www.prusaprinters.org/prints/11810-prusa-i3-filament-guide</p><p>Filament feeder:https://www.prusaprinters.org/prints/21882-angled-dry-box-feeder-with-source</p><p>----------------------------------------------------------------------------------------------------------------</p><p>To assemble, just drill the holes for the filament feeder, put some screws in, then insert the fittings. For the humidity gauge, it doesn't matter which one you use. You can either cut a hole in the box then insert the gauge or if the box is clear just put it inside. Next screw in the tube holder on either side (I used a curtain bracket and it works great!). For the tube, I used a wooden rod but you can also use a pipe. For the sealing, you can use any type of weather sealing tape. Now all you have to do is put the gel beads inside and connect the PTFE tubing. Note: I cut two of my tubes in half but left two for flexibles so the filament goes directly to the extruder. Now you're done! No more wet filament, no more failed prints (due to wet filament).</p>
With this file you will be able to print DIY Filament Dry Box with your 3D printer. Click on the button and save the file on your computer to work, edit or customize your design. You can also find more 3D designs for printers on DIY Filament Dry Box.