DIY Labradar Trigger Housing
thingiverse
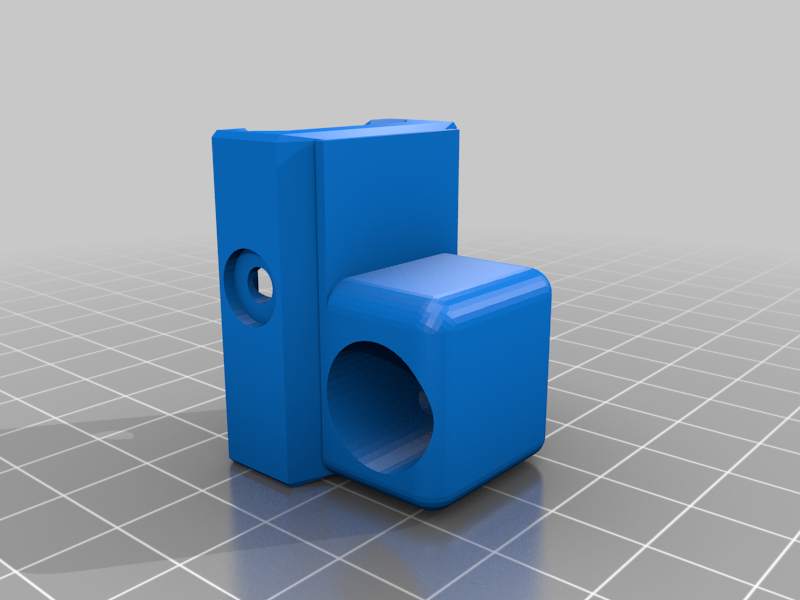
The recoil trigger for the Labradar chronograph is better than the other options, but why buy one if you can print it. You'll need a *THREE PIN* aux/audio cord, SW-18020P vibration sensor, and this printed housing. After soldering the Left and Right channels of the aux cord to the legs of the sensor, cram it all into the cavity of the housing, test by hooking up to Labradar and flicking with finger to make sure it records, and then pot in epoxy. Print on taller end with cavity parallel to build plate. Might have to do like -1mm Z drop to make that end sit flat against the plate without supports. Cross bolt is standard 8-32 button head and nut. Gcode and stl's included, but verify measurements before printing.
With this file you will be able to print DIY Labradar Trigger Housing with your 3D printer. Click on the button and save the file on your computer to work, edit or customize your design. You can also find more 3D designs for printers on DIY Labradar Trigger Housing.