DIY MK6 Plus-ish Heating Block
thingiverse
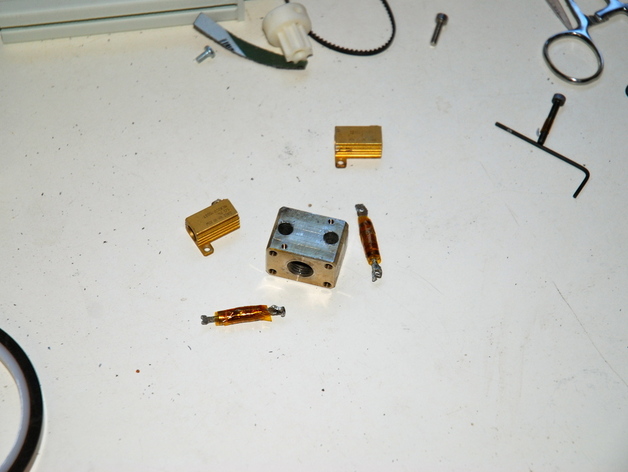
Say goodbye to a passionate fling with Thingiverse's http://www.thingiverse.com/thing:9234 and turn your attention back to the trusty MK6 hotend. After an emotional exchange, you decide to upgrade it in a MK6 PLUS-style by embedding power resistors in steel for faster heating and more fan space. The process requires disassembling the hotend completely. First, carefully remove the resistors from their chassis, strip off insulation, and verify they read 5 ohms with an ohm-meter. Measure the maximum diameter of your resistors (probably .2"). Next, drill a hole through the heating block using a 7/32" bit (or 1/4" if daring), taking care not to hit the thermocouple mount screw. Insulate and secure the resistors in their new drilled home with kapton tape, ensuring electrical isolation from each other and the heating block. Reassemble your hotend and closely monitor its performance during initial prints to avoid any disasters. Congratulations on your successful upgrade!
With this file you will be able to print DIY MK6 Plus-ish Heating Block with your 3D printer. Click on the button and save the file on your computer to work, edit or customize your design. You can also find more 3D designs for printers on DIY MK6 Plus-ish Heating Block.