DIY Powerbank
thingiverse
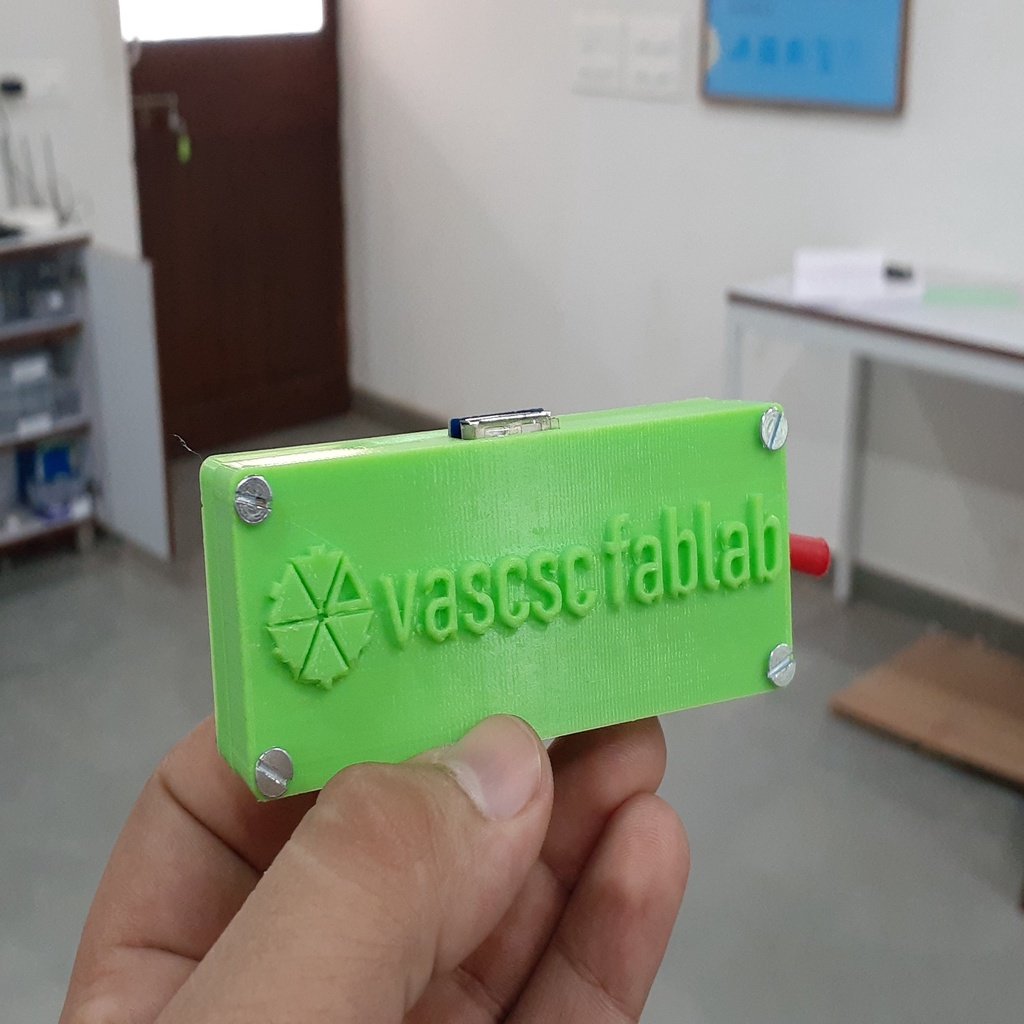
This is a DIY Powerbank designed and constructed at the lab with a few of the shelf components and a custom designed 3d printable case. The components can be found at www.deltakit.net and other vendors too in your locality and are as follows: 1. USB DC-DC Converter: deltakit.net/product/usb-dc-dc-converter/ For converting the voltage of the battery into 5V regulated usb power 2. TP4046 Li-Po battery charger: https://www.deltakit.net/product/lipo-battery-charger-module-tp4056-1a-micro-usb/ For safely charging and properly using the Li-Po cell to be used in the circuit. 3. 3.7V 1600mAh Li-Po Cell: https://www.deltakit.net/product/3-7v-1600mah-lipo-rechargeable-battery/ The primary Power source of the circuit 4. Toggle Switch: Any toggle switch with a 6mm dia neck will work 5. 5mm clear epoxy LEDs: One Green and One Red to indicate power on and charging respectively. The connections are pretty straightforward. 1. Connect the Lipo battery to the B+ and B- connections of the TP4056. 2. Connect the OUT+ and OUT- to the IN+ and IN- of the 5V Boost converter circuit. 3. Put a toggle switch in the path of the TP4056 OUT+ and 5V Boost converter's IN+. 4. Desolder SMD LEDs on the 5V Boost Converter and the TP4056 and solder the 5mm LEDs to the respective boards. After everything is connected and tested go ahead and stick everything inside the case with the help of thin double sided tape and secure the case with M3 nuts and bolts. The holes may need to be enlarged using a drill.
With this file you will be able to print DIY Powerbank with your 3D printer. Click on the button and save the file on your computer to work, edit or customize your design. You can also find more 3D designs for printers on DIY Powerbank.