DIY Project - Easy Video Lights
thingiverse
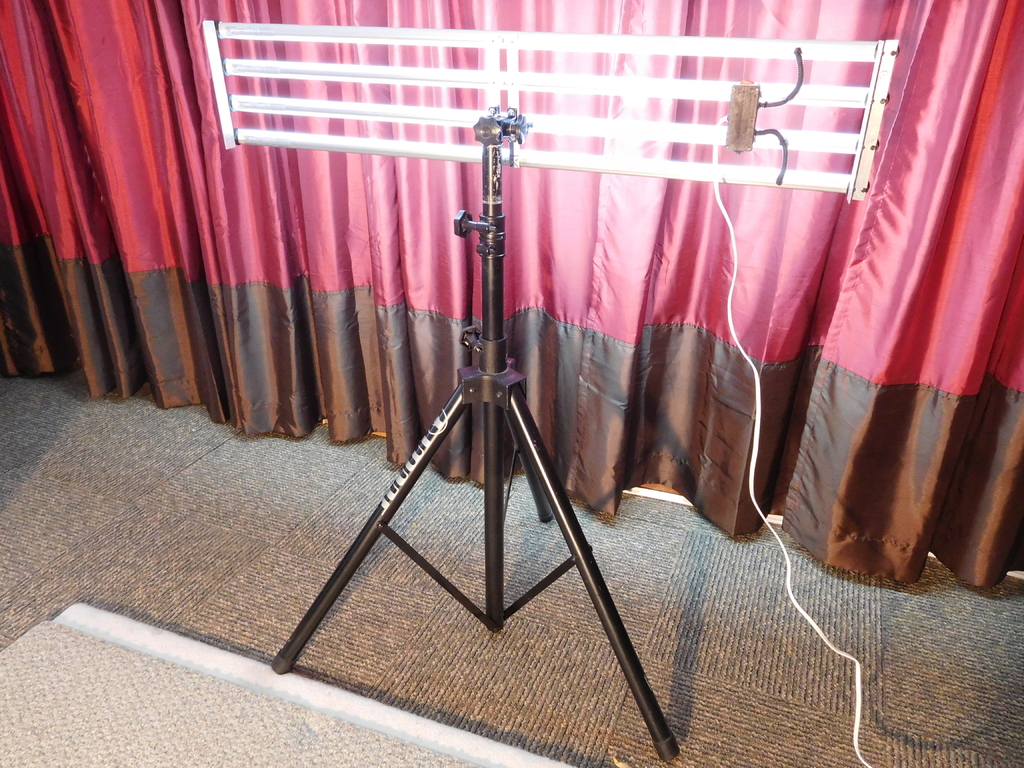
https://youtu.be/lK5IPOOTfZY Watch the video to see how this goes together. You'll need some basic shop tools to make the aluminum and steel parts plus some hardware to hold everything together. This cost me about $8 out of pocket as most of the parts were salvaged from waste or leftover from past projects. The lamps were only $1 each at my local clearance store which influenced this project greatly. The adapter bracket (Pole_Mount5.stl) is only needed for the pole mount tripod, if you use a regular camera tripod you only need the pivot mount. The lamps are 20 watt 6000k which work well with my equipment, you may prefer other lamps. Make sure you order the lights that are right for you. I recommend printing out one end cap to make sure it fits your lamps, they all seem to be different. Notice in the video that I've kept track of the common and hot leads as indicated on the label by marking the hot lead with a black Sharpie marker. WARNING: Since lighting is often placed over peoples heads it is recommended to always have safety in mind. Make sure if a part could break there is something as a backup, I tried to use steel brackets and bolts to backup the 3D printed parts. Use of safety wire/chain is always recommended. DISCLAIMER: What I've made here may not conform to your local electrical standards, I won't be responsible for anything you may make, you're on your own. This project requires skills in preventing electrical injury, I am not an expert and I didn't consult you to make this. Always ask an expert.
With this file you will be able to print DIY Project - Easy Video Lights with your 3D printer. Click on the button and save the file on your computer to work, edit or customize your design. You can also find more 3D designs for printers on DIY Project - Easy Video Lights.