DIY Replicator Cover and Windows
thingiverse
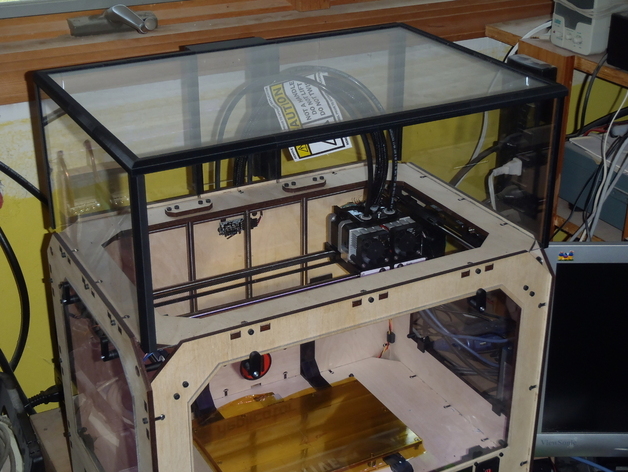
Create a sturdy yet lightweight cover and windows for your Makerbot Replicator without needing laser-cut parts. The $30, 2.5mm (.1") acrylic construction, printed components, and six #1x3/8 screws make up this easy-to-assemble design. The top's perimeter support ensures stability while keeping the weight low. Follow the provided instructions and parts list to create window clamps, window joiners, and back window joiners using ABS/PVC cement and printed components. Ensure proper acrylic sizing for windows and carefully drill holes for clamp assembly. Position the top pieces at 6.75" in height with a 4" gap at the back for cable management. Sand edges for smooth joiner application before assembling and gluing all parts together.
With this file you will be able to print DIY Replicator Cover and Windows with your 3D printer. Click on the button and save the file on your computer to work, edit or customize your design. You can also find more 3D designs for printers on DIY Replicator Cover and Windows.