DIY Tennis Ball Launcher
thingiverse
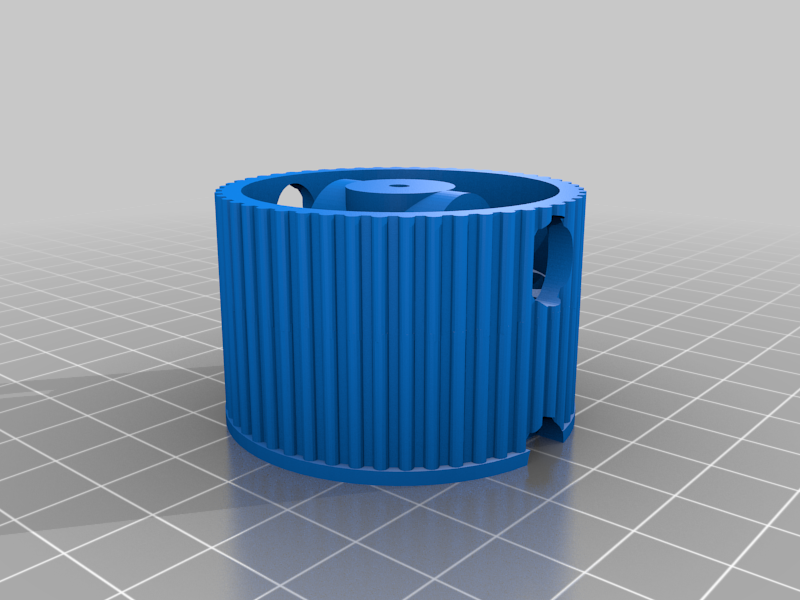
DIY tennis ball launcher. The frame and other parts are designed to be printed with little or no supports. The frame is a "skeleton frame". The outer walls and enclosure are constructed with cardboard and hot glue for simplicity. Threaded brass inserts are used to bolt the various parts together (6 for the frame, 2 for the motor support, and 2 on each wheel for set screws that secure the wheels to the motors) Powered by a single 11v lipo battery and an esp32 (code will be uploaded soon). Originally used a IR break beam module to trigger the device but this method was unreliable and presented issues when charging the battery. Final design uses an RF receiver and button to trigger the device. Linked below with other parts. This is still a prototype design. Any improvements are welcome. Parts list: 2x Autotoolhome 6-12v mini dc motor https://a.co/d/27QSjep 12x brass thread insert #10-24 https://a.co/d/5HIJoeD 8x #10-24 3/8" screws https://a.co/d/aLjwnbt 4x #10/24 set screw https://a.co/d/9mXtwNW 1x micro servo https://a.co/d/c9hRPyF 1x esp32 (deep sleep compatible recommended) https://www.ezsbc.com/product/esp32-breakout-and-development-board/ 1x 11v battery https://a.co/d/im5WkPm 1x battery charger https://a.co/d/1DZy7xf 1x mosfet switch https://a.co/d/6ihioVm 1x 5v step down module (to power esp32 from 11v battery) https://a.co/d/4yGEgtH 2x tap splice https://a.co/d/0kC7MXJ 1x RF reciever https://www.dfrobot.com/product-2430.html 1x RF transmitter button https://www.dfrobot.com/product-2568.html 1x tennis ball
With this file you will be able to print DIY Tennis Ball Launcher with your 3D printer. Click on the button and save the file on your computer to work, edit or customize your design. You can also find more 3D designs for printers on DIY Tennis Ball Launcher.