DJI Action 3 lens tool
thingiverse
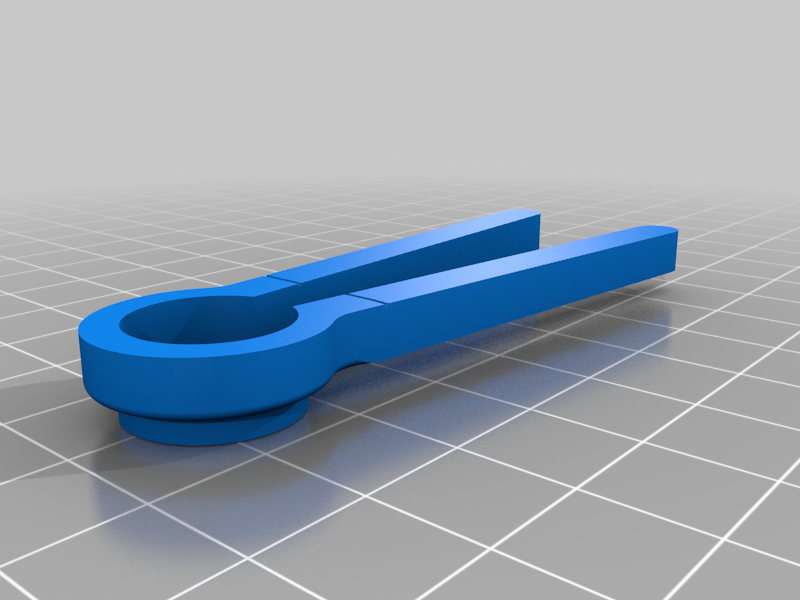
Just a simple tool to adjust certain DJI Action 3 optics. On some batches of the Action 3 the backfocus is set wrong. The lens projects it´s image behind the sensor. Thus the image is to soft and not as sharp as it should be. We have to bring the virtual image of the lens to it´s ideal focal point. No special disassembly required. Safe and without the risk of scratches or visible damage! Please use the tool with the flat side facing to the camera body. The protruding part was intended to get a better grip around the barrel of the lens after removing the o-ring. This is not neccessarry! Things you need: - Action 3 - My tool - USB Cable - Computer - Ruler, an object (e.g. box with print), window.... How to use it: - Prepare a focussing setup. Mark a spot for the Action 3. Place your object 30 cm away from the marked spot. Ideally you have a window in the background to check for infinite focus. Outside objects more than 30 m away count as "infinite" due to the small sensor. - Remove the glass filter from the Action 3 - Set Video to 4K 120 fps and record until the Action 3 stops due to overheating. This is important to soften the glue that secures the Lens. - Connect to a computer and select webcam - Attach the tool with the flat side facing to the camera body. It should clamp to the small protruding part of the lens by itself. You may have to force it a little bit open. - Check if the tool sits evenly. - To turn the lens just clamp the tool tightly. - In most cases you should turn the lens counterclockwise. (Moving the Lens a little bit away from the sensor, bringing the virtual image to the front) Turn it in 5 degree steps and check the focus with your webcam software. The text or print on your object should be in focus 30 cm away from the Action 3. The "infinite" background should also be in focus. Focal distances less than 30 cm are great for macro, but you lose infinite focus. The goal is to get a close focal distance of 30 cm and to keep the "infinite" background in focus. Find that sweet-spot and you have set the correct backfocus. - If it takes you longer than 5-10 minutes you may have to heat the Action 3 up again. - The securing glue should reset and help keep your newly set backfocus Finally check your focus with some test photos and videos. Webcam output is just 1080p. There is virtually no chance to scratch the lens with this tool. I made it because all methods i found used metal tools and they all left at least marks on the lens barrel. Which could be troublesome for warranty. Not perfect or for commercial use, but it does the job.
With this file you will be able to print DJI Action 3 lens tool with your 3D printer. Click on the button and save the file on your computer to work, edit or customize your design. You can also find more 3D designs for printers on DJI Action 3 lens tool.