DLT-mega effector and bracket
thingiverse
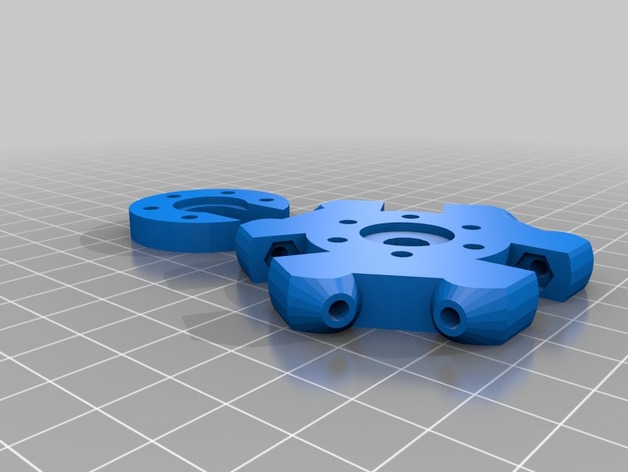
I have not printed this personally yet, but I sent it out to 3D hub to print at 100 micron layer resolution and worked great. Print Settings Printer: 3D Hub Resolution: 100 micron layer Infill: ? Notes: separation = 40; // Distance between ball joint mounting faces. offset = 20; // Same as DELTA_EFFECTOR_OFFSET in Marlin. (center to rod centerline) mount_radius = 12.5; // Hotend mounting screws, standard would be 25mm. hotend_radius = 8.25; // Hole for the hotend (J-Head diameter is 16mm) push_fit_height = 6.25; // Length of brass threaded into printed plastic. may need to minimize to 3mm, (height-push_fit_height=hotend recess distance) push_fit_radius = 6; // increased to 6 for hex on ptfe tube quick connect(PC04-01) eff_height = 8; eff_recess = 1.5; // decreased to 1.5 to enhance clamping bracket_height = 6; bracket_radius = 6.25; // increased to 6.25 for better fit bracket_recess = 1.5; // decreased to 1.5 to enhance clamping cone_r1 = 2.5; cone_r2 = 14; // e3d heat sink rim_radius = 8; center_radius = 5; rim_catch_radius = 6; rim_height_top = 3.7; rim_height_bottom = 3; center_height = 6; heatsink_total_height = 42.7; heatsink_height = 26; fin_height = 1; fin_space = 2.5; fin_radius = 11.15; heatbreak_radius = 2.1; Post-Printing
With this file you will be able to print DLT-mega effector and bracket with your 3D printer. Click on the button and save the file on your computer to work, edit or customize your design. You can also find more 3D designs for printers on DLT-mega effector and bracket.