DNA Model Assembly
thingiverse
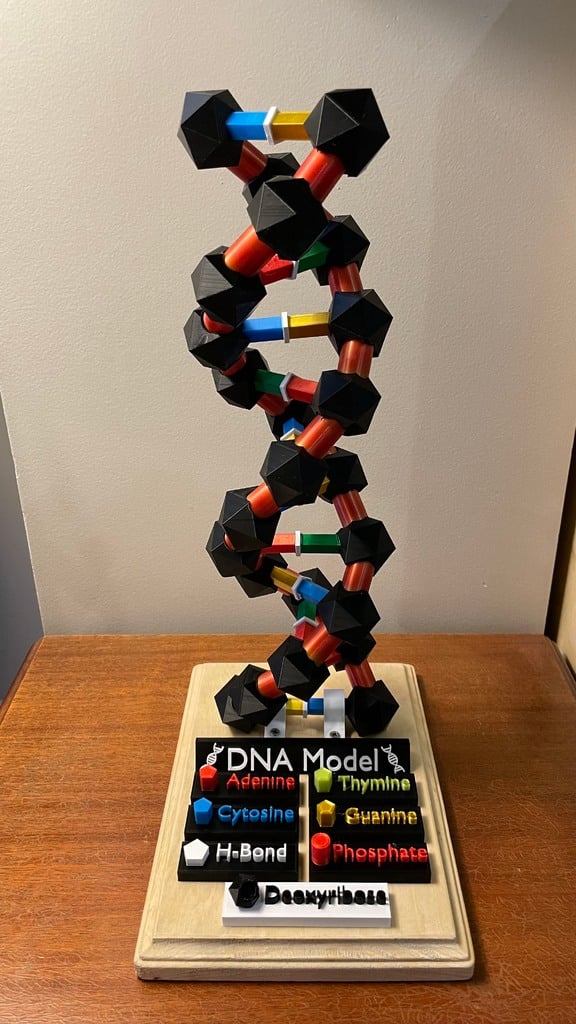
This is something I made for a school project, and it doesn't include the title piece saying "DNA Model" because I customized that with my name. To print, in your slicer you have to increase all of the sizes of the model to 500%, except the labels, which are the correct size. The DNA-RowConnector's should be sized by 515% on the x and y axis, but the z should stay at 500% Printing them is difficult to keep track of each layer, which is why I made them seperate. Start by printing DNA-Row1-1 and DNA-Row1-2 in one file, and do that for each DNA-Row#-1 and DNA-Row#-2. The DNA-Row#-#s will need to be tilted by 3-5 degrees manually, for each of the 24 pieces. Just make sure each one lays flat, and has supports enabled. Rafts/brims should not be needed for any of the pieces. To make the labels be multi-colored, add a "pause at height" script to the point between layers you want it to change colors. Print all of the long pieces vertically! Horizontally distorts the shape and makes it so it doesn't fit into the side pieces! Amount of models needed: DNA-RowConnector: 22 DNA-Bases: 6 of each color (4 colors) (24 in all) DNA-BasesConnector: 12 1 of each of the labels 1 of each DNA-Row#-# ------------------------------------------------------------------------------------------------ (No clue if any of that made sense, if you need any clarifications, you can find me at Discord "ReddiGamer#4829")
With this file you will be able to print DNA Model Assembly with your 3D printer. Click on the button and save the file on your computer to work, edit or customize your design. You can also find more 3D designs for printers on DNA Model Assembly.