(do not print) LED lights installed on X-axis frame of ender 3
thingiverse
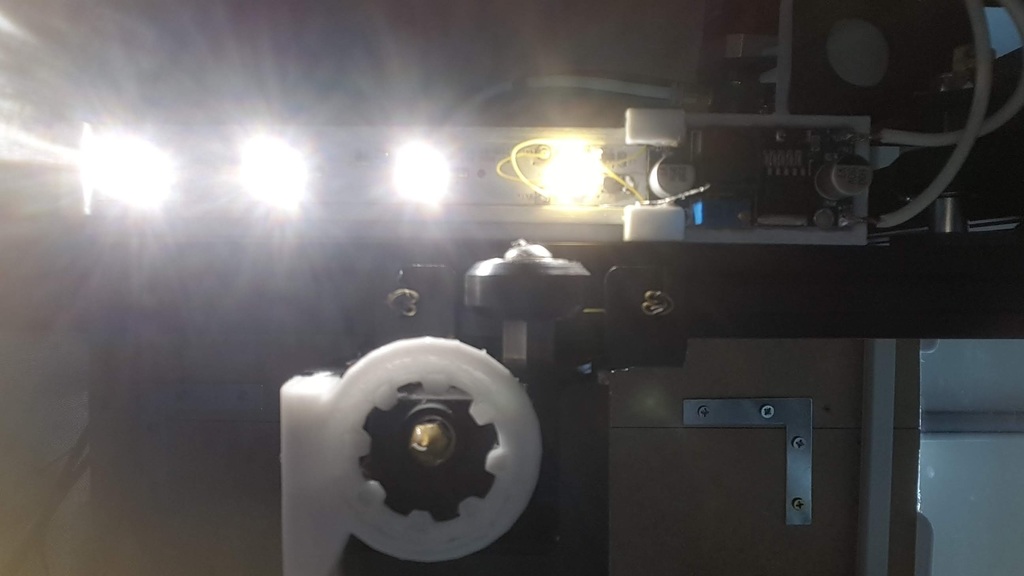
I want to keep a record. I made an enclosure for my Ender 3. At the time of actual printing, the lighting was too hot and the printout did not look right. So I disassembled another mini light to get 5V LED parts, and I bought a DC-DC converter on the internet. Then I pulled 24V from the Ender 3's power supply, converted it to 5V using a DC-DC converter, and turned on the LEDs. I photographed the LED circuit board and the DC-DC converter circuit board, measured the size, and designed the necessary stand. It was important to check the status of the printout, so the LEDs had to be installed close to the extruder. The closest was the back of the X-axis frame. When you turn on the Ender 3, the LED lights up.
With this file you will be able to print (do not print) LED lights installed on X-axis frame of ender 3 with your 3D printer. Click on the button and save the file on your computer to work, edit or customize your design. You can also find more 3D designs for printers on (do not print) LED lights installed on X-axis frame of ender 3.